As in I can’t believe how much work this is!
Part I – Lower Front Control Arms
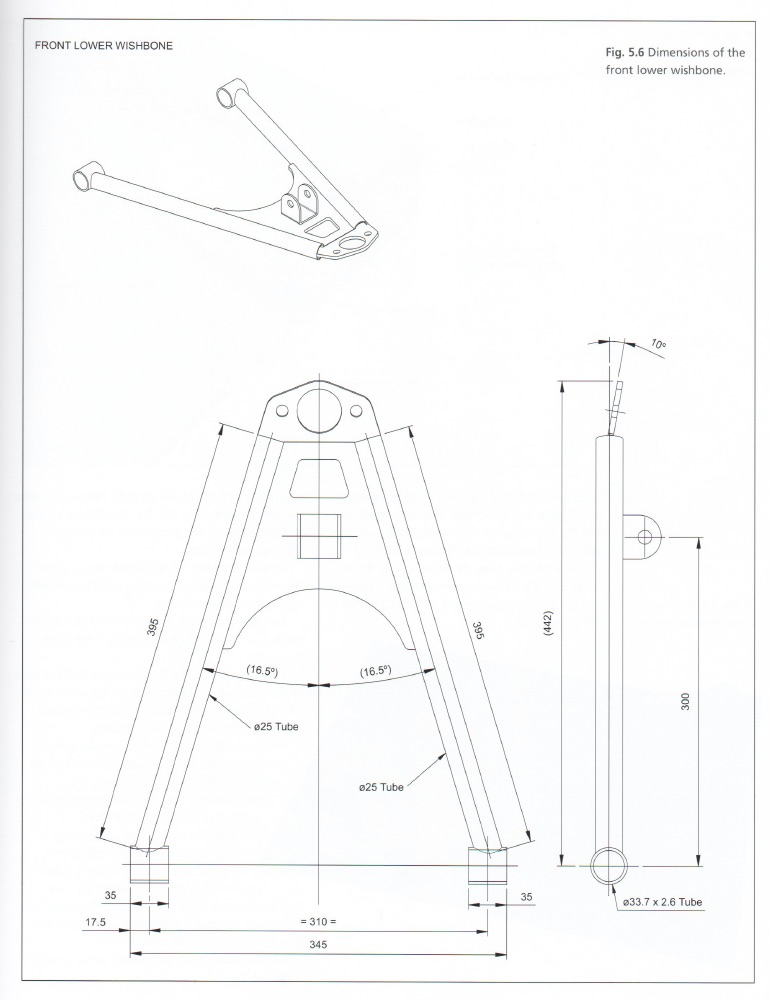
I am starting with the lower front control arms. These are arguably the most complex of all the control arms but they do have the simplest tube to tube joints (only the bushing tubes) and since I am new to tube notching I decided to start with them.
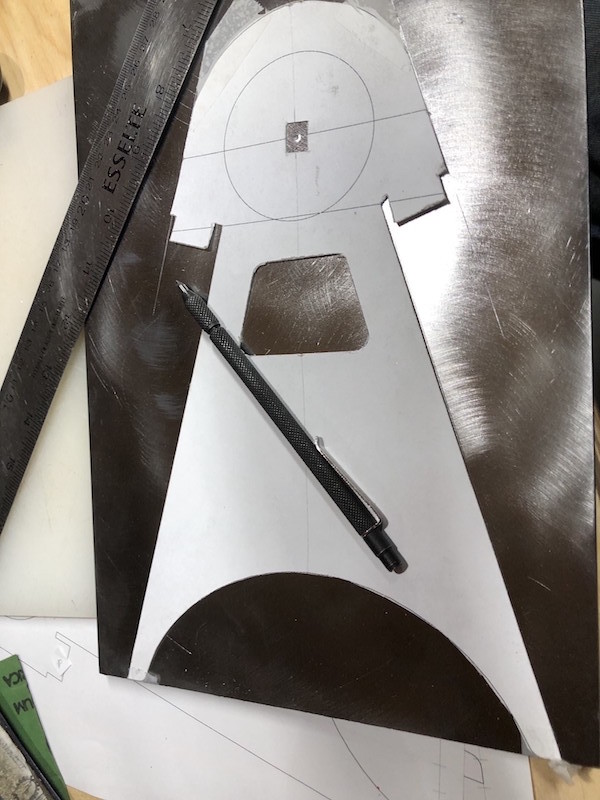
The doner car from the book uses a bolt in ball joint while the BMW has a pressed in ball joint. I have modified the web plate lengthening the nose of to accommodate the holders that were machined on the New Brunswick trip. The center of the ball joint remains the same as the drawing above. I used a paper template to trace out the shape on the steel plate.
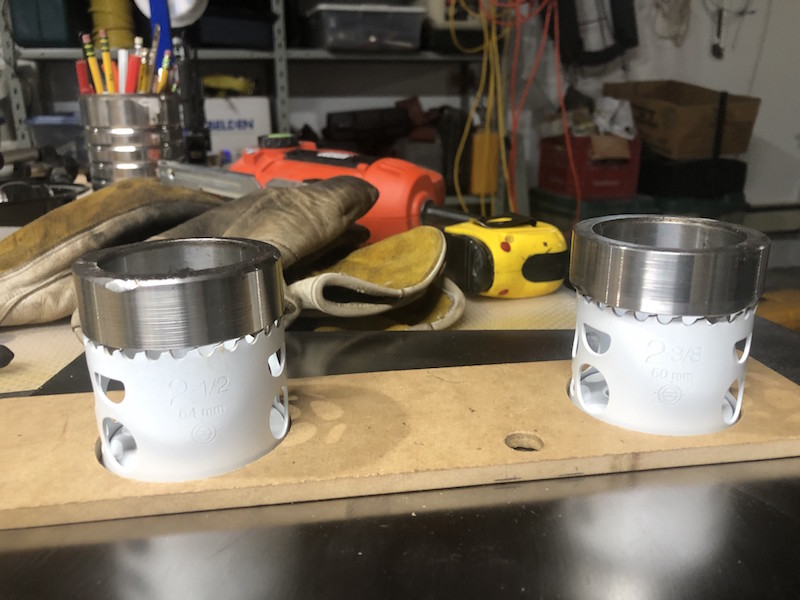
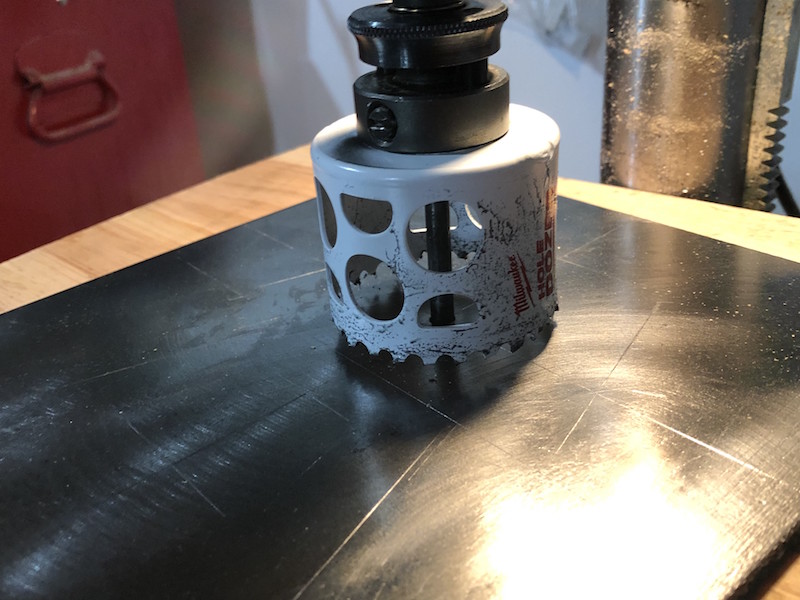
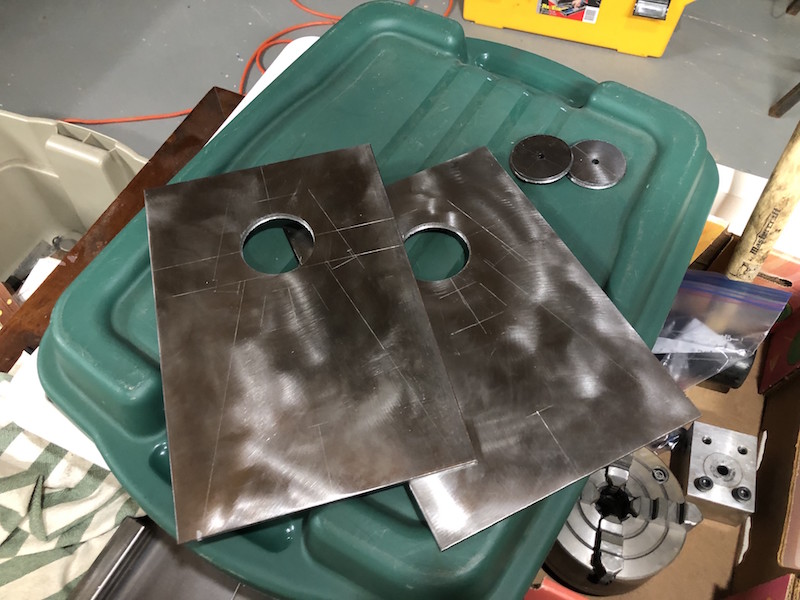
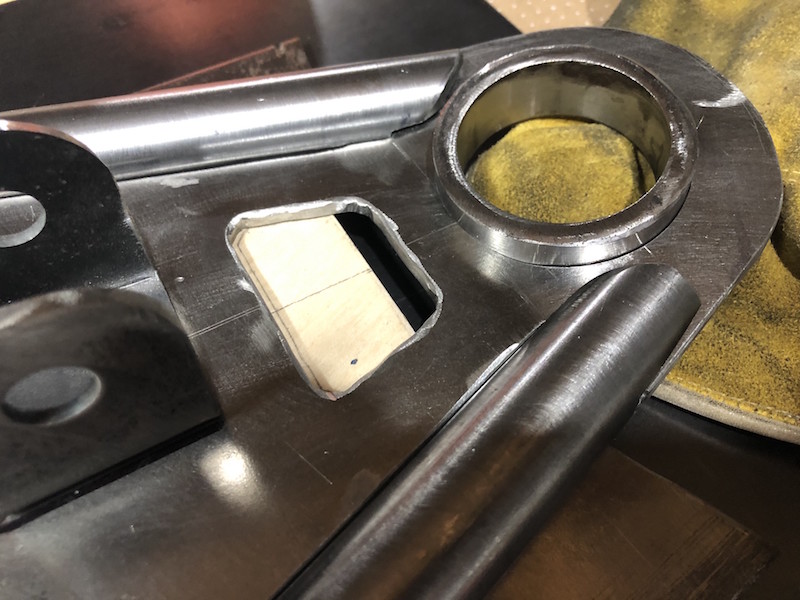
Step one was to drill the holes for the ball joint holders. I used a a hole saw that was slightly smaller than the outside diameter of the ball joint holder.
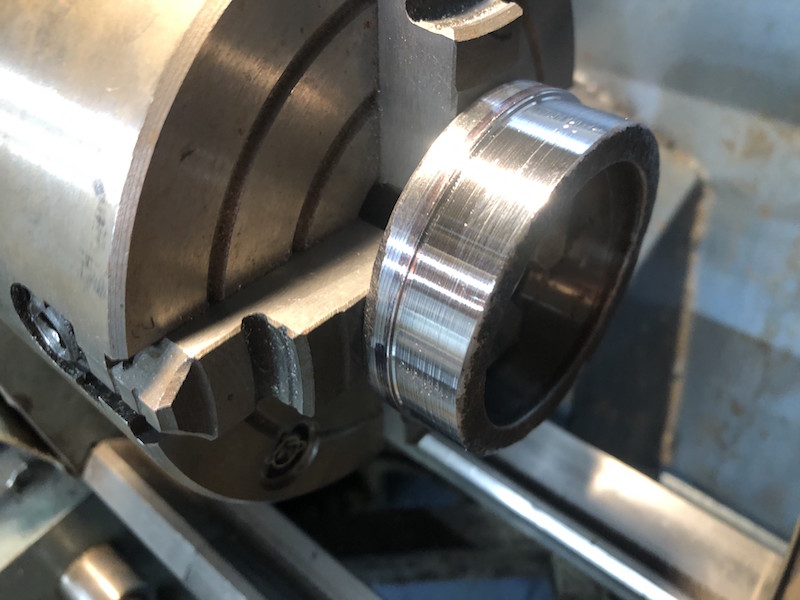
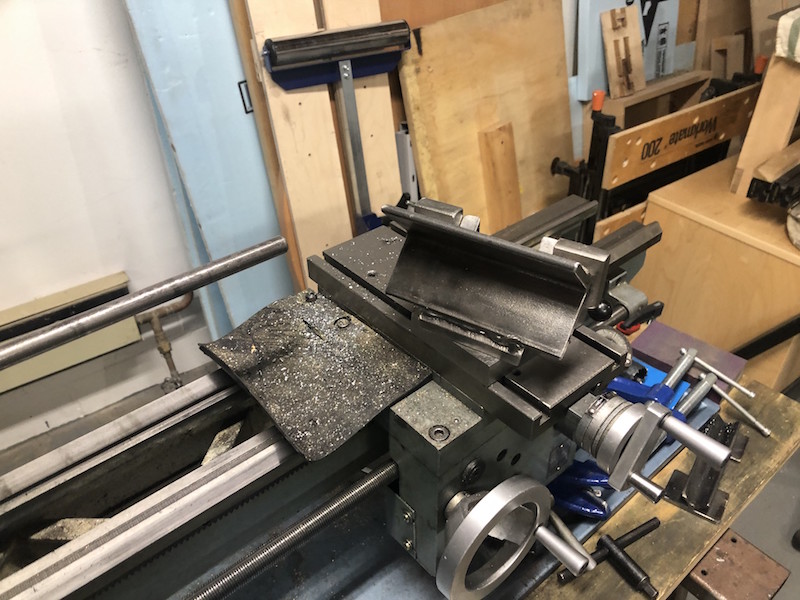
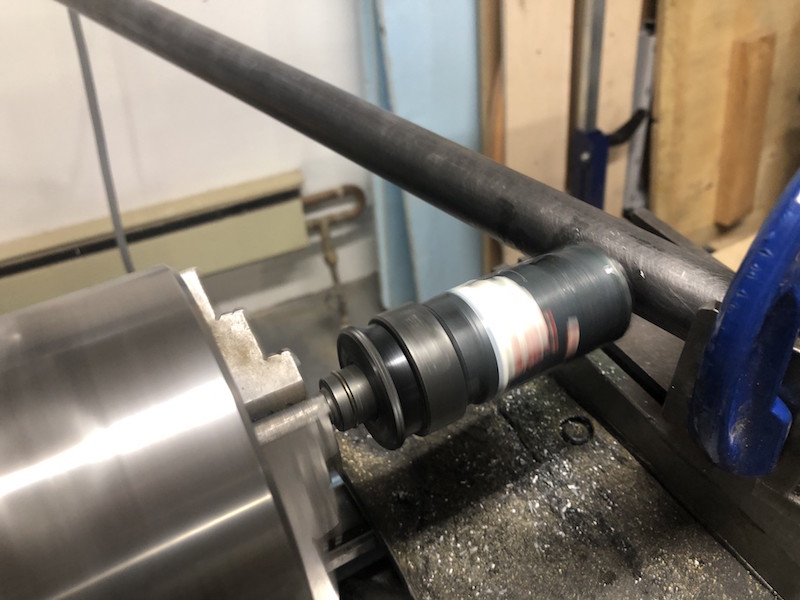
I then used the lathe to turn down the holders leaving a small shoulder that would help position the holder height in the web plate.
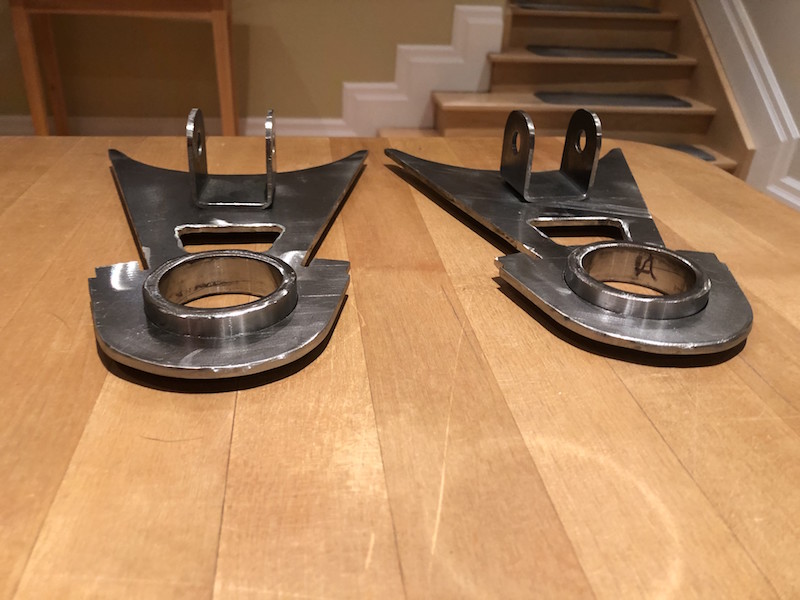
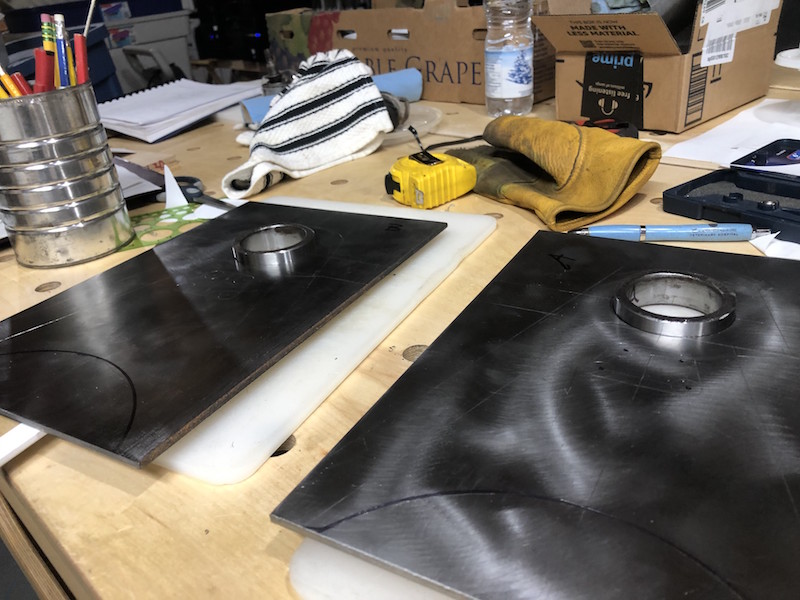
After much cutting and grinding the plates are done. I named my angle grinder CNC.
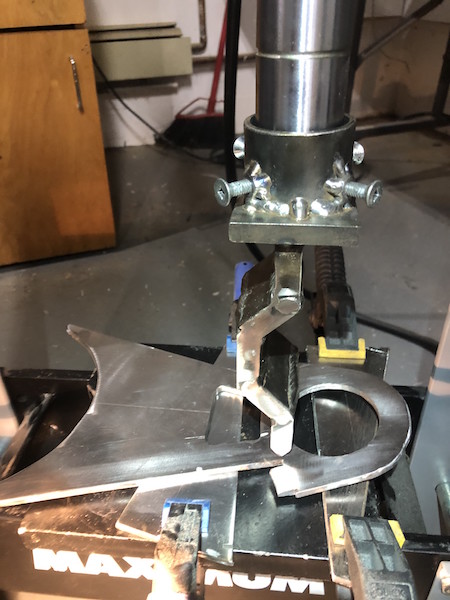
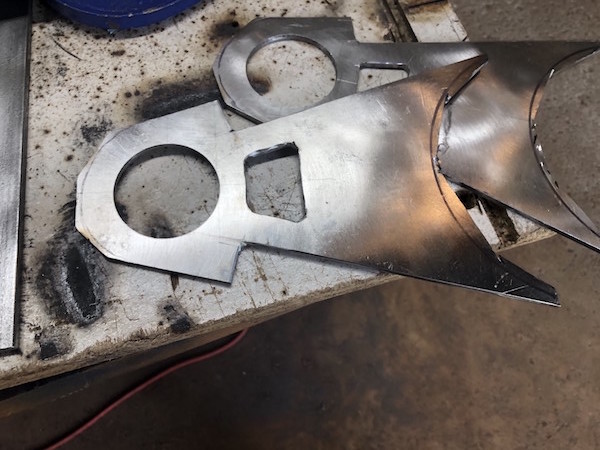
The plates required a 10 degree bend on the head end, that was achieved with the hydraulic press.
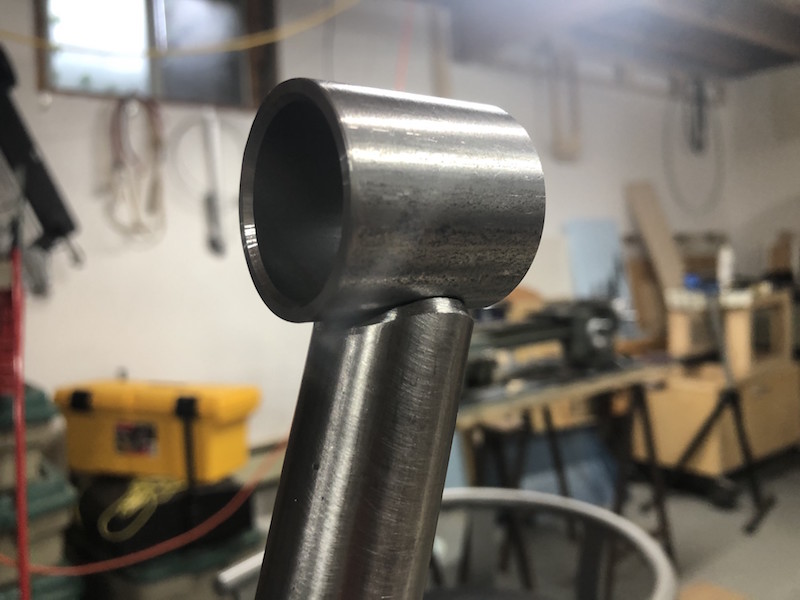
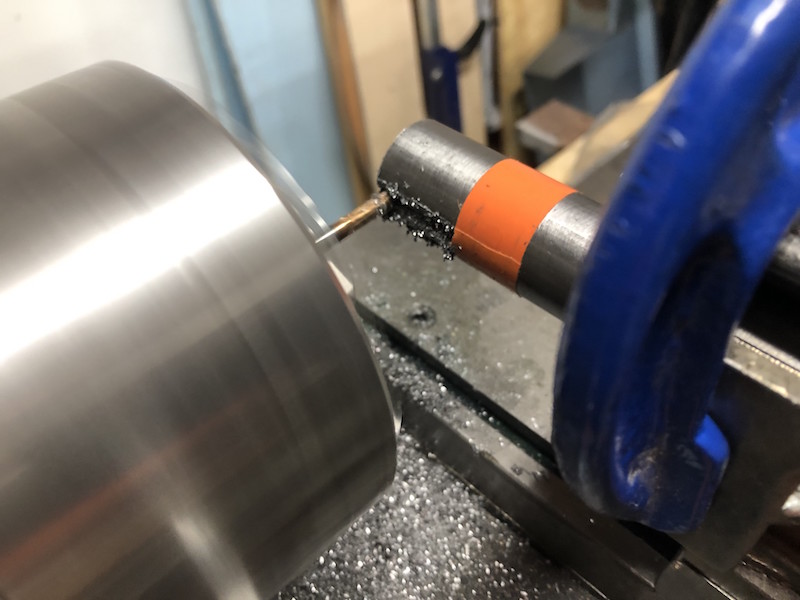
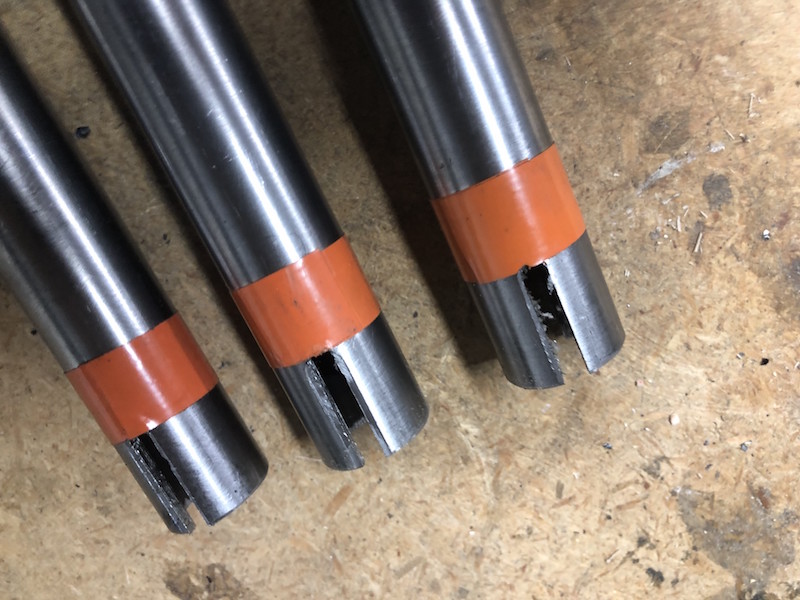
Time to notch some tubes to go with those web plates. By cutting a double length piece in the center I get two identical notches and cut my work in half. Win Win!
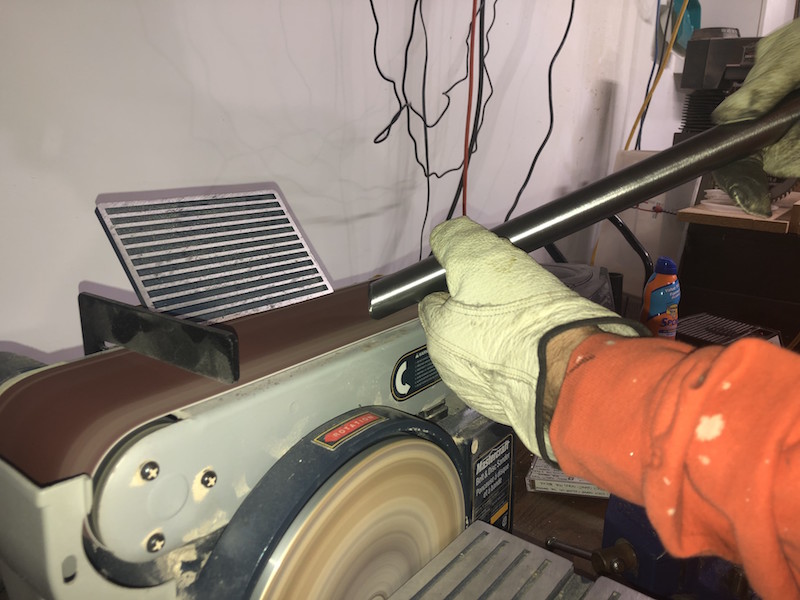
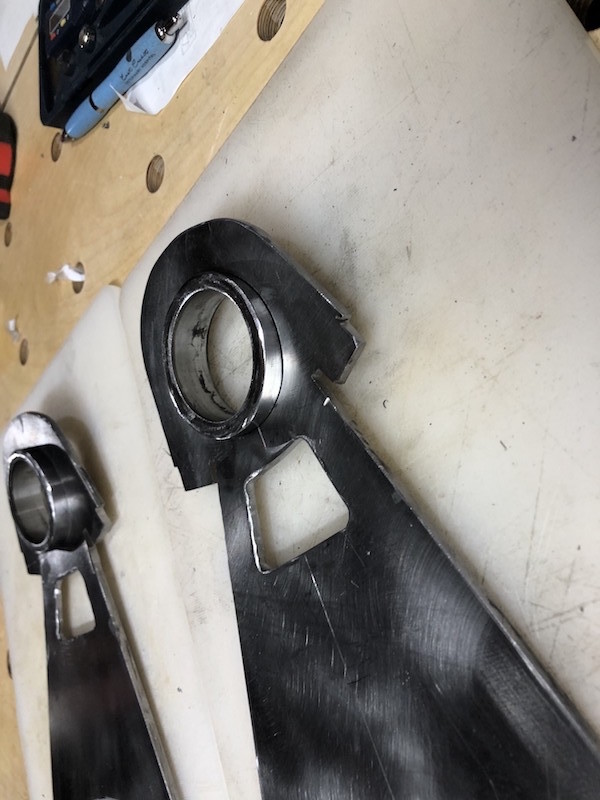
After notching any burrs get cleaned up and the edge of the notch gets beveled on a belt sander, this will create a better connection when welded.
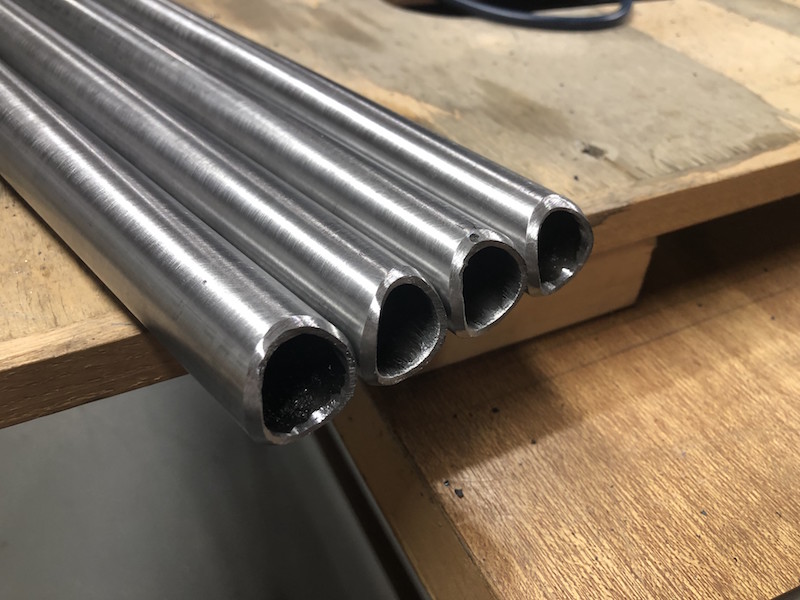
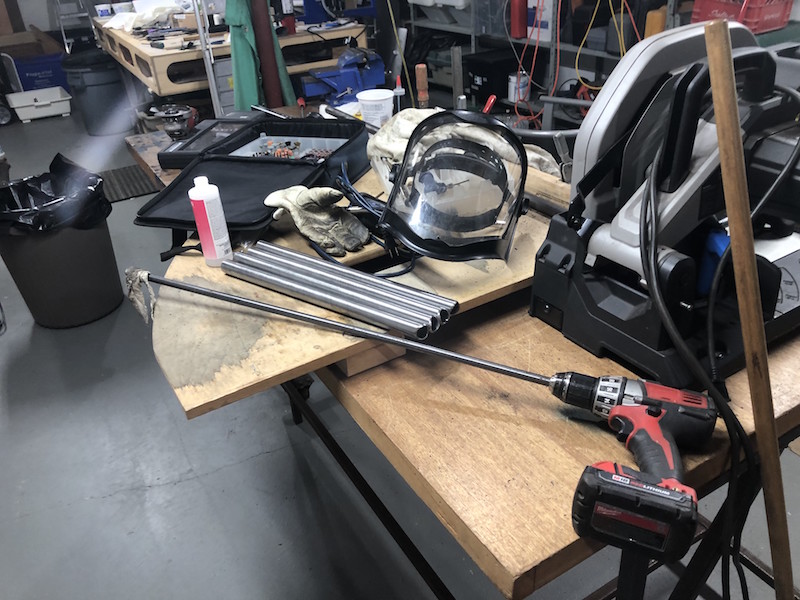
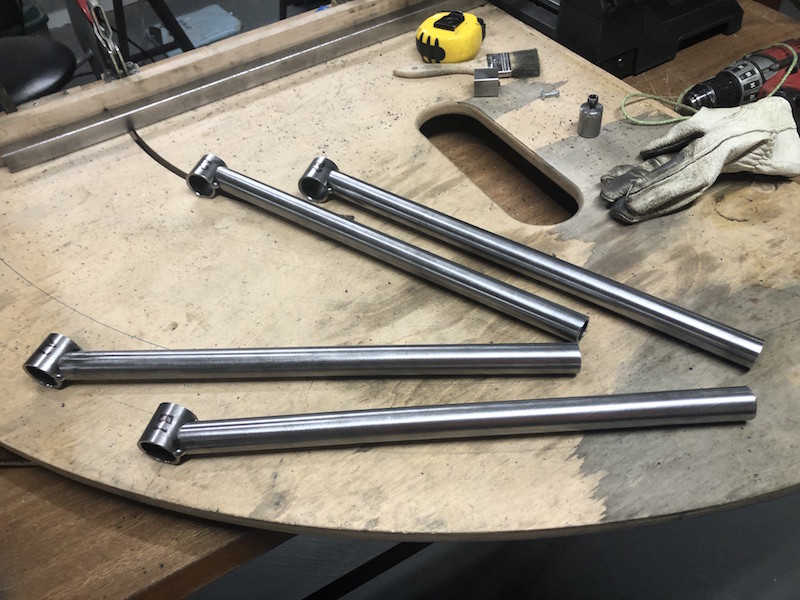
The 4 tubes for the front lower control arms beveled and ready for the bushing tubes. I also cleaned the inside of the tubes using some acetone and a cleaning “rod” powered by my drill. This got rid of any metal particles in the tube and hopefully any oil or contaminants from the manufacturing process. Contaminants inside the tube could affect the quality of the weld.
I tack welded the bushing tubes onto the notches and then split the other end of the tubes. I had decided to extend the tubes beyond the tongue that was left on the web plate and the tubes needed to be pass over the top and bottom of the plate.
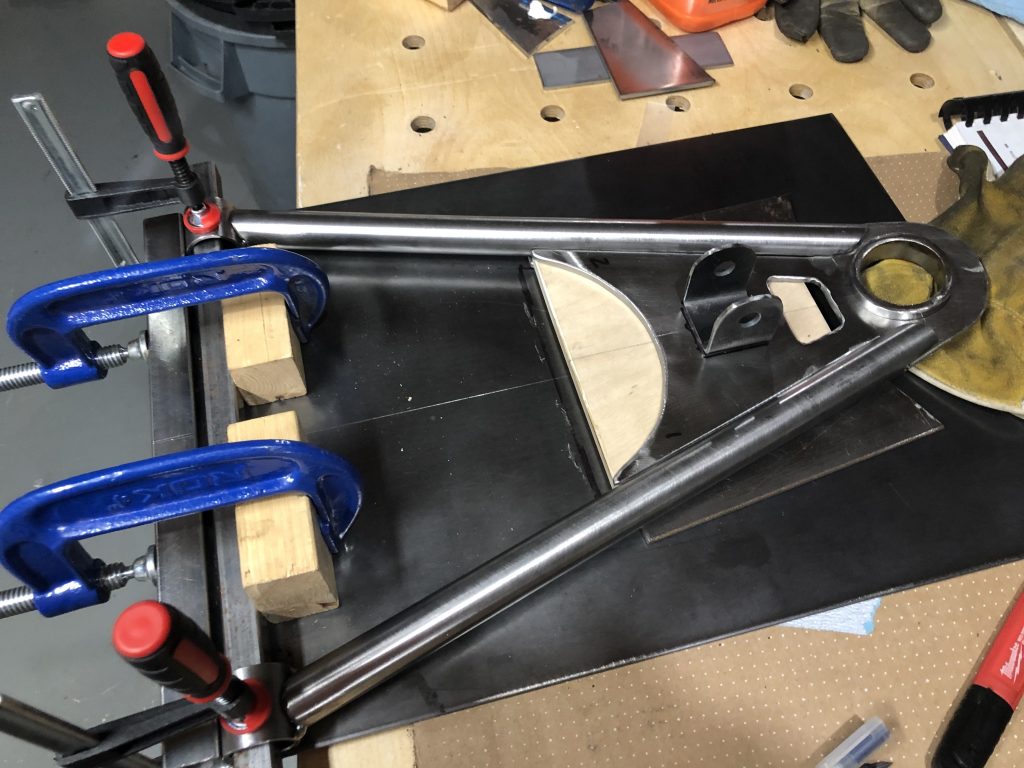
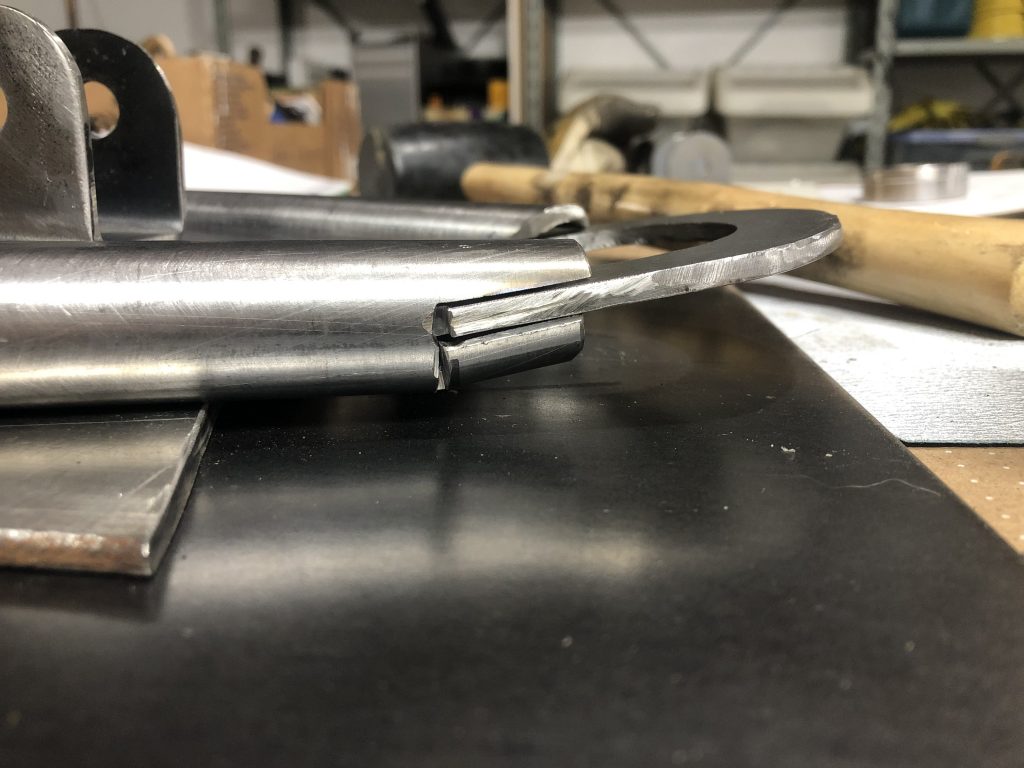
A jig is used to align all the parts so that they can be tacked together. Here you can see the fit of the extended tubes (compared to the opening drawing) and the detail of the split end.
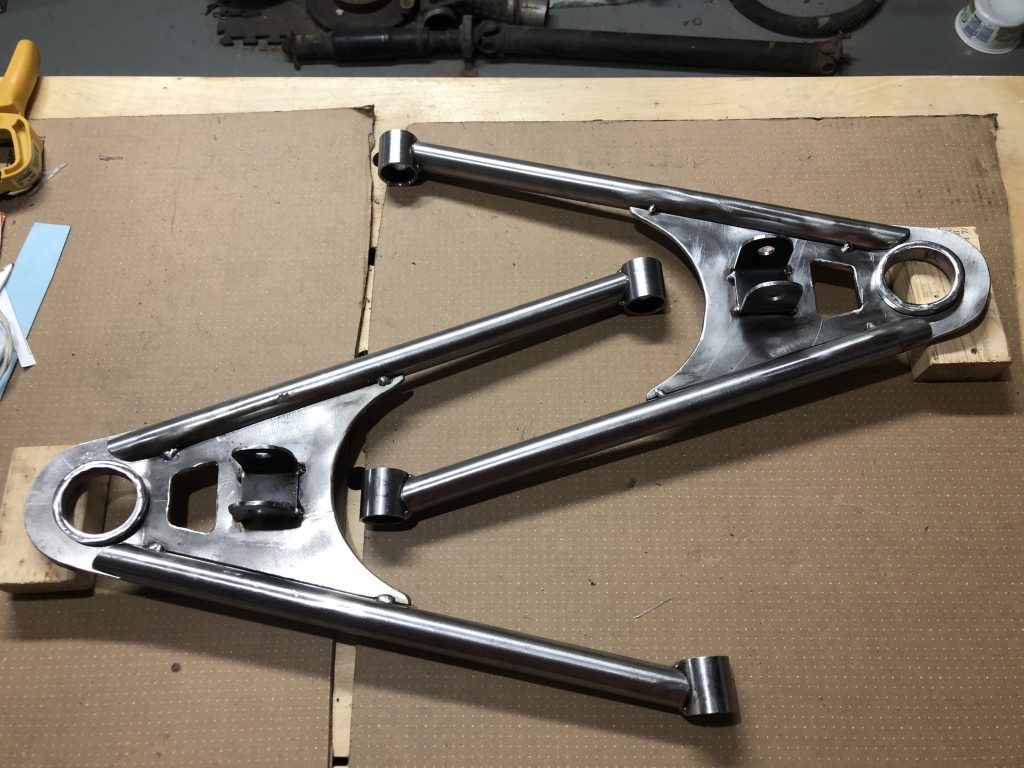
A chilly trip to the garage and the lower control arms are tack welded.
![]()