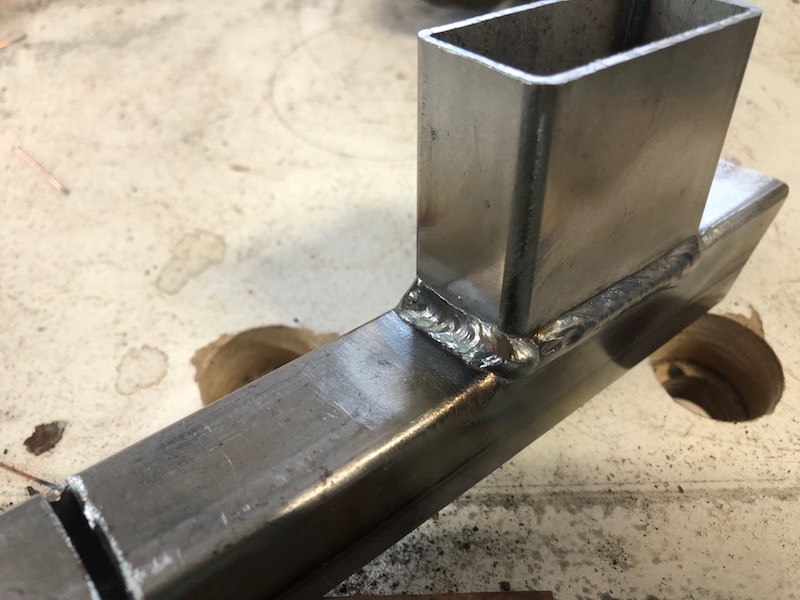
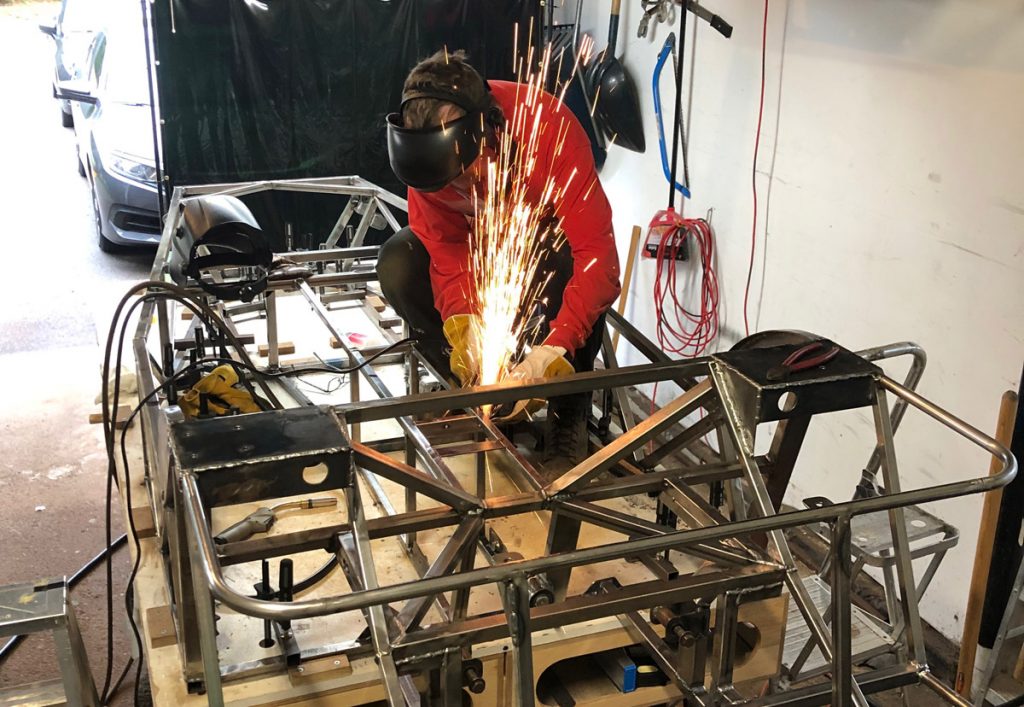
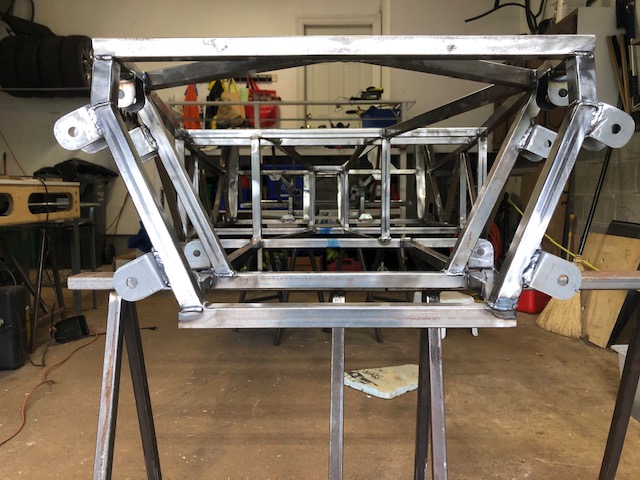
Time to fully weld the frame. I have to admit that next to getting the the front suspension brackets aligned, this is a task that I was most worried about. It is very difficult to be consistent when you are an inexperienced welder. Also, having to weld in and around other parts of the frame and in awkward spots will be challenging. Since I have been mostly tacking stuff together for the last several months I thought I should do some welding before getting into the frame. So I grabbed some scrap bits and started.
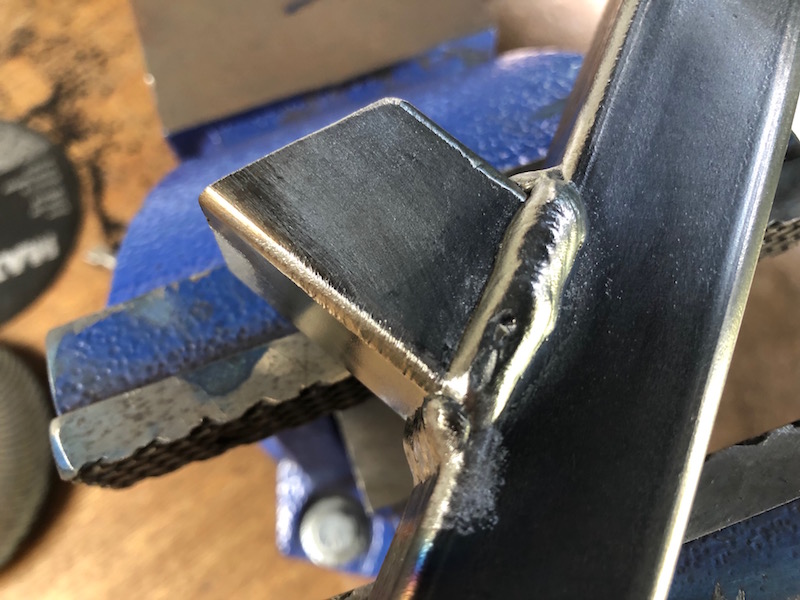
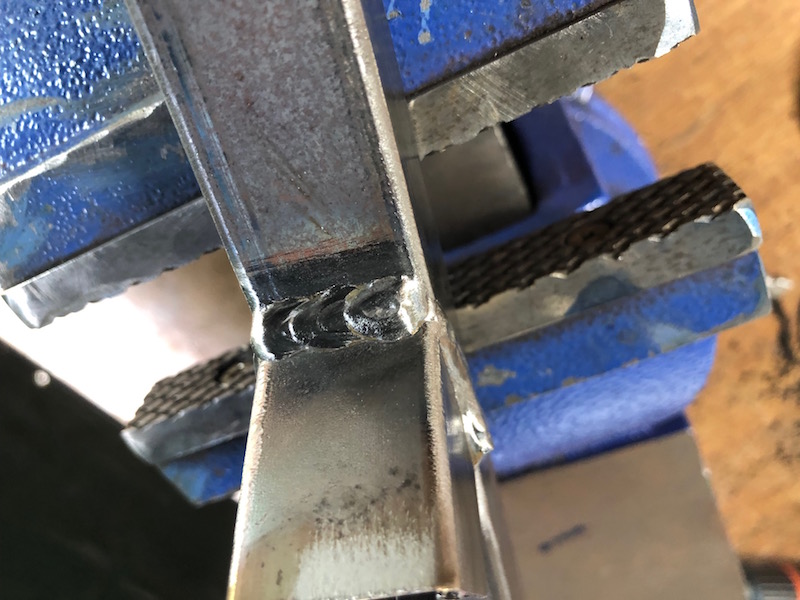
I welded up some pieces that looked pretty good and cut through the welds on the chop saw to have a look. Things seemed good but without etching, polishing, using a microscope and knowing what you are looking for could you really tell?
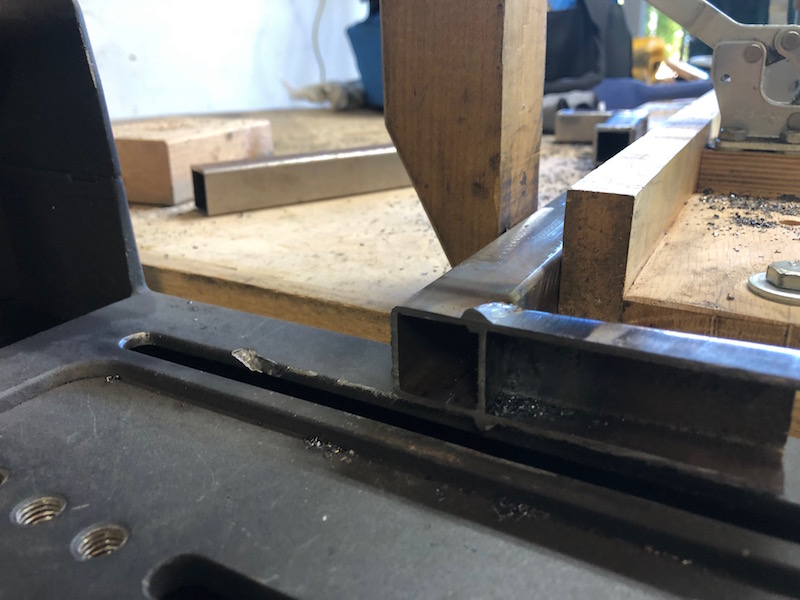
I developed a more practical approach, I welded more samples, clamped them in the vise and hammered them with a 5 lb lump hammer to find out what was going to give. The results were pretty encouraging so on to the frame.
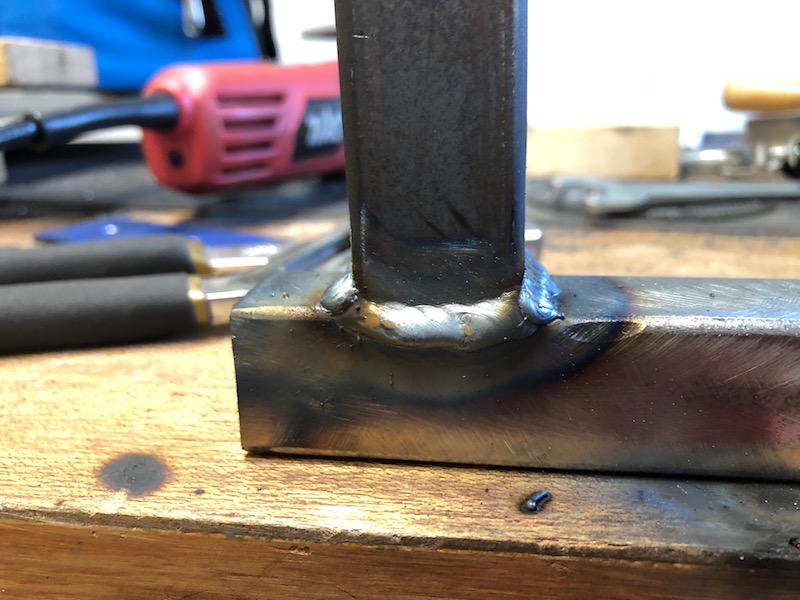
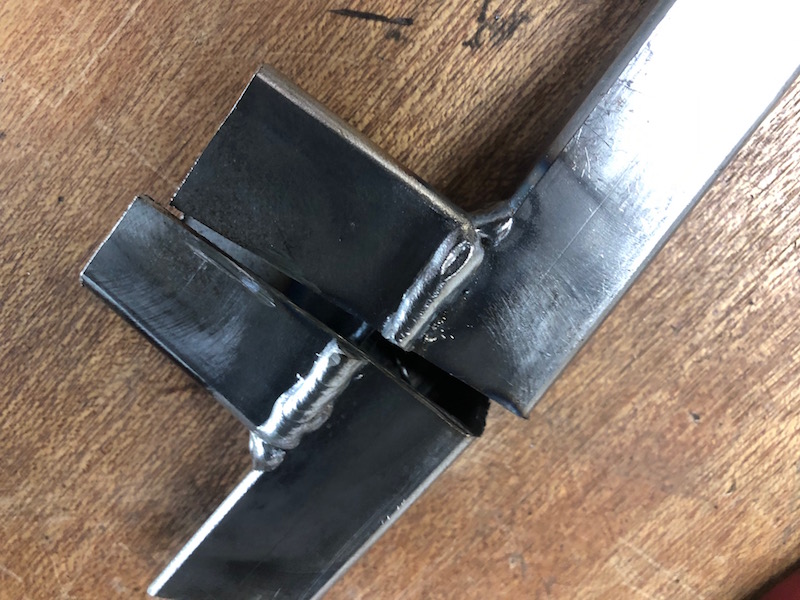
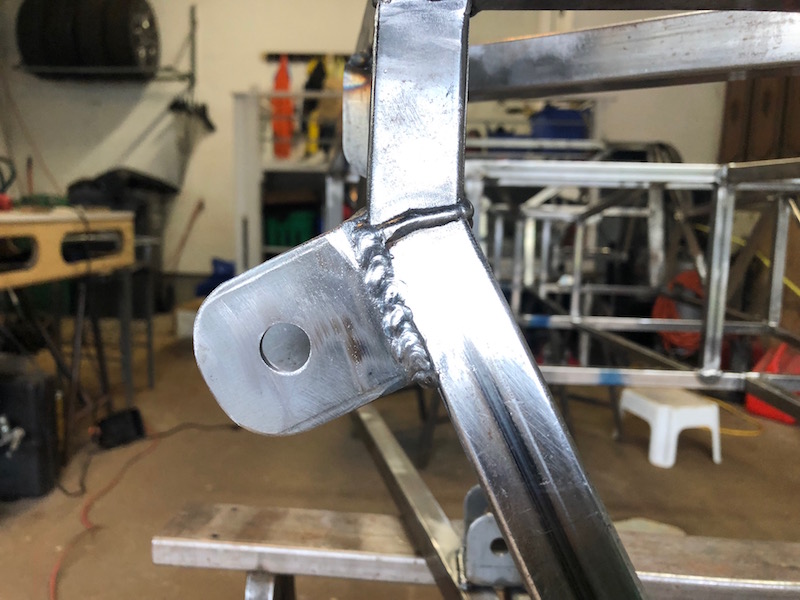
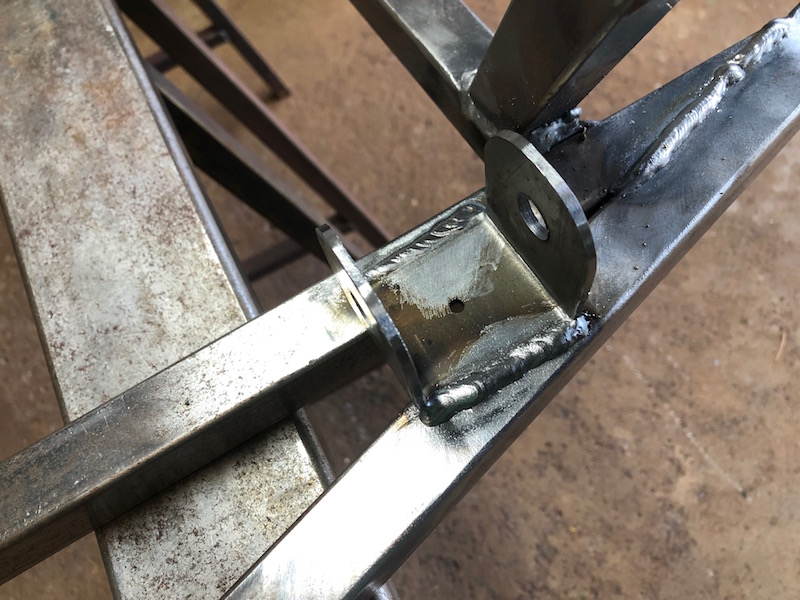
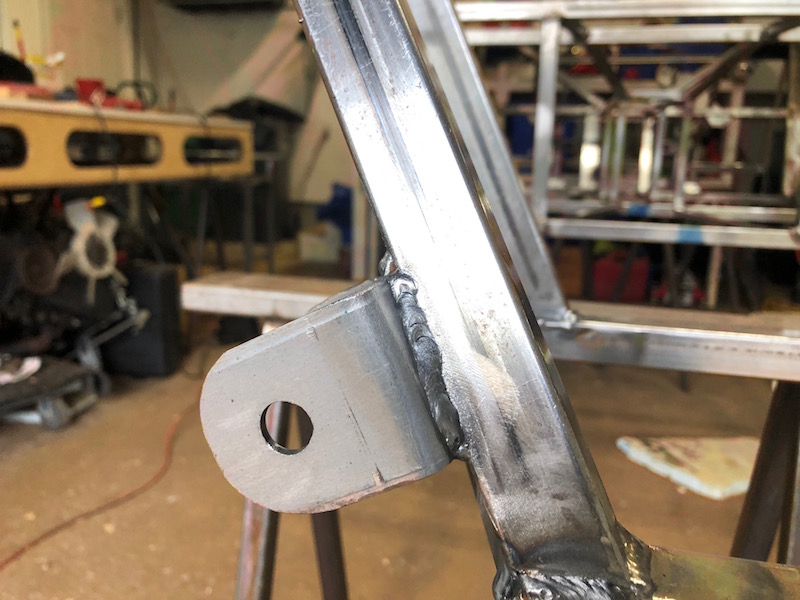
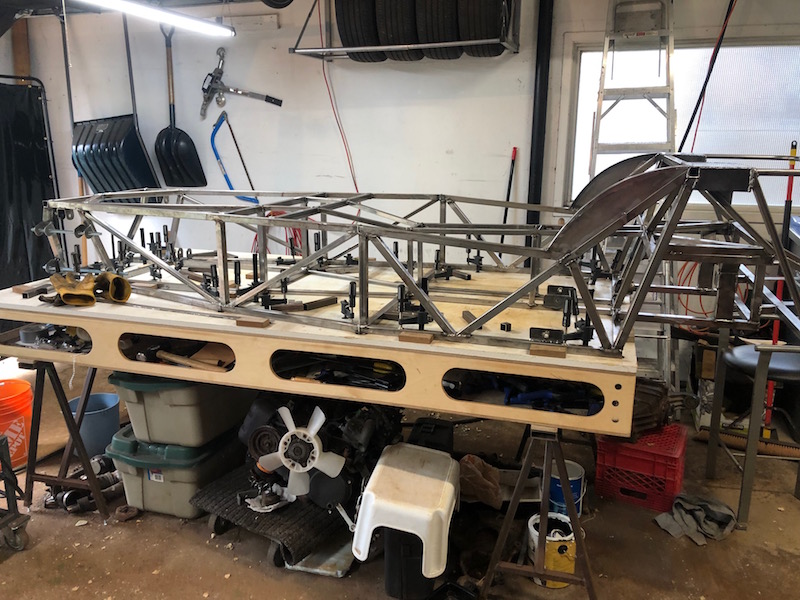
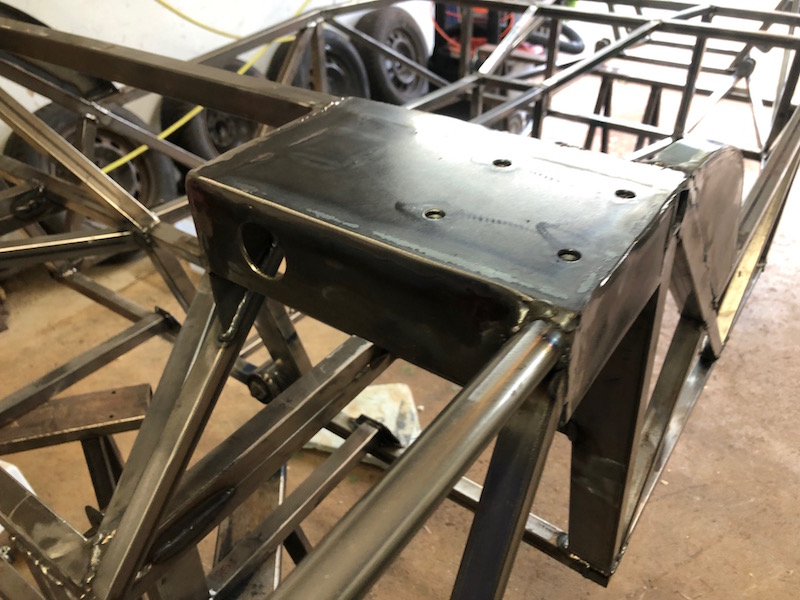
I had done some reading about welding sequence where they recommend welding the joints that will cause the least distortion first. So welding a butt joint before welding a fillet in a 90 degree joint makes sense. I set about welding all of the butt type joints on the bottom frame tubes since it was clamped solidly to the bench. I worked around the frame doing opposite sides and moving front to back randomly. I then moved up to the steel above the table in the same manner. I used the grinder to take down the tacks before welding as they would leave a lump if I tried to weld through them. After all the butt welds were done I moved on to the fillet welds. Again left, right, front, back, bottom to top. I left the suspension brackets till last since they are fairly important, holding on the wheels and all. I wanted as much practice as possible before tackling them. That strategy seemed to pay off!


At some point the frame needs to come off the table so that the bottom can be welded. At this time I also used a Forstner bit to relieve the MDF bench top at all the joints. That way I could put the frame back on the table and the weld wouldn’t keep it from lying flat, the beads would sit in the recesses. That worked out, the frame is still flat.

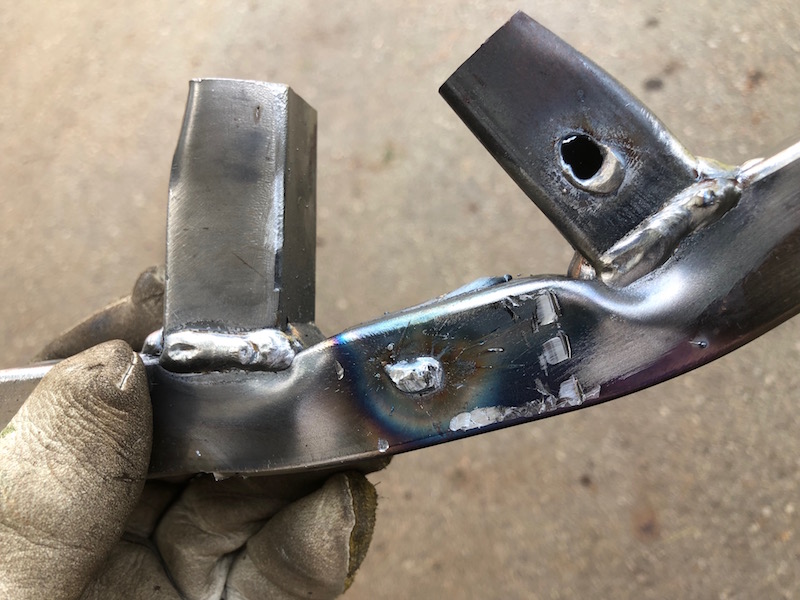
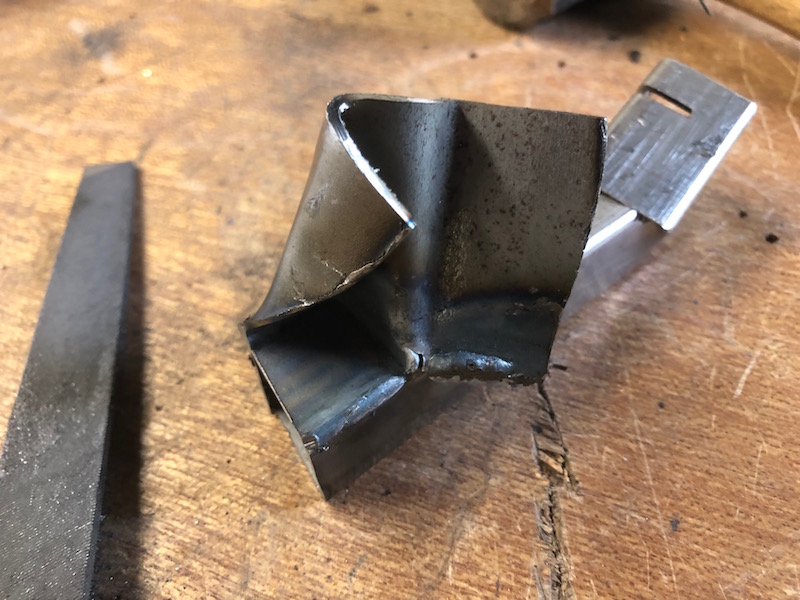
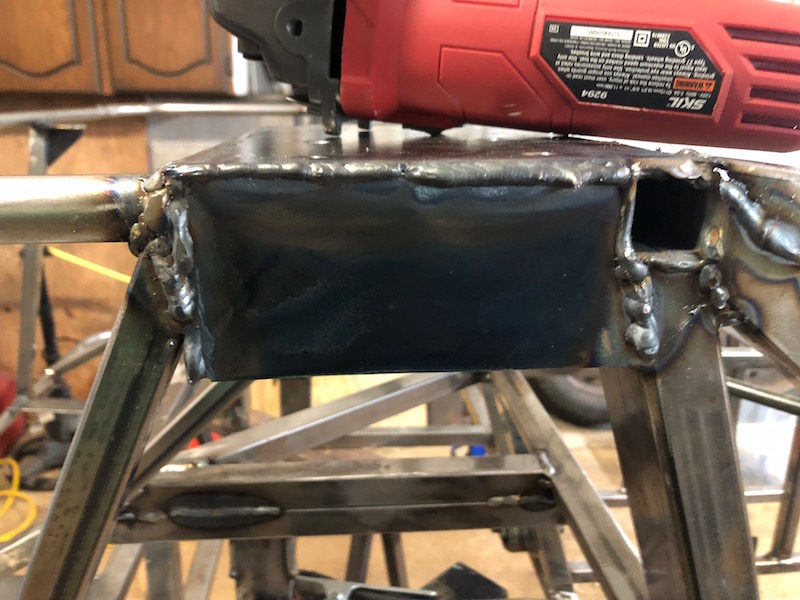
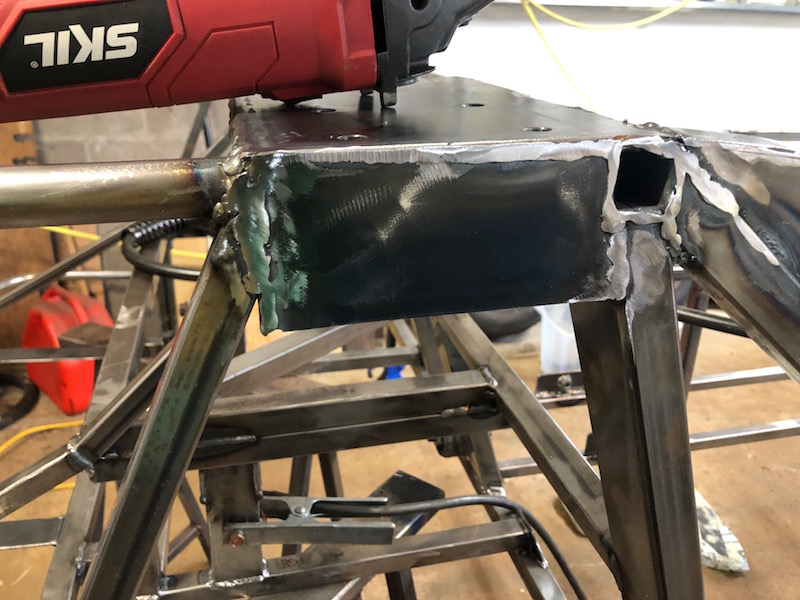
I had to clean up the boxed in roll bar mounts. I made a lumpy mess of the outside seams. Fortunately I had also fully welded the inside of the boxes when the frame was on it’s back. Angle grinder to the rescue – again.
With the frame fully welded it was time to move the shop back to the basement. It’s mid November and winter is coming. Dismantling the benches and shifting everything downstairs.


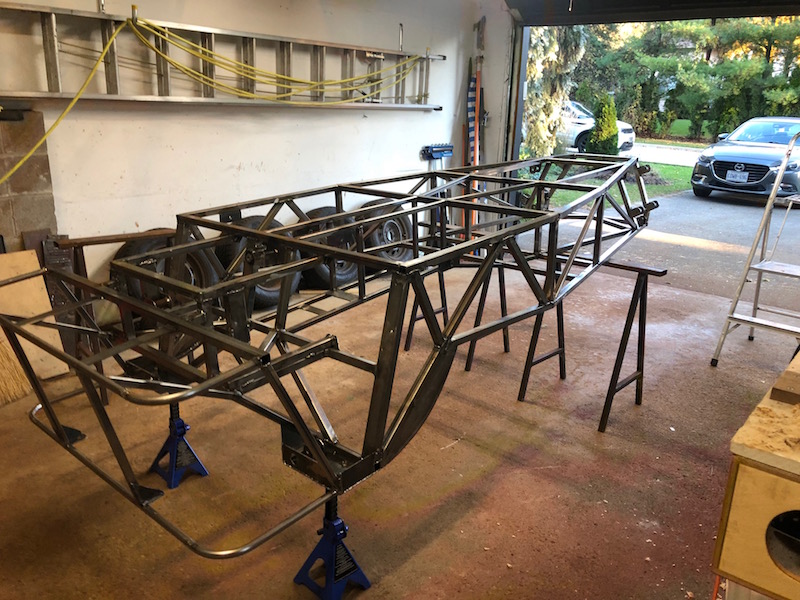
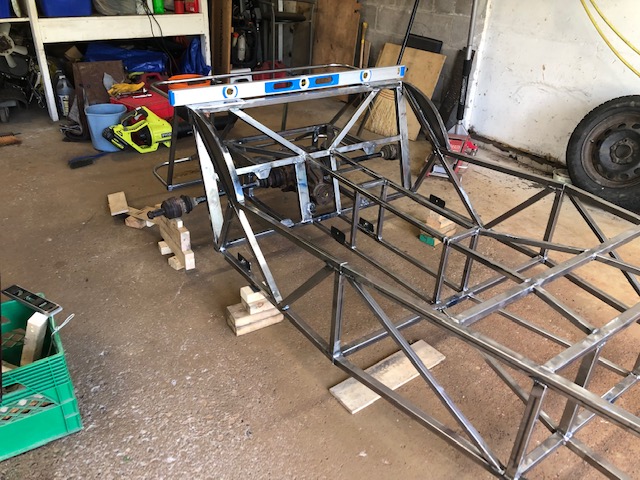
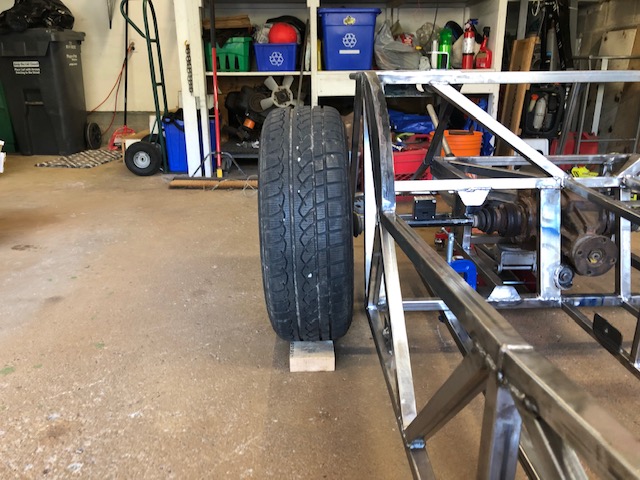
With the garage empty I thought I would see how the ride height of the car was looking. I blocked up the frame and leveled it. Then I bolted the differential in place and put the half shafts back on.


My chassis consultant, Herman stopped by. He’s a neighbor with a lot of experience driving, building and racing high performance sports cars (Porsche mainly). He also owned a Lotus 7 back in the day. Herman is a wealth of knowledge and good ideas about how to improve things on the Locost.
Lots to think about over the winter.
![]()