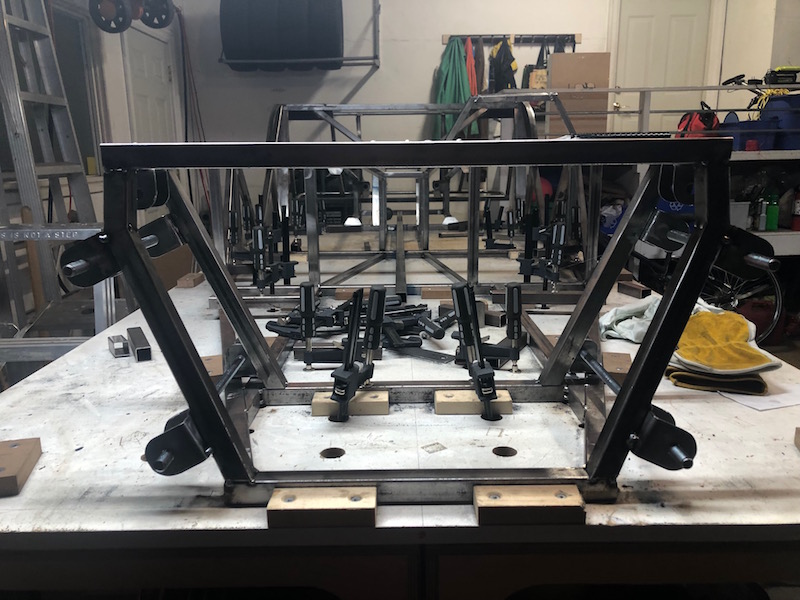
Time to attach the suspension brackets to the infamous front frame…
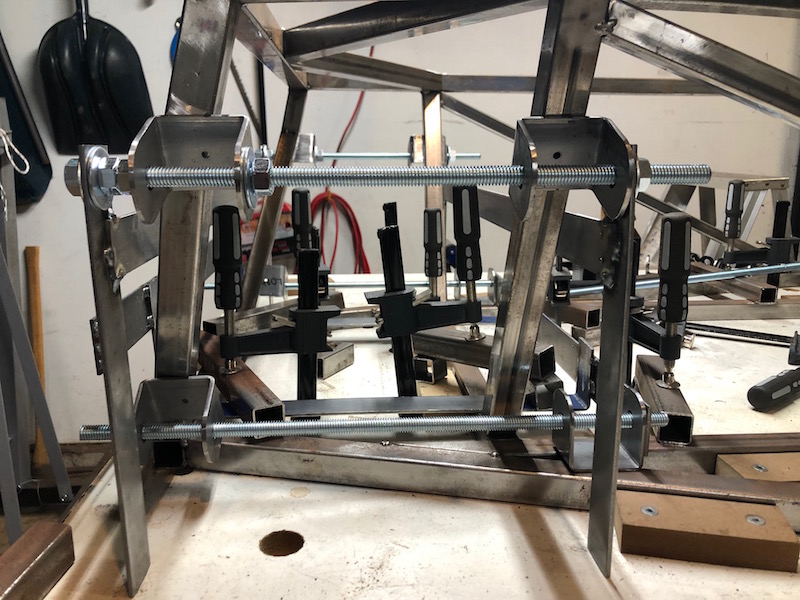
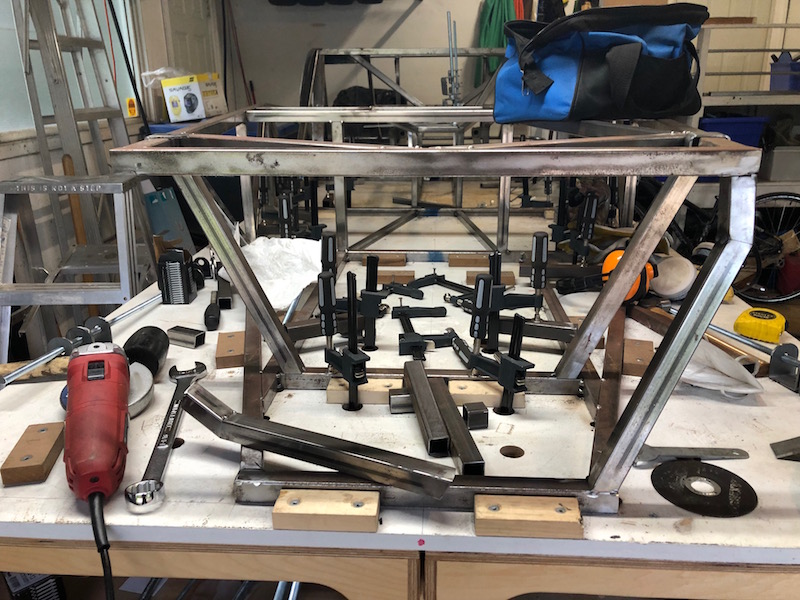
The basic setup for aligning the suspension brackets. The rigs are in place with 7/16″ (remember that) threaded rods though them and the brackets. Nuts and washers are used to keep everything from flopping around.
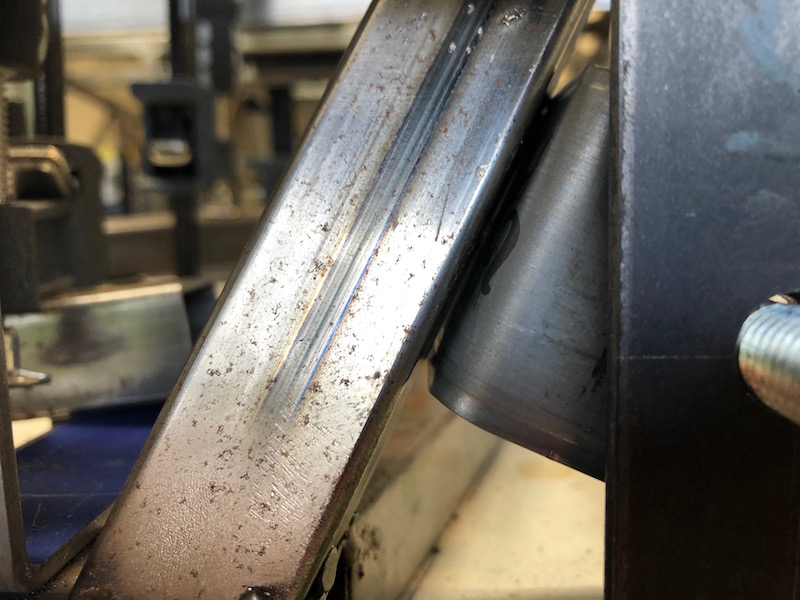
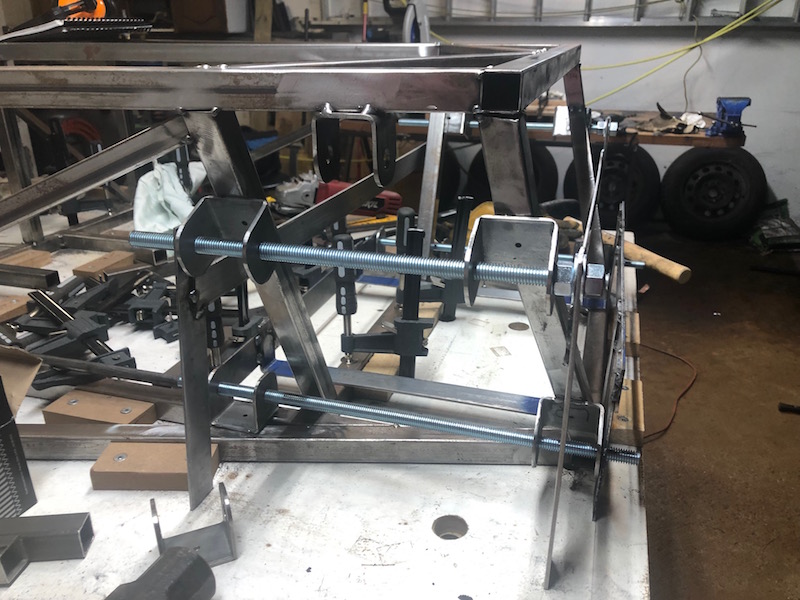
The brackets should be flush against the frame tubes. This is not the case, you can see a small gap between the front of the bracket and the front frame tube. That gap could be bridged when welding but I would rather figure out what is going on and make adjustments for a better fit.
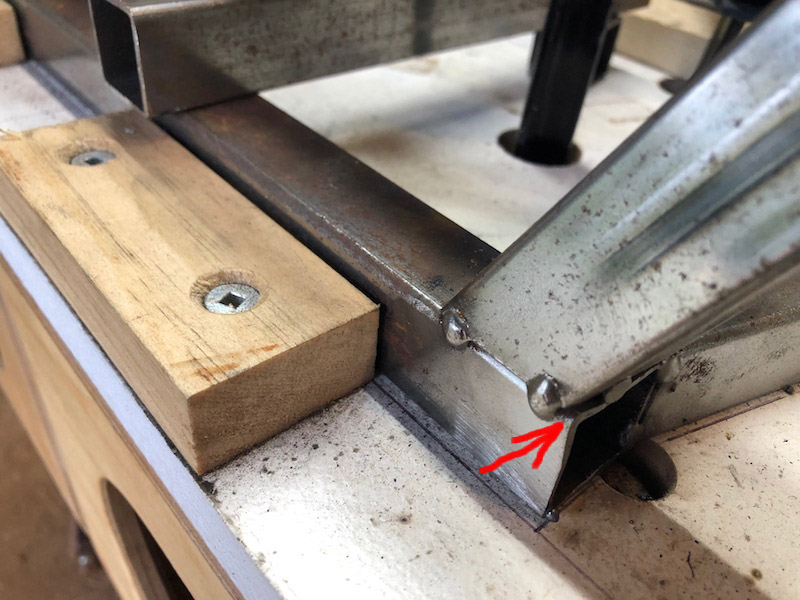
The problem is still with the front frame. Little things make a difference, that small misalignment on the bottom joint (left picture) is a big contributor to the problem. The passenger side also had a small issue. Time to grind the tacks and perform reconstructive surgery. The driver side remained attached and was tweaked into line using a 1-1/8″ wrench. The passenger side came out and was re-positioned and tacked back in place. With all the brackets and tubes nicely flush they were tacked in. Now my other problem became apparent…
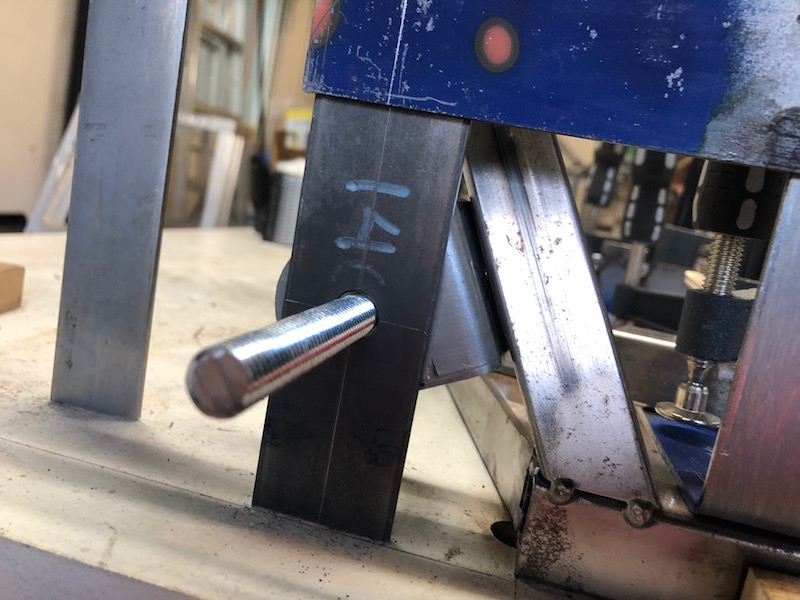
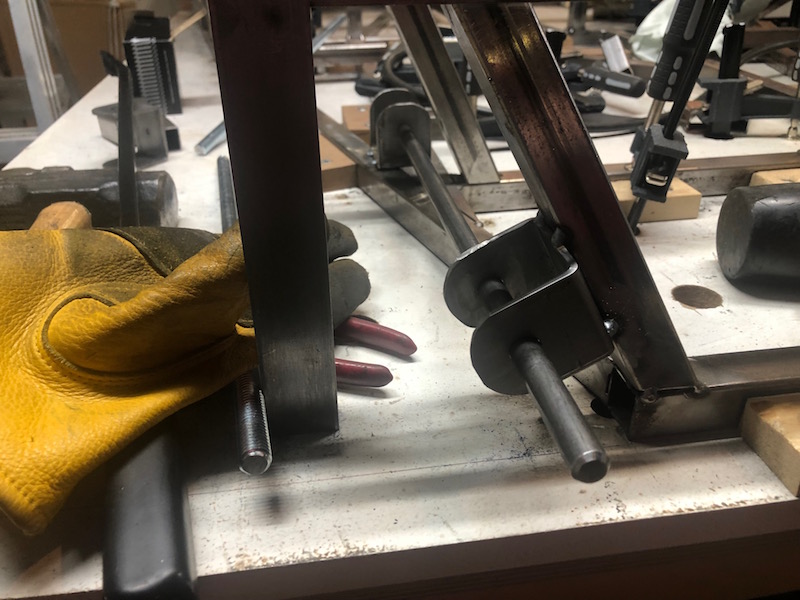
… using 7/16″ threaded rod to line up the brackets through their 1/2″ holes. This is too loose (see photo below) and provides opportunity for the bracket pair to be misaligned with one another. After they were tacked in trying to slide the 1/2″ threaded rod through was not successful on all of the bracket pairs. The book provides a bit of wiggle room by having slightly oversized holes in the locating jigs not between the threaded rod and the bracket holes. In hind sight, this makes a lot made more sense.

The solution was to grind off the tacks, set up the jigs again and reposition the brackets using 1/2 inch threaded rod. This went pretty quickly as in “when you do something enough times you get faster at it”. With everything tacked in I was able to use 1/2″ round bar to successfully check the alignment of the bracket pairs. The round bar is a much tighter fit though the 1/2″ bracket holes than the 1/2″ threaded rod. Now I’m happy with the alignment.
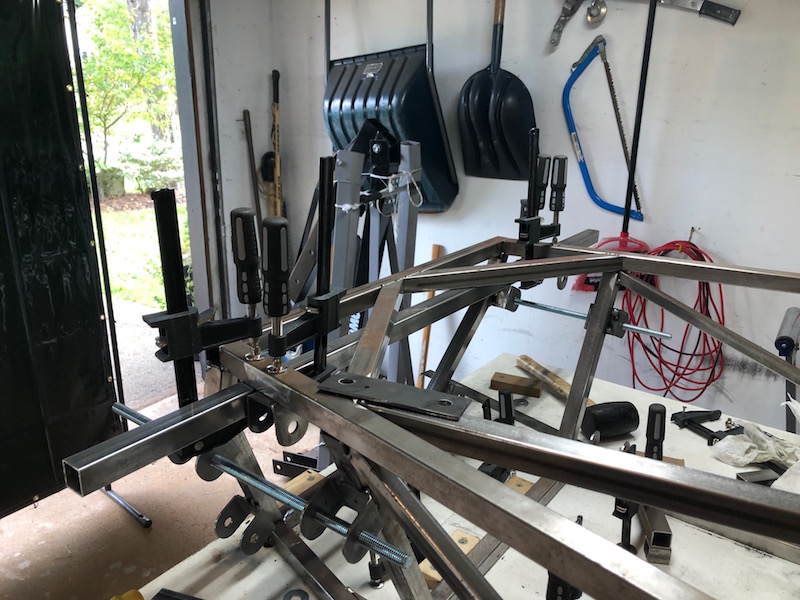
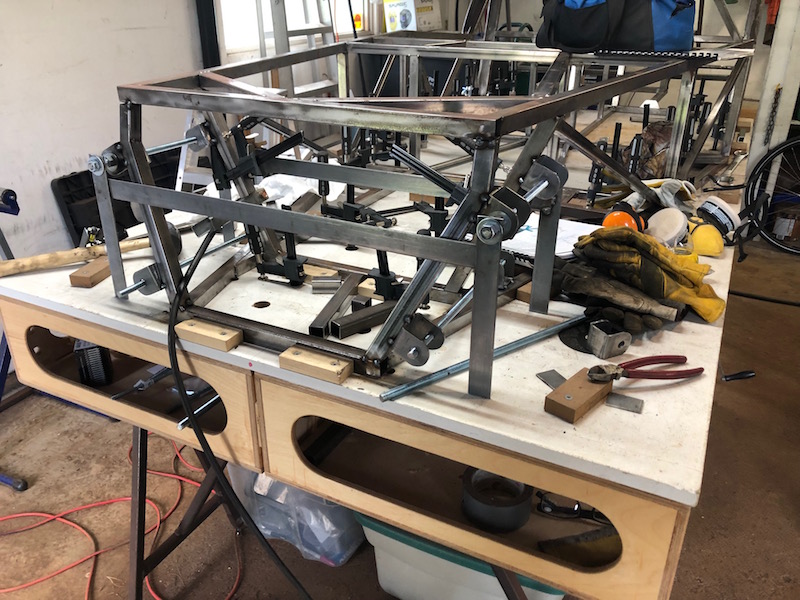
The front shock mounting brackets also need to be tacked onto the frame. They are lined up using a 1″ tube clamped across the frame. No drama at all.
You can never have too many clamps!
![]()