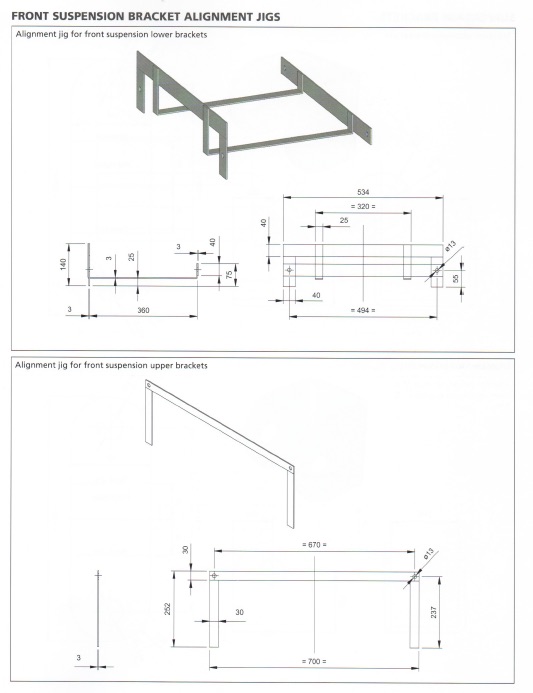
In order to position the front suspension brackets you need to make a few rigs or jigs. One for the lower brackets and two to position the upper brackets.
When the brackets are attached to the car the holes through each pair of brackets need to be inline. Also the two pairs of brackets on each side should be on parallel lines so the suspension will work smoothly. These rigs help achieve that.
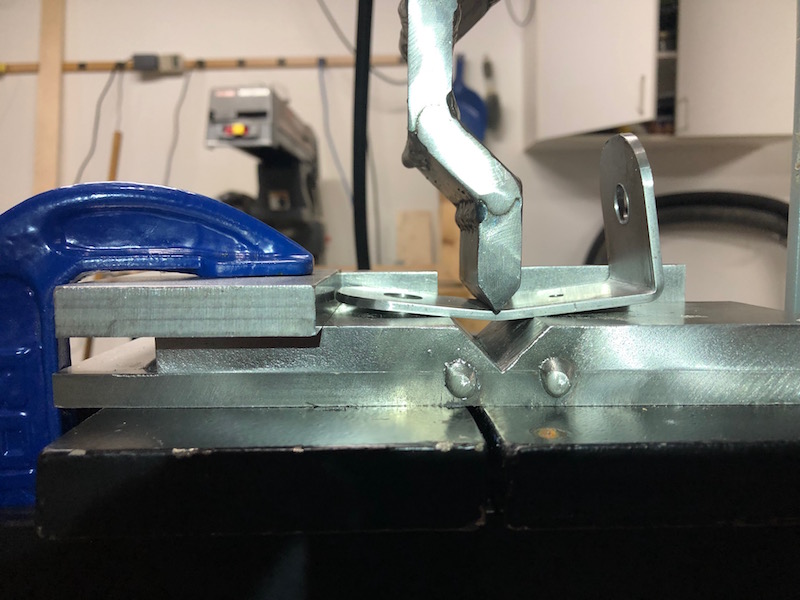
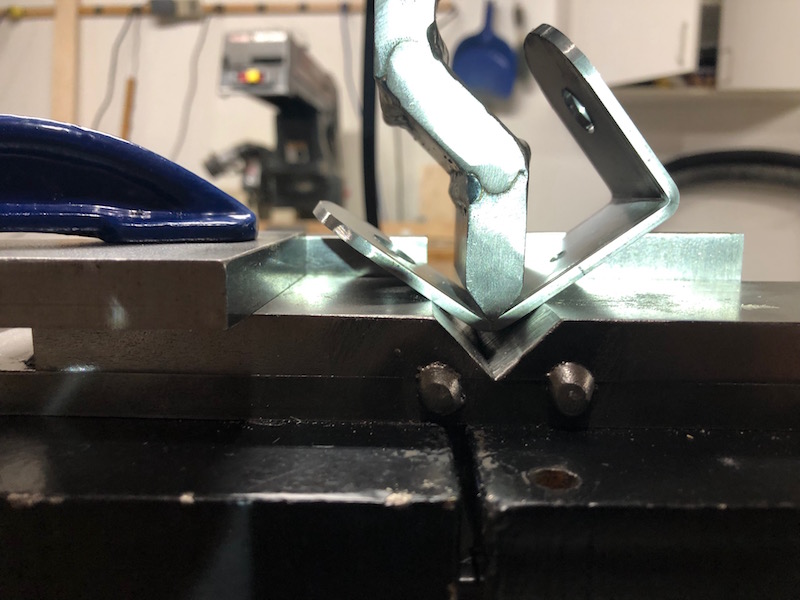
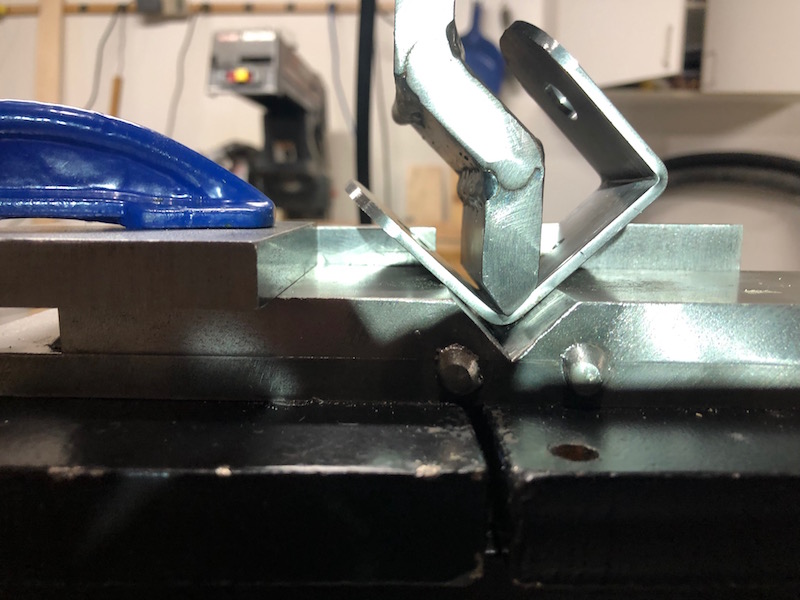
Making the lower suspension bracket jig. I used the hydraulic press to bend both brackets at the same time, half the work and they are bent exactly the same. Clamping and tacking the cross pieces.

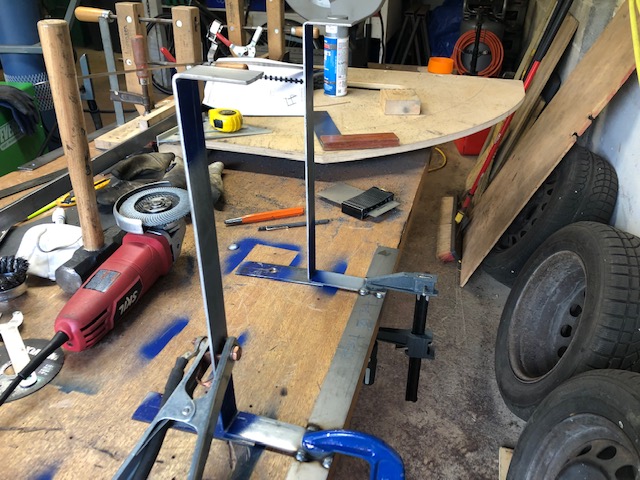
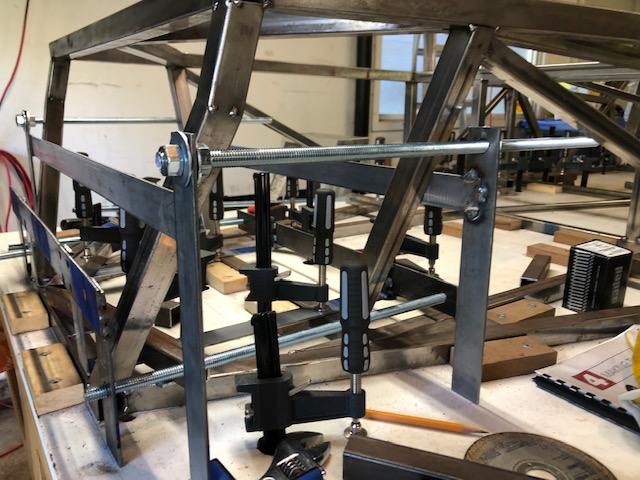
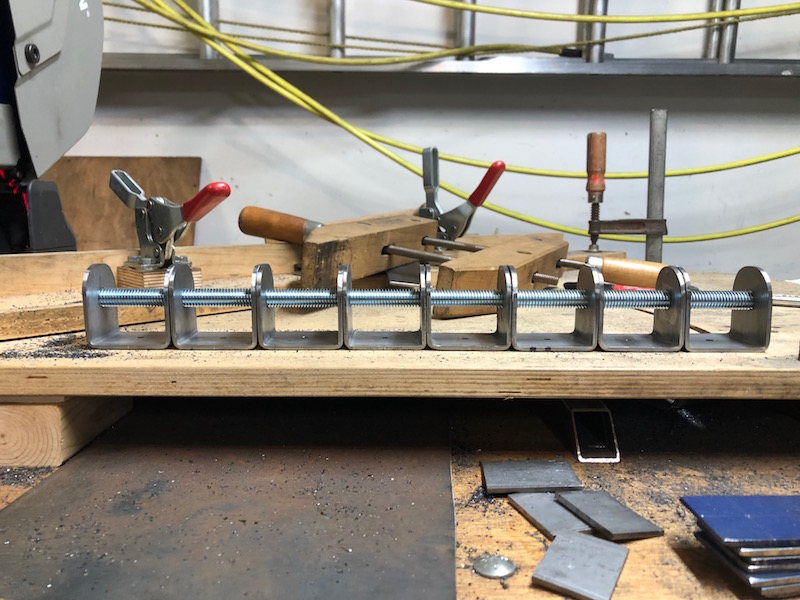
The upper rigs are just flat bar and go together quickly. Here the upper and lower jigs are in position with threaded rod through them. The rods look parallel from the overhead shot on the right. Now we need to make more brackets.
I actually made two sets of suspension brackets because I didn’t do a good job on the first set. I used the dimensions in the book but think I took off too much material rounding the ends. On the second set I used slightly wider material 1-3/4″ (44.5 mm) vs the 40 mm in the book. I also made them a little longer so I could fully radius the ends leaving more material between the hole and the edge of the bracket.
I started by welding the ends of four 1-3/4″ wide 4′ lengths of bar together. Now I could cut blanks in groups of four and not have to worry about the bars shifting. 1/4 the work!
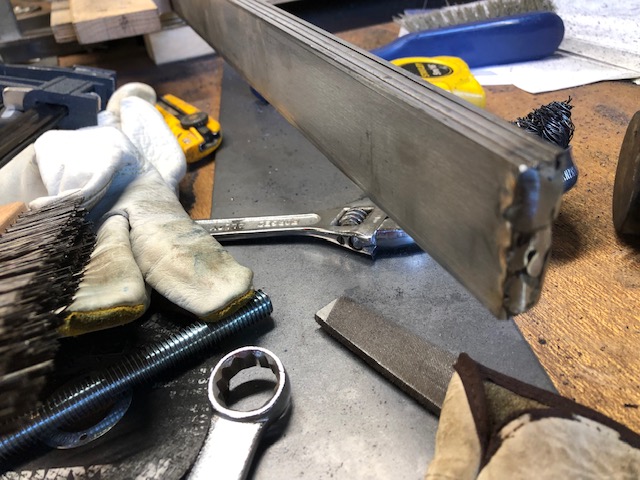
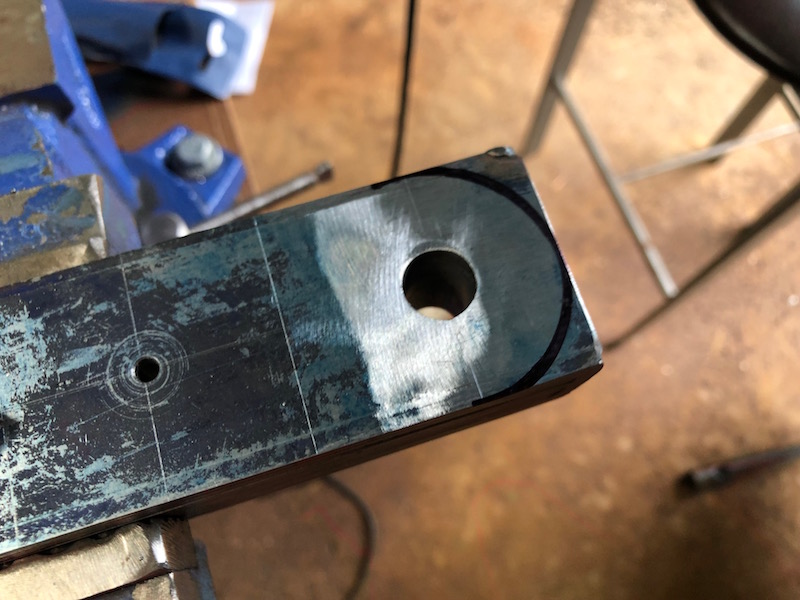
I marked the center line, hole position, and bend lines on templates and and drilled pilot holes with a center drill. I then clamped up the blanks in sets with a template on top, ground off the corners and welded them together.
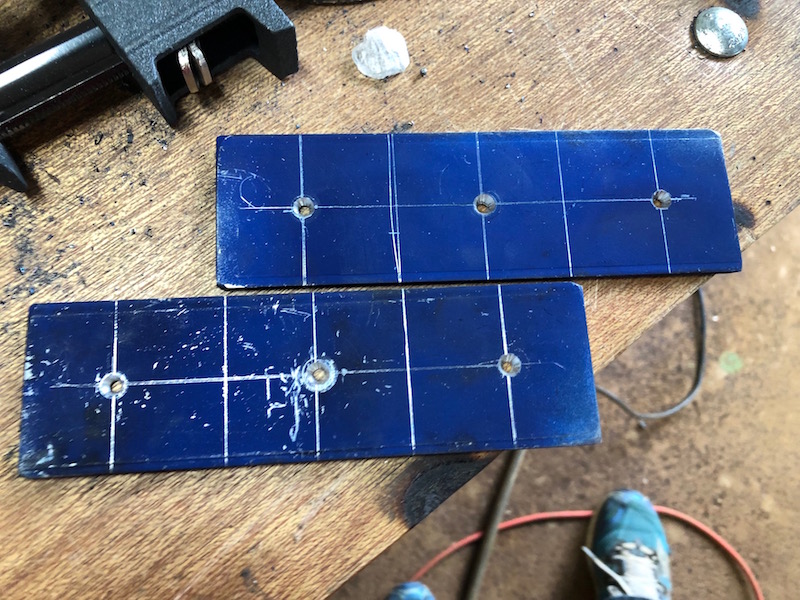
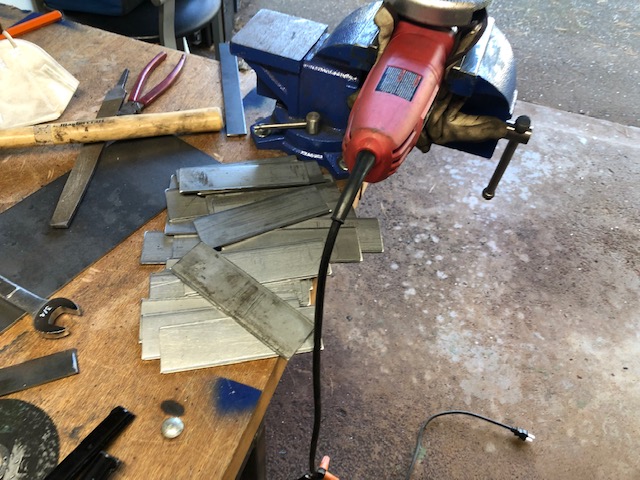
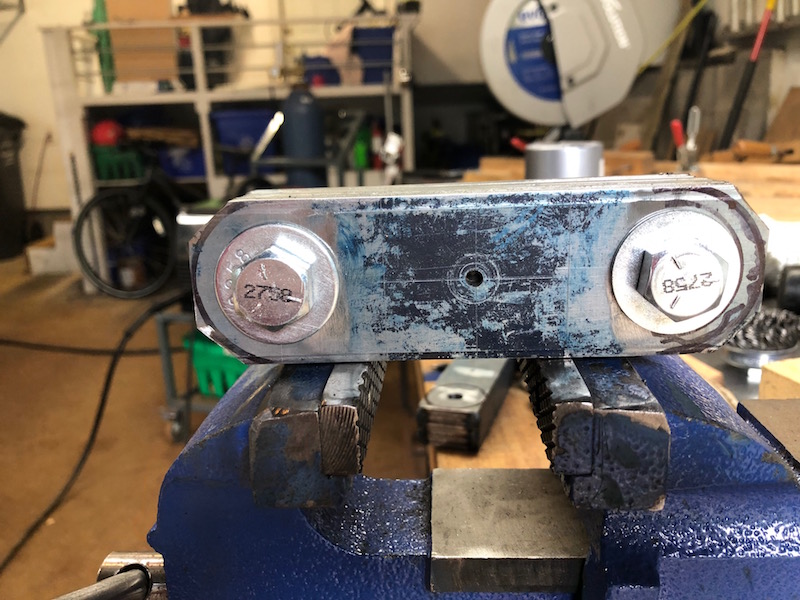
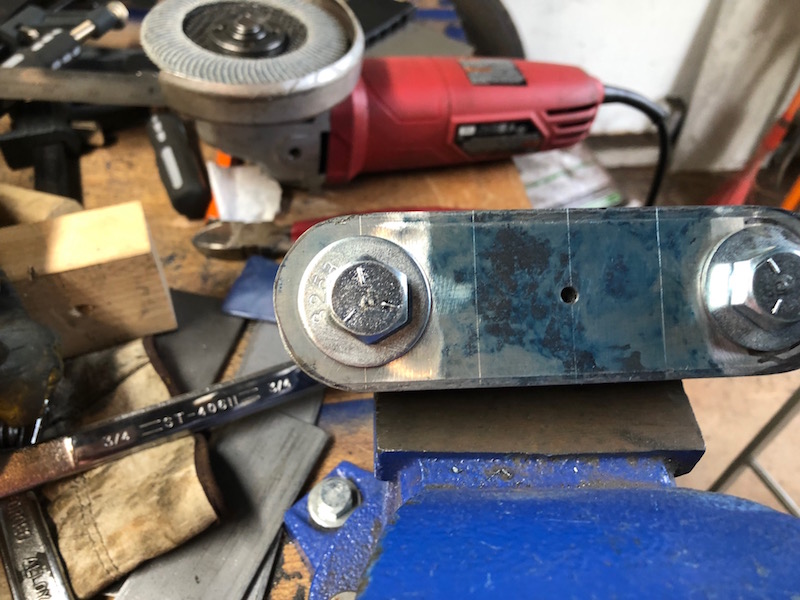
Now I could drill through the stack of blanks without fear of them shifting. After I had the 1/2″ holes drilled I marked the radius to grind, bolted the blanks together and cut the corners off with the angle grinder and cutting wheel. Next I ground the radius with the flapper disk. Remove the bolts and the blanks are ready for bending.
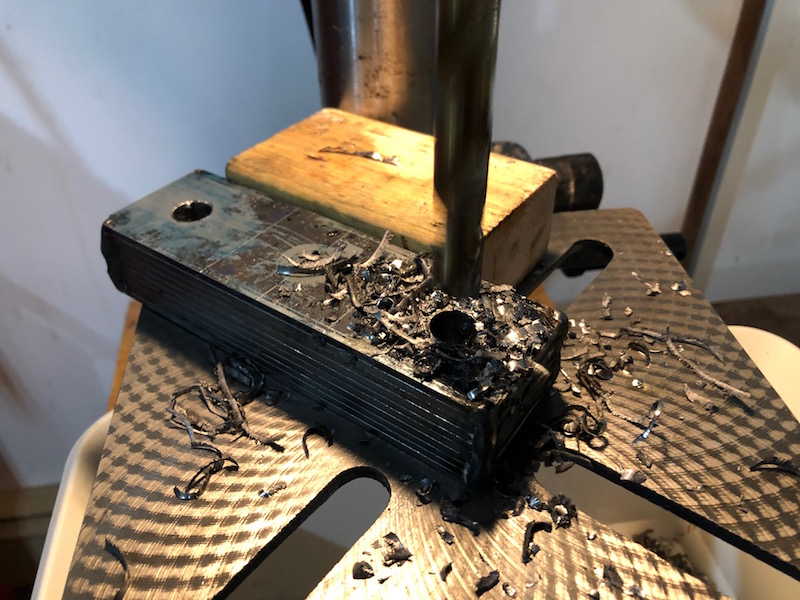
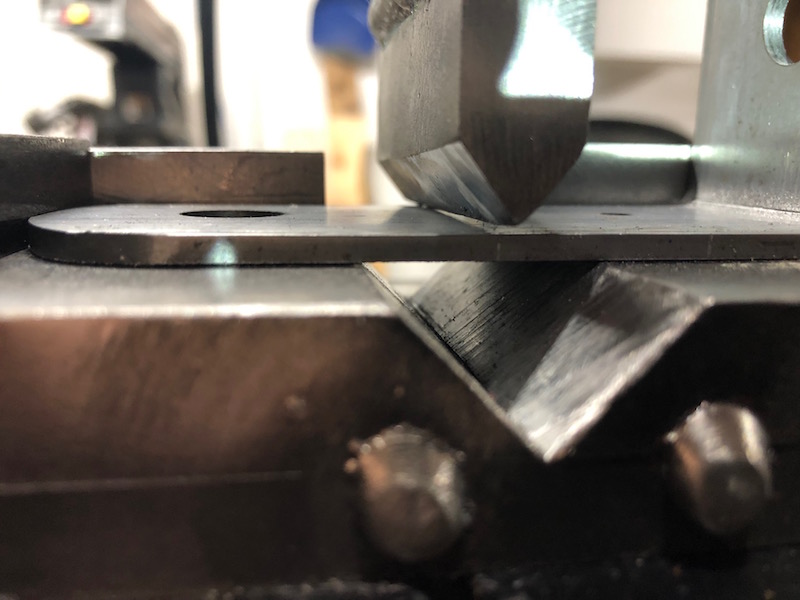
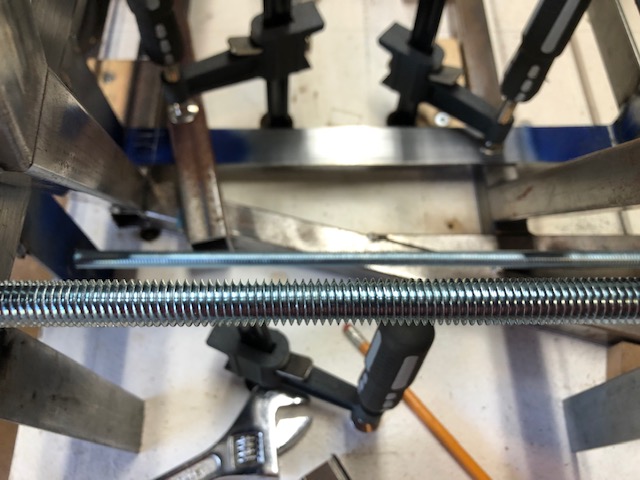
I spent a lot of time aligning the punch with each blank. There is enough play in the press that the tool does not remain in a consistent position from piece to piece. I had scribed a line down the sides of the blanks marking the bend lines while they were bolted together. The point of the punch was aligned to that mark. You can just see the mark on the side of the blank if you squint.
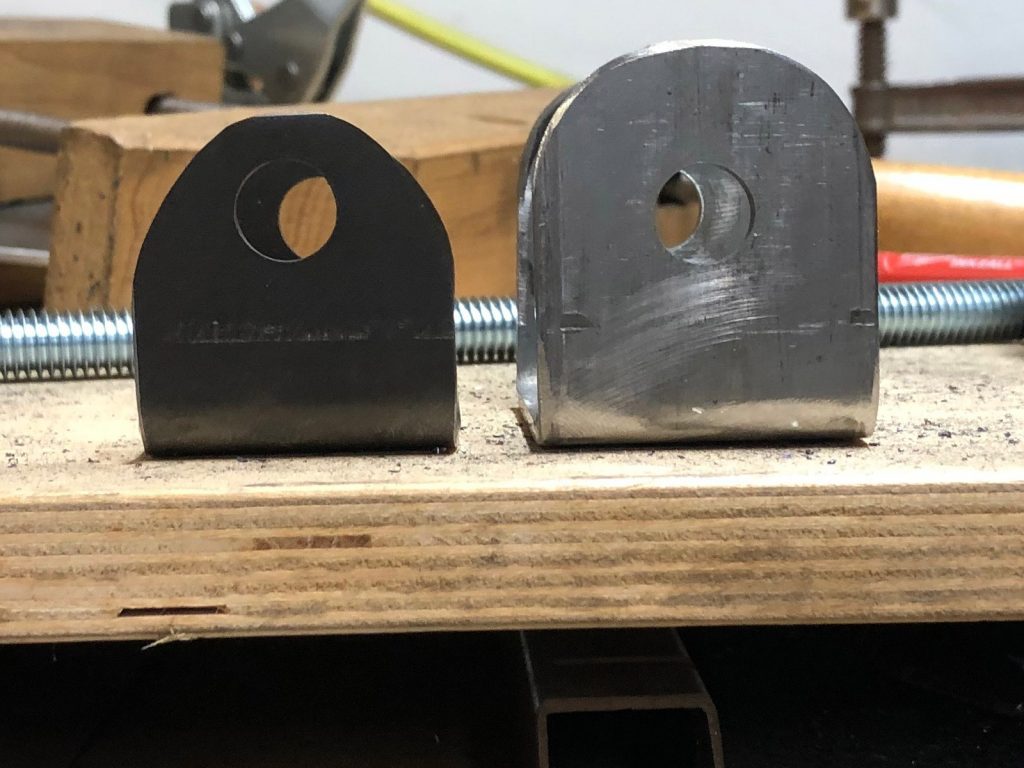
The end results are very good, here are eight of the brackets on a 1/2″ threaded rod, all holes aligned very nicely. The right picture shows one of the brackets from the first batch with the new beefier version.
![]()