
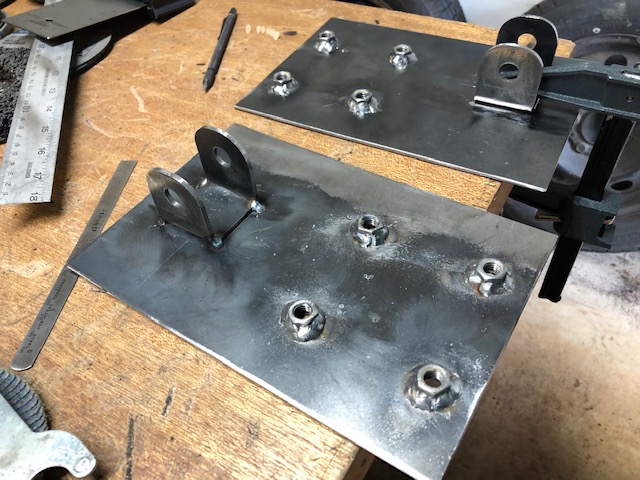
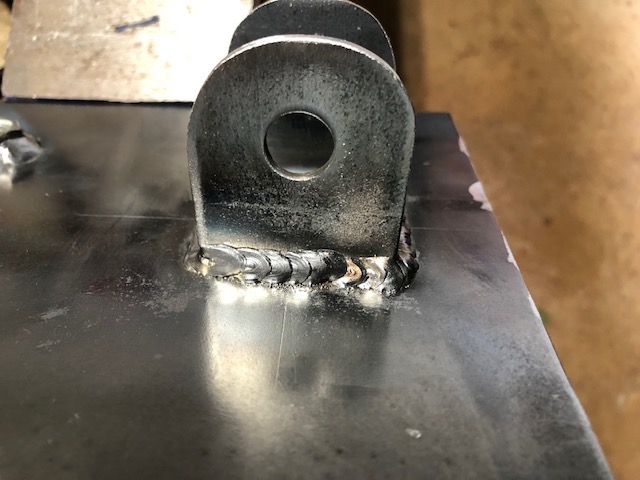
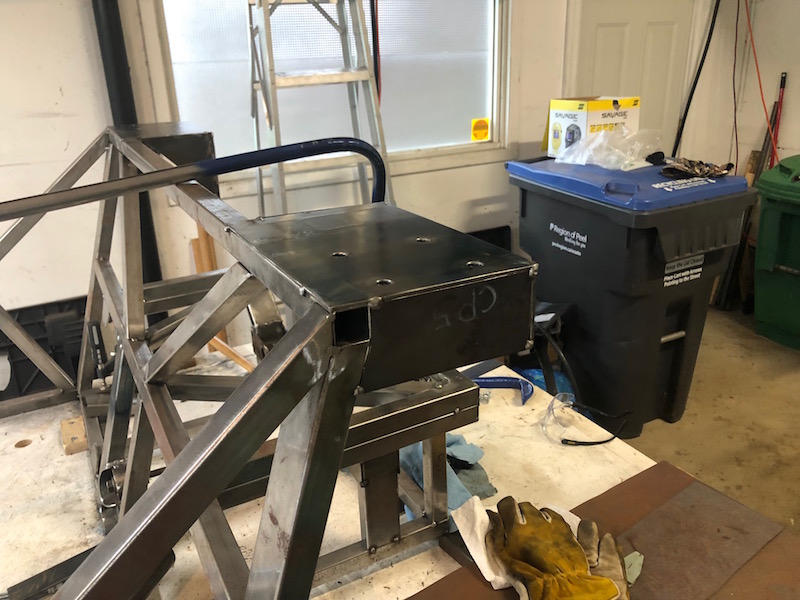
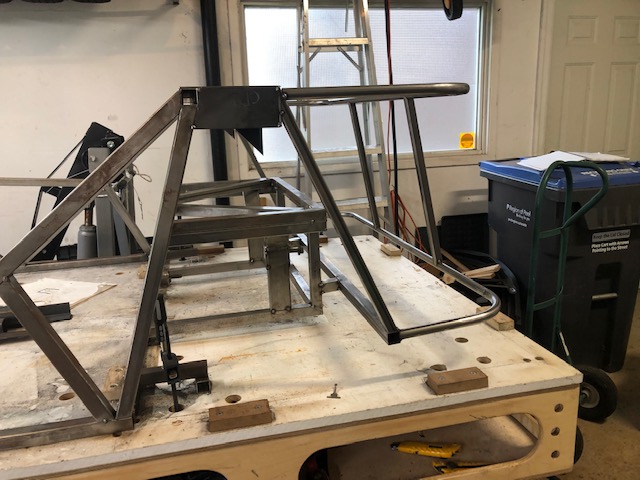
The next step in building the back end framework is to fabricate the plates that the roll bar mounts to. The shock absorber bracket mounts on the bottom of this plate and needs to be fully welded as access is limited after the back end is done.
4 nuts get welded onto the underside of the plate for the roll bar and the shock bracket gets fully welded.
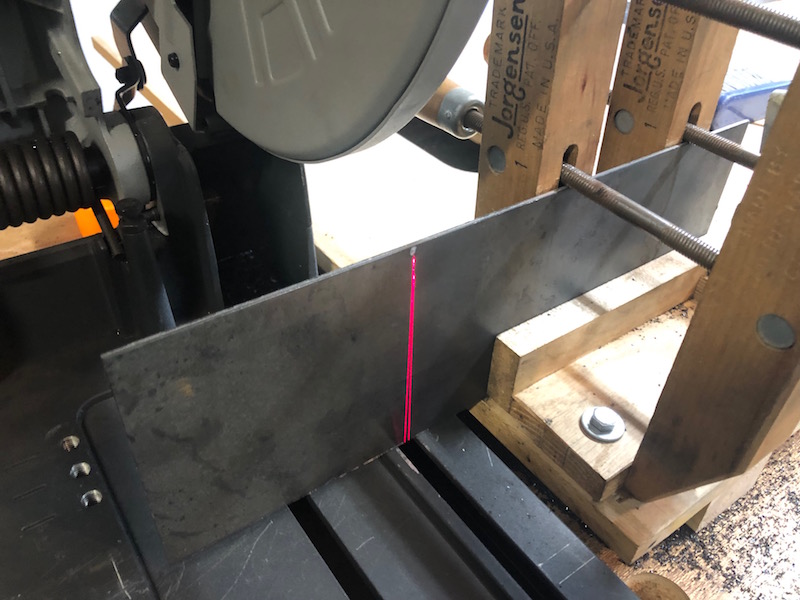
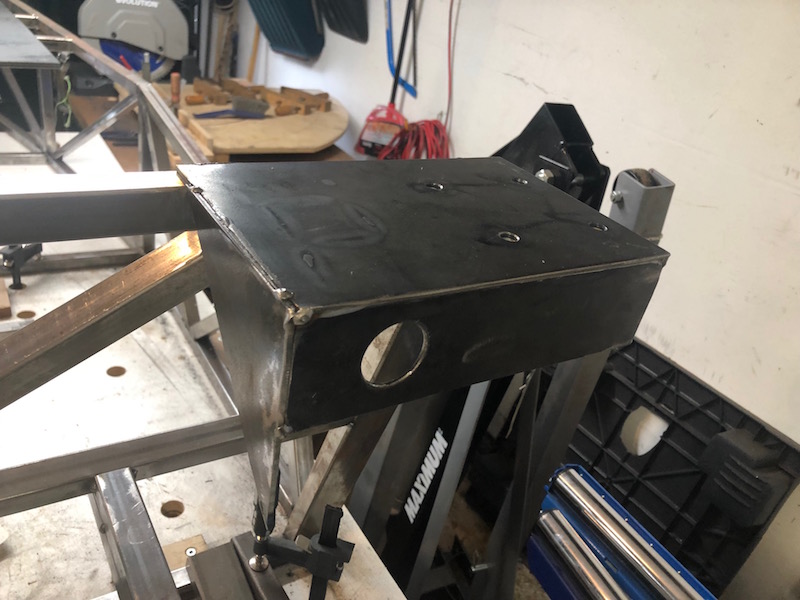
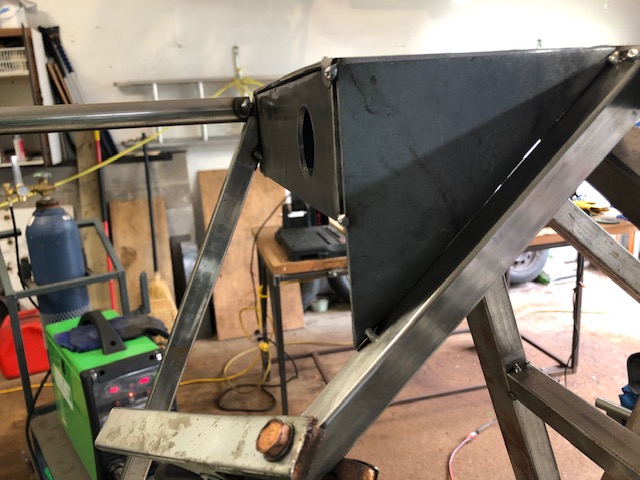
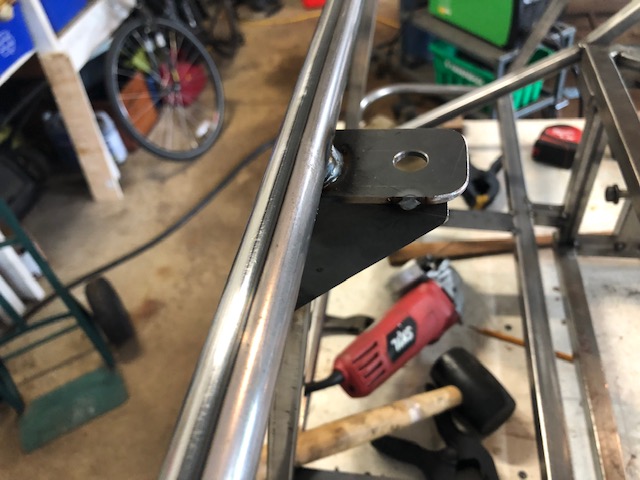
Next we need to fabricate the 1/8″ plates that box in the sides of the roll bar mount. Everything gets cut vertically in the saw, painted with machinists blue and marked before cutting. If it can’t be done in the chop saw then the angle grinder and cutting wheels are used.

The roll bar plates are tacked onto the frame and then the sides of the box get tacked on around them. The 1″ hole in the back plate is to allow access to the top shock mount bolt.

A lower cross tube gets attached to the back of the suspension box and a diagonal support tube for it is tacked in (no picture – sorry).

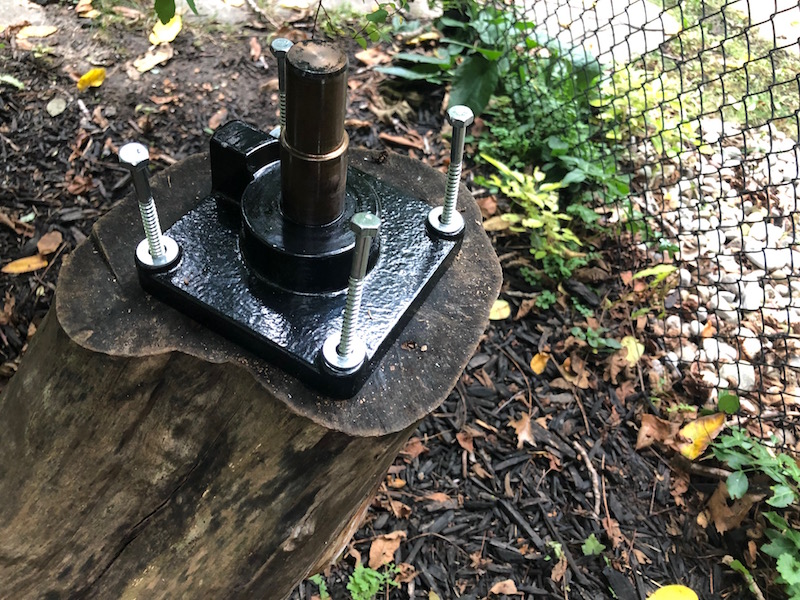
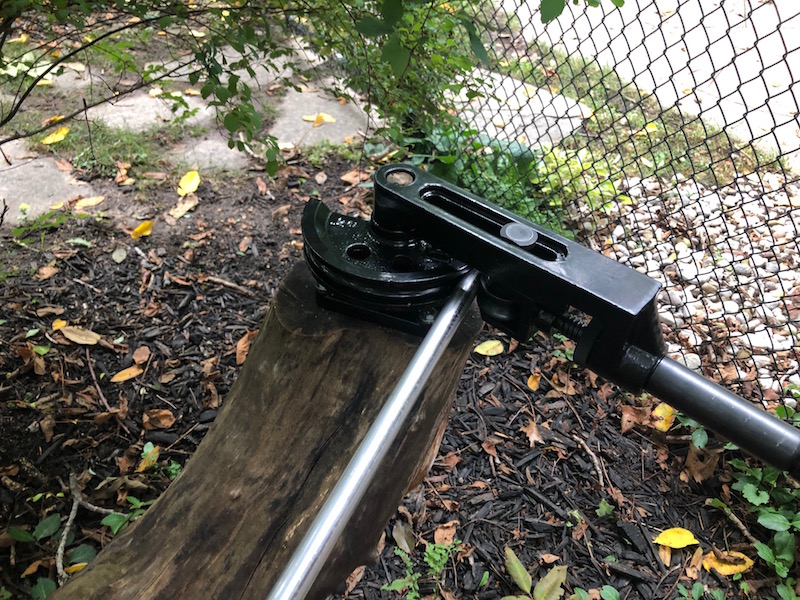
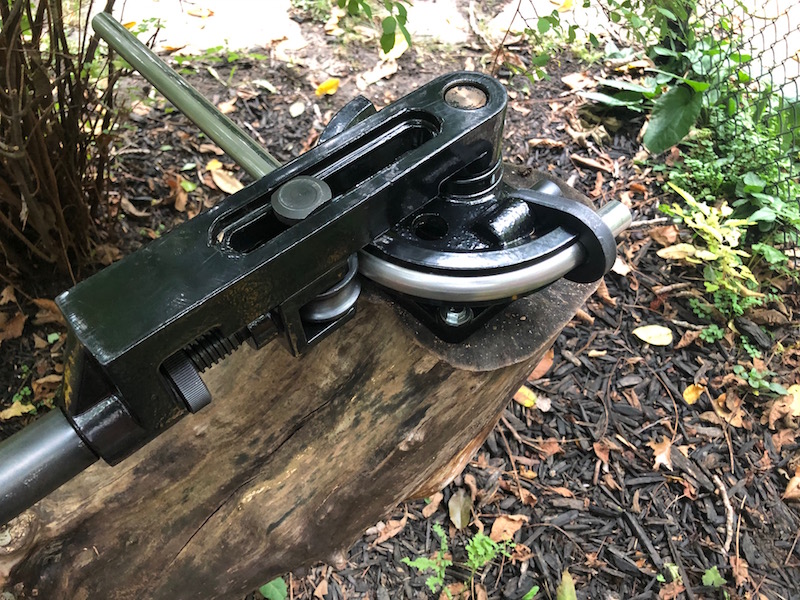
Now we need to bend some 3/4″ round tubing to form the back of the body work. We will be using the tubing bender that I bought at Princess Auto (on sale of course). Bending tubing requires putting a lot of force on a long handle so the bender must be solidly mounted. Normally a sturdy steel post would be fabricated and bolted to the concrete shop floor with the bender mounted on top. That’s a lot of work so I opted to lag bolt it to the top of an old tree stump in the back yard. I had cut down the apple tree several years ago and the stump was high enough to be workable and it was still very solid.
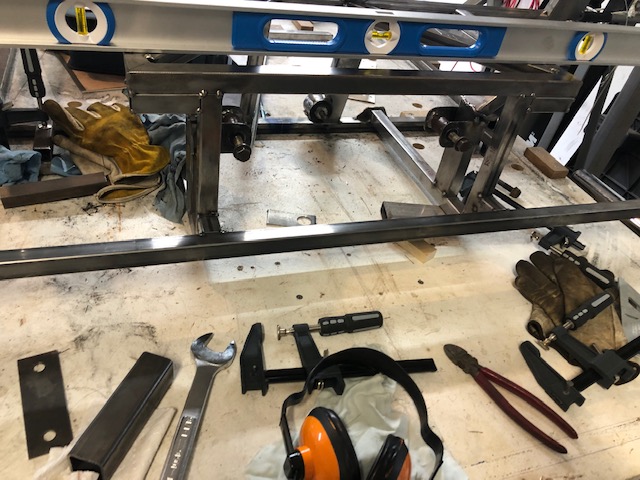
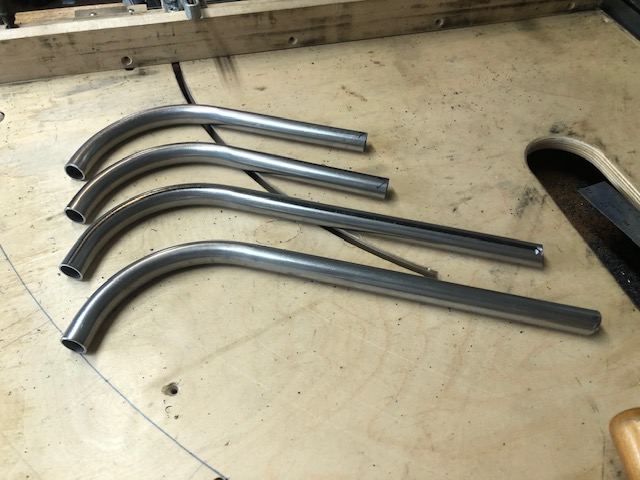
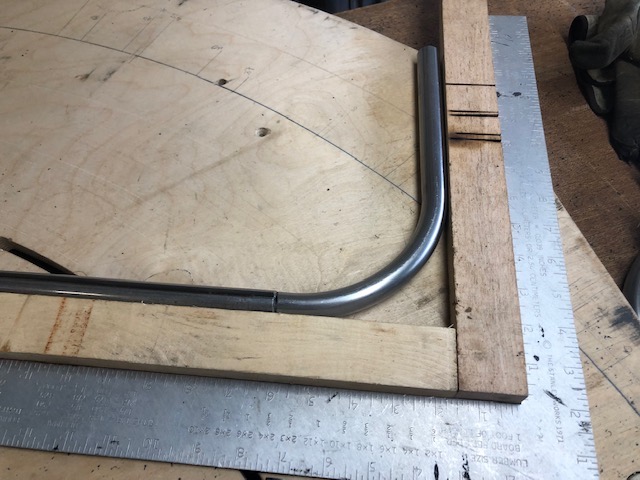
The bends were nice and smooth, no kinks or ripples. A framing square was used to align them and tack them to the straight lengths that would connect the two sides.

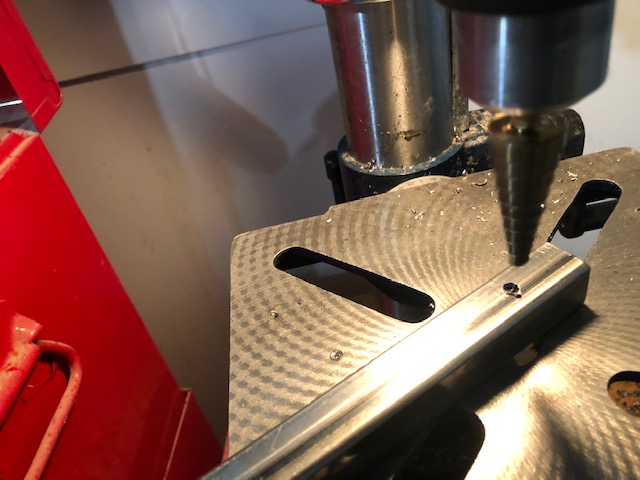
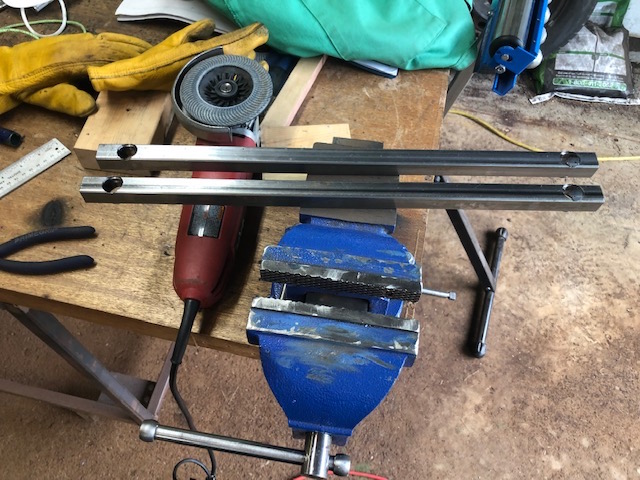
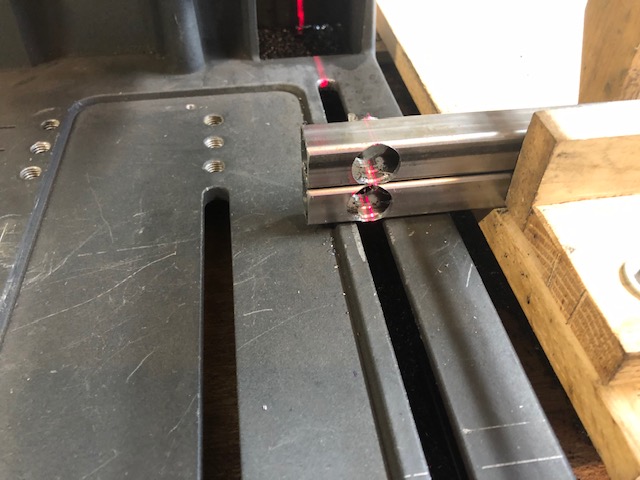
Next 3/4″ struts that connect the two round rear body frames need to be made. I cut two pieces of 3/4″ tubing longer than needed. I then used the stepped drill to make a large hole in each end the correct distance apart. A quick trip to the chop saw and the struts were ready.
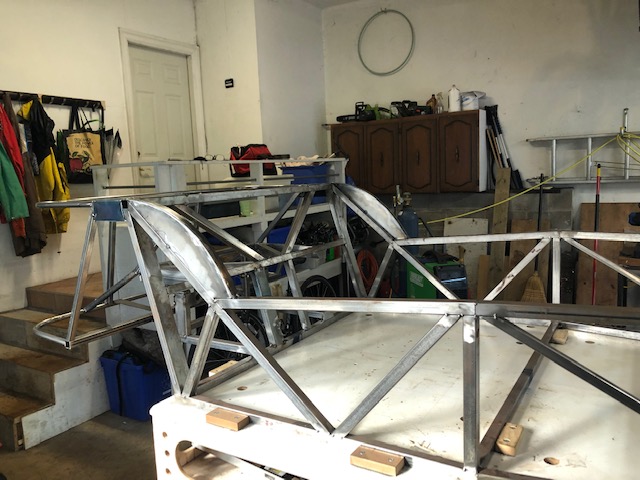
Here is everything tacked in place.
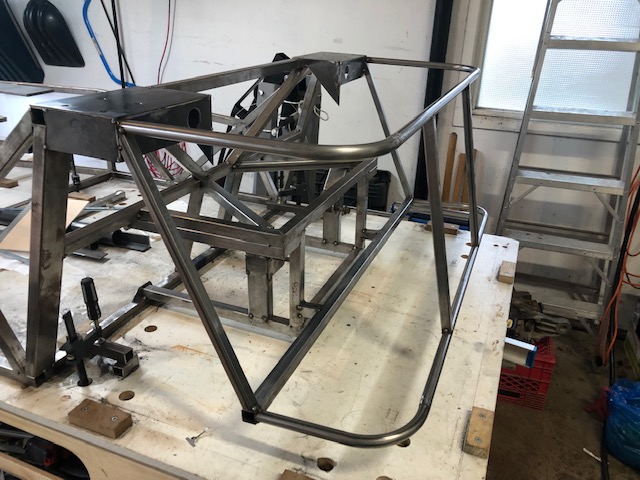
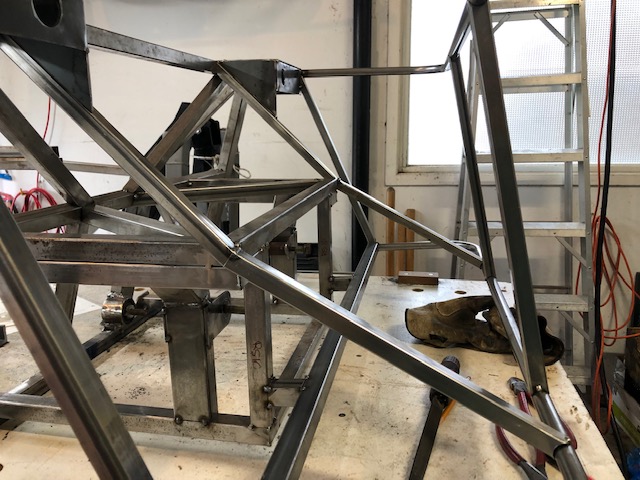
Now the rest of the back end framework needs to get put together. Diagonal 3/4″ tubes run along the triangular edge of the roll bar box down to the top corner of the suspension frame and on to the lower bodywork tube.
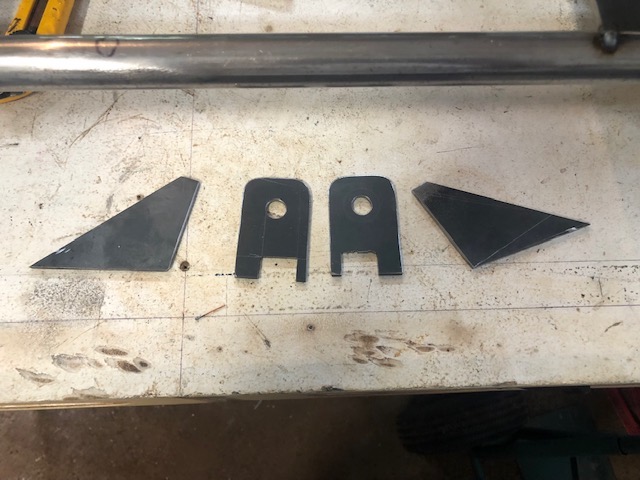
The roll bar will have a couple diagonal stays that go from the top of the bar down to the top round body work tube at the back of the car. These are the brackets that get tacked on for the stays to attach to.
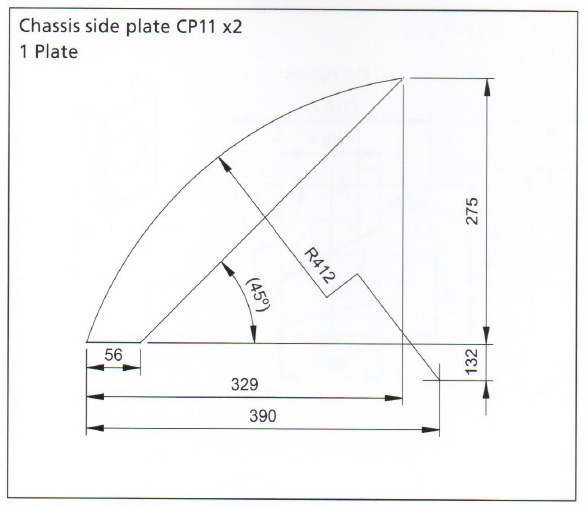
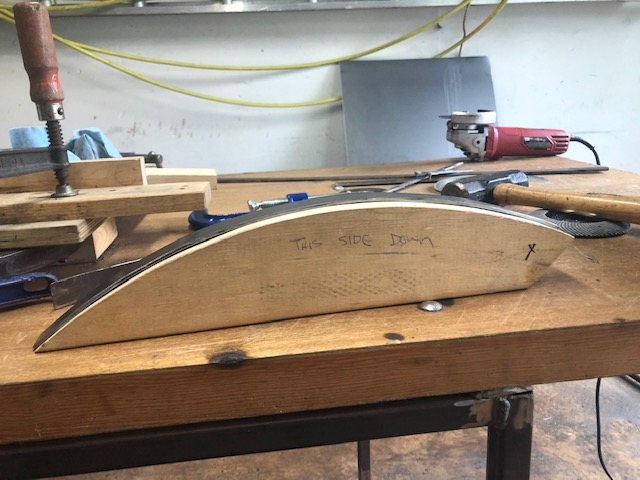
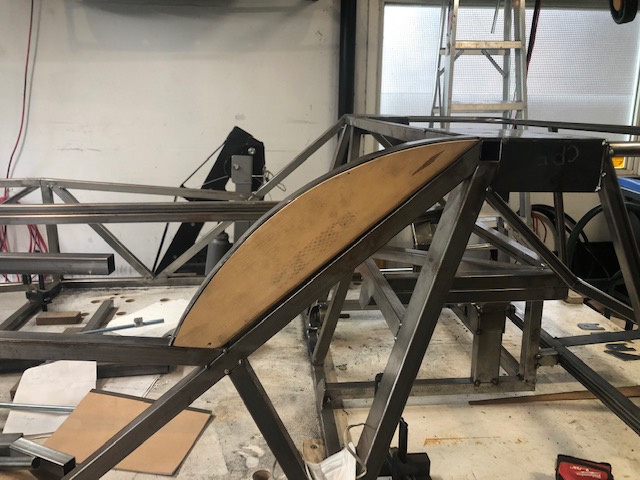
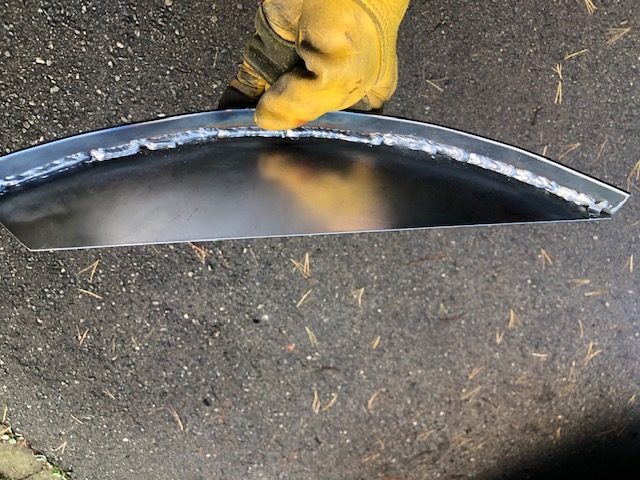
Finally, a couple chassis side plates need to be fabricated and tacked in. They are a bit of an odd size and shape and a 1/8″ thick plate needs to be bent to match the profile of the curve. I created a paper template and cut a wooden buck out of a piece of scrap 2″x6″.

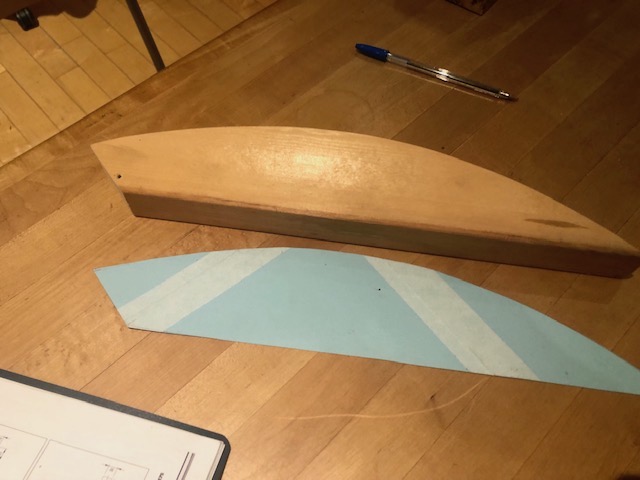
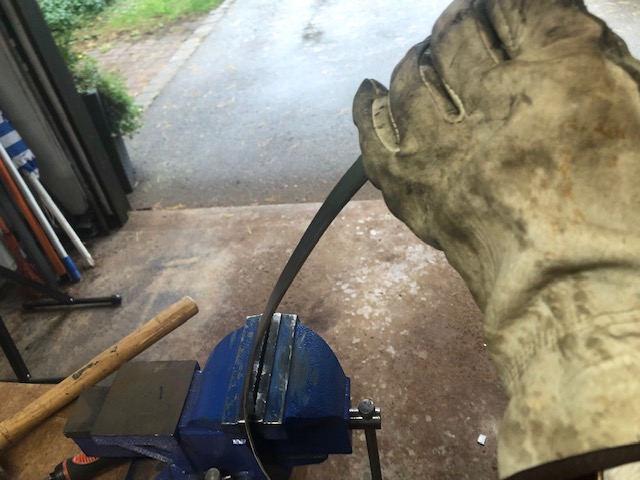
The wooden buck wasn’t useful to hammer the steel on but it was great for checking fit as I shaped the bar. I found that the best method was to put the bar in the slightly loose vice jaws and bend gently. I could work along the length of the bar by putting it further and further through the vice. I checked the fit as I went and eventually I had a very nice match.
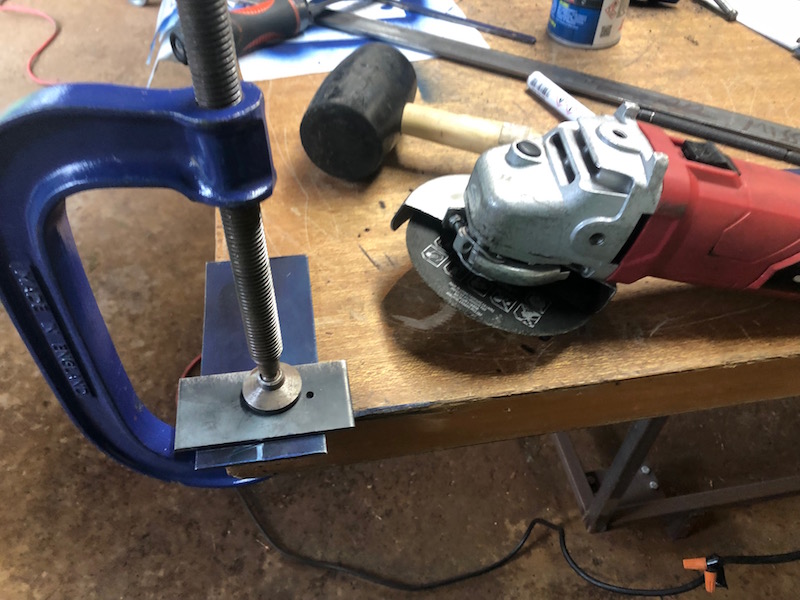
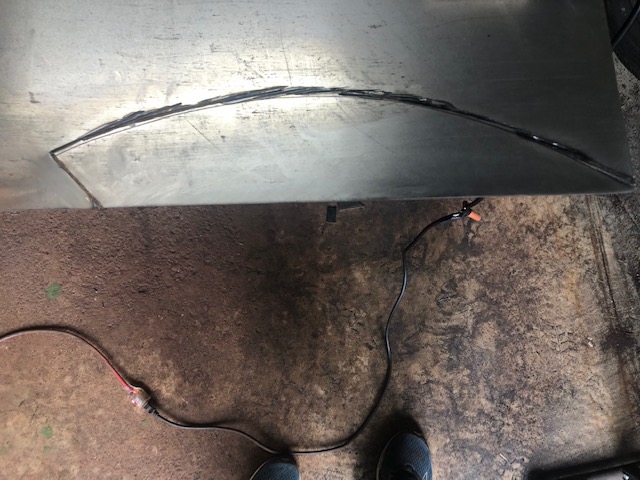
Cutting the plate was straight forward. Trace the buck on it, cut it out with the angle grinder, and then grind the edge smooth.
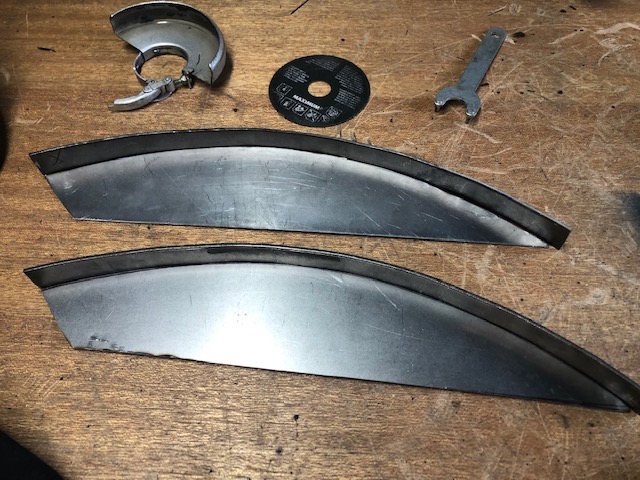
Welded together and tacked on the frame.
![]()