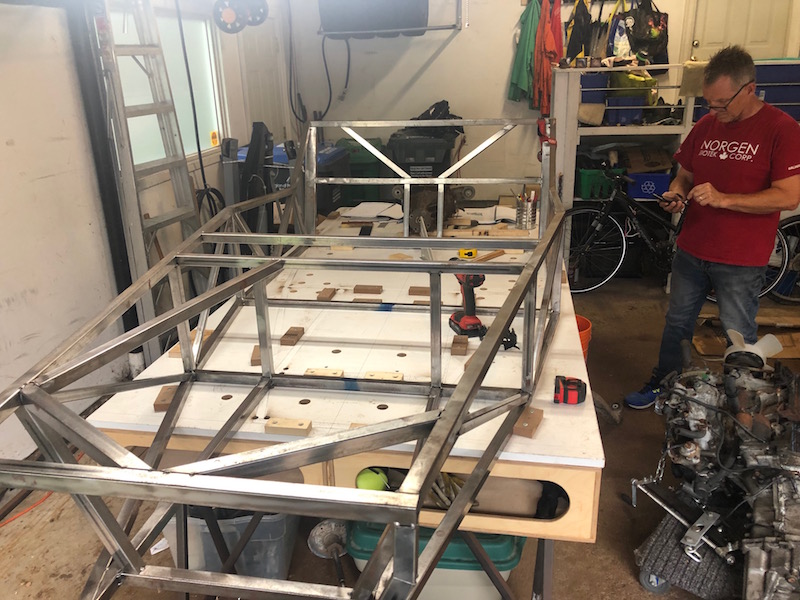
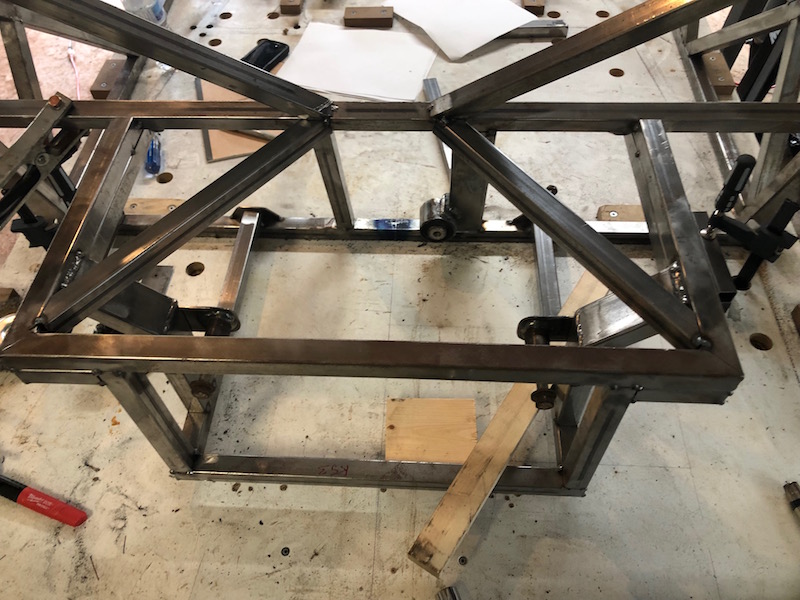
Tom, Melissa and their two dogs Charlie and Louie are in town for awhile waiting for their new house in NB to be completed. Now I have more help with the car! We have shifted the frame forward on the bench to build the back end.
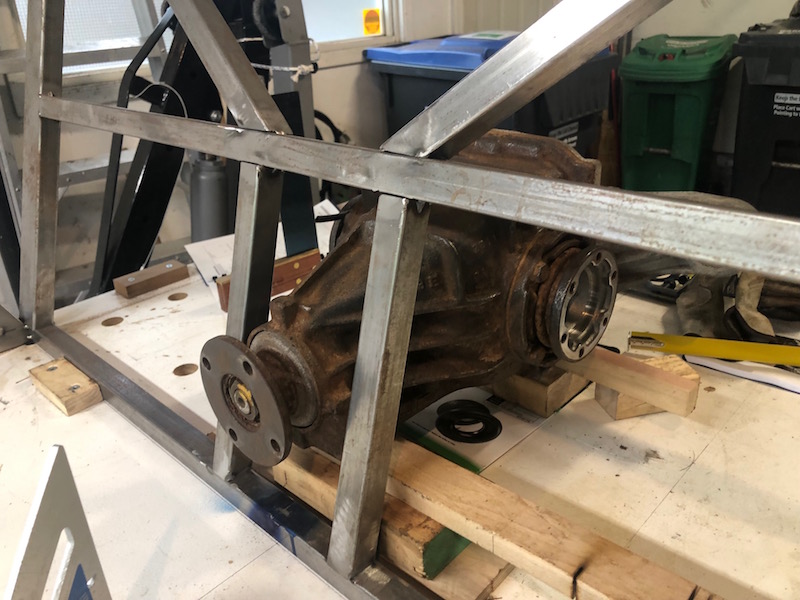
Now that the differential is free we put it in place to see how it fits. There is some interference with the passenger side upright at the back of the transmission tunnel. Other than that it looks like we can build the back end as per the book.
Proceed!
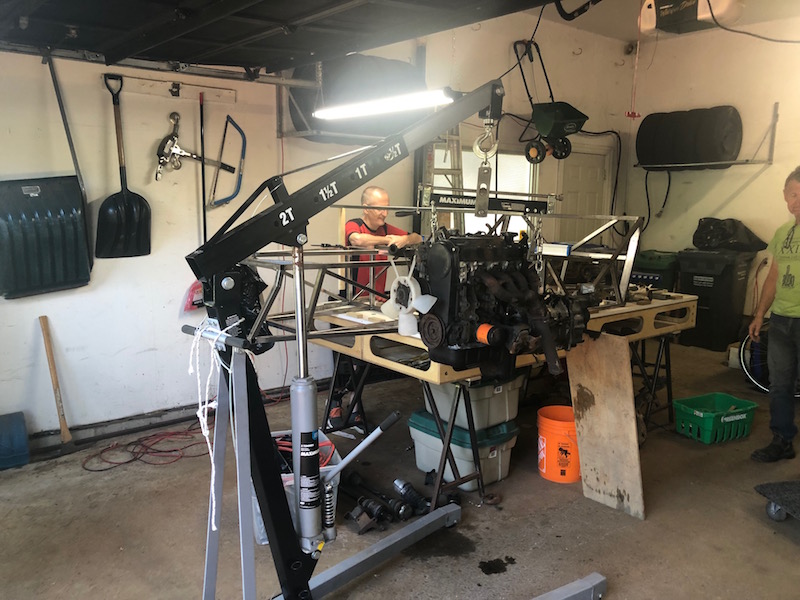
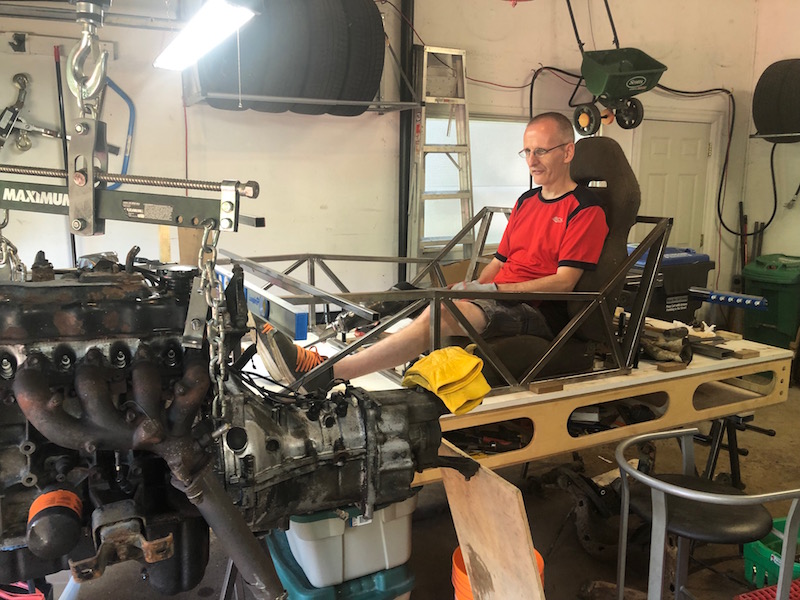
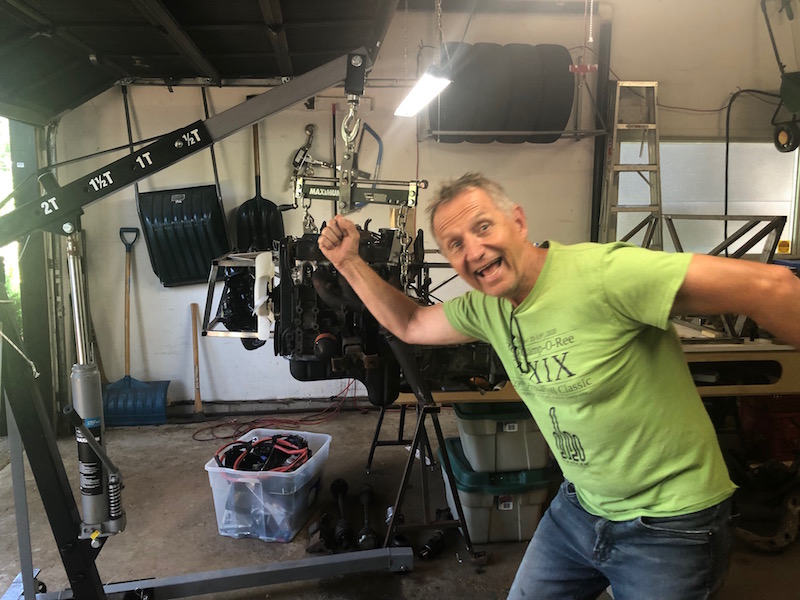
Paul came in from Barrie and we had a session to see how the motor might fit. We hung it in position beside the frame with the engine hoist to eyeball things.
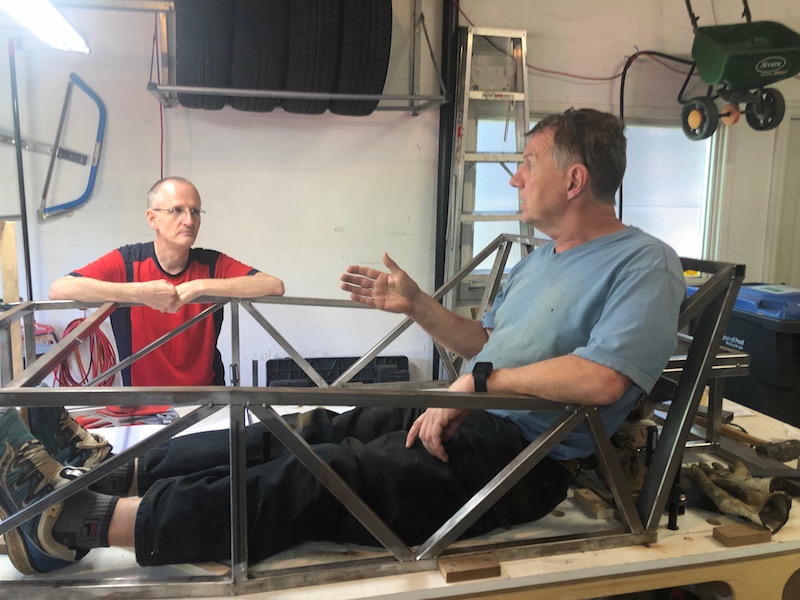
While we were at it, we decided that we should see how we fit in the car. Paul fit best and Tom refused to get in. A fun time was had by all.
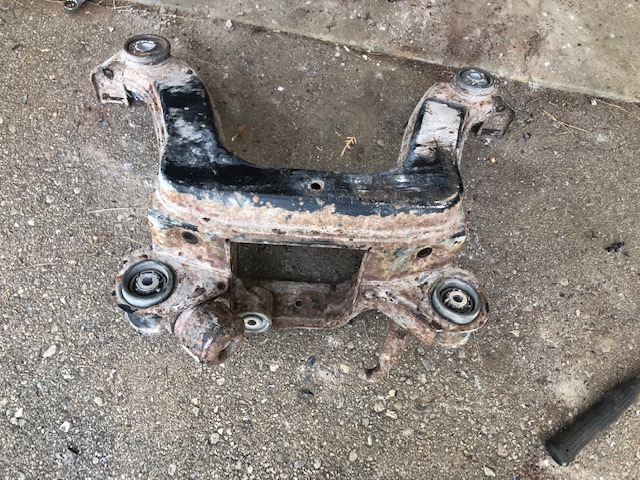
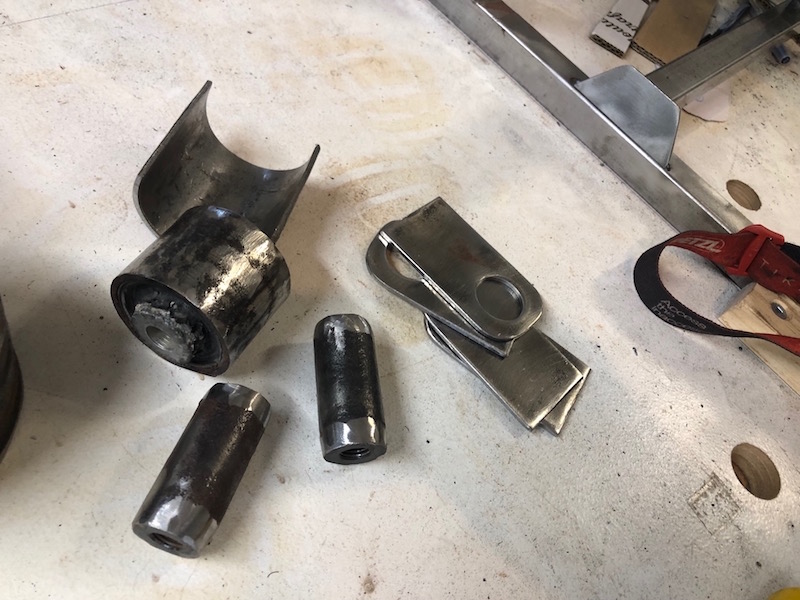
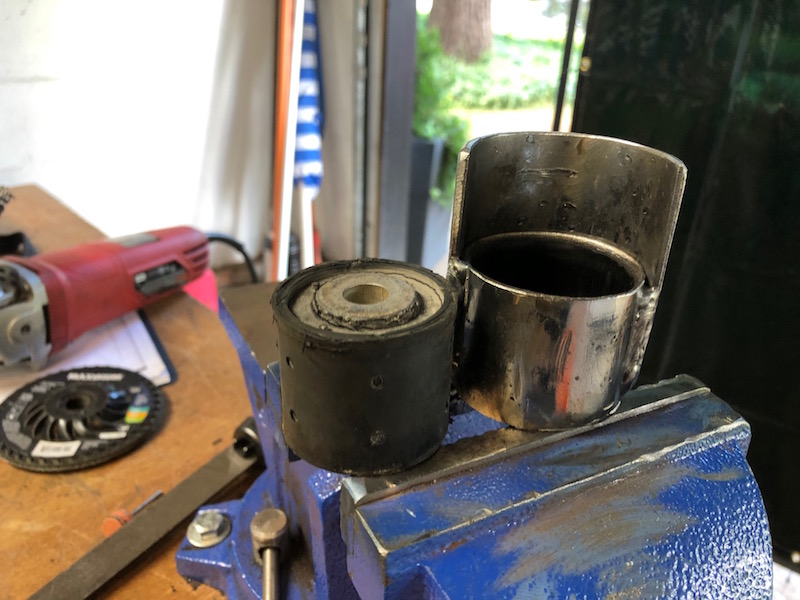
Back to the build. On the left is the sub-frame that held the differential in the BMW. I cut out the three connection points that attached the differential and plan to reuse them. On the right are the connectors from the sub-frame along with some bits I made to attach them to the Locost frame. The flat plates will be used to attach the two smaller connectors that the rear of the differential bolts onto. The rounded shell started as a 1/8″ thick flat plate that was hammered by hand to fit the large rubber mount. It will support the front of the differential. It’s amazing to see how steel can be shaped with just a hammer and vise.
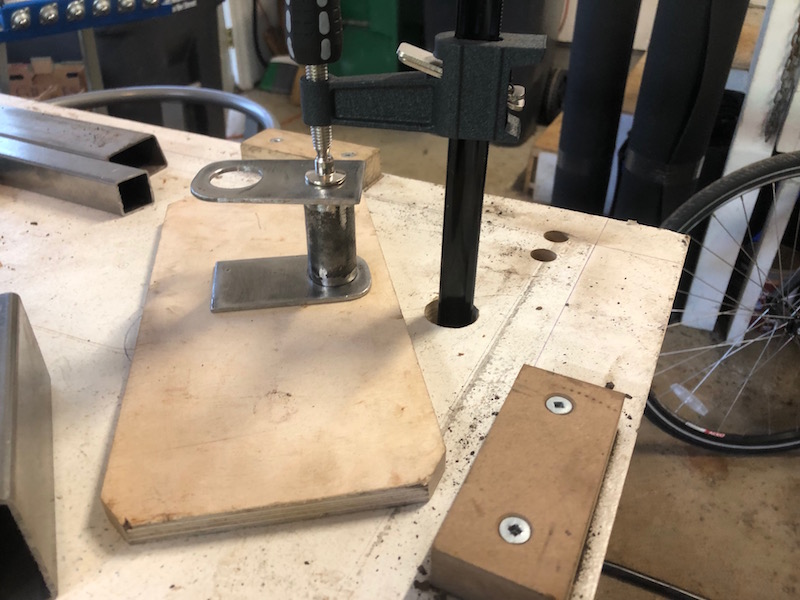
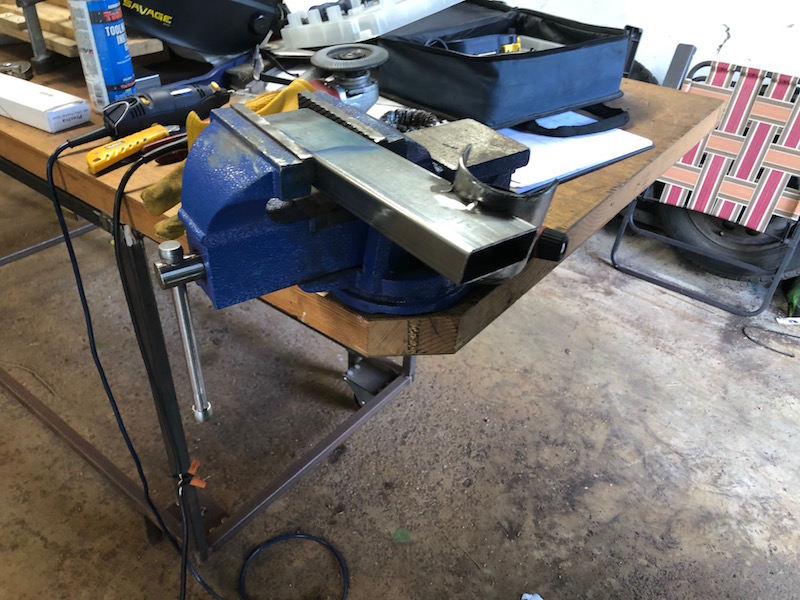
Two of the plates get welded onto the ends of each mount. This one is clamped down to weld the bottom plate. The plate on the top is just to provide a flat surface for clamping.
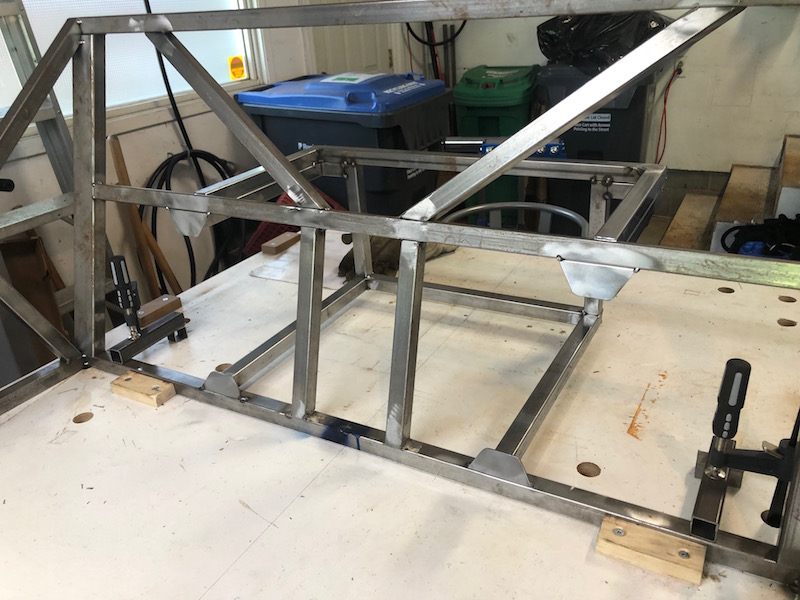
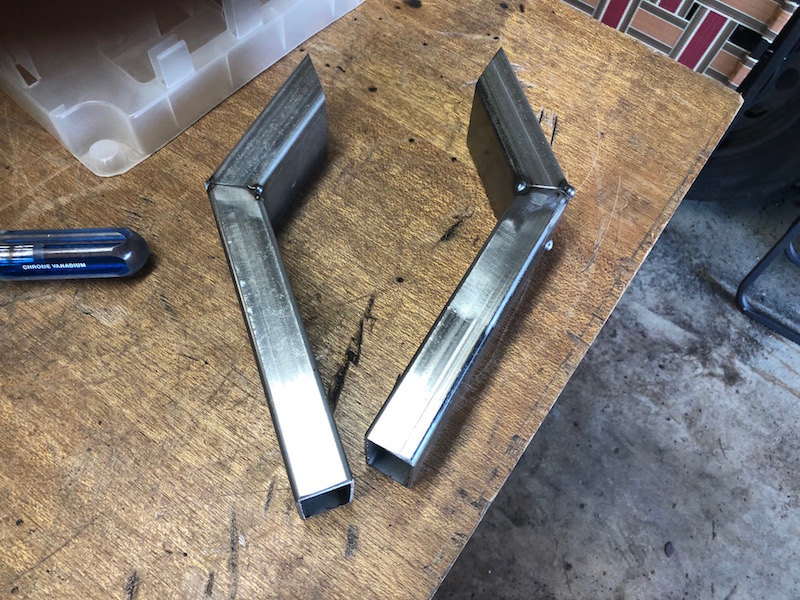
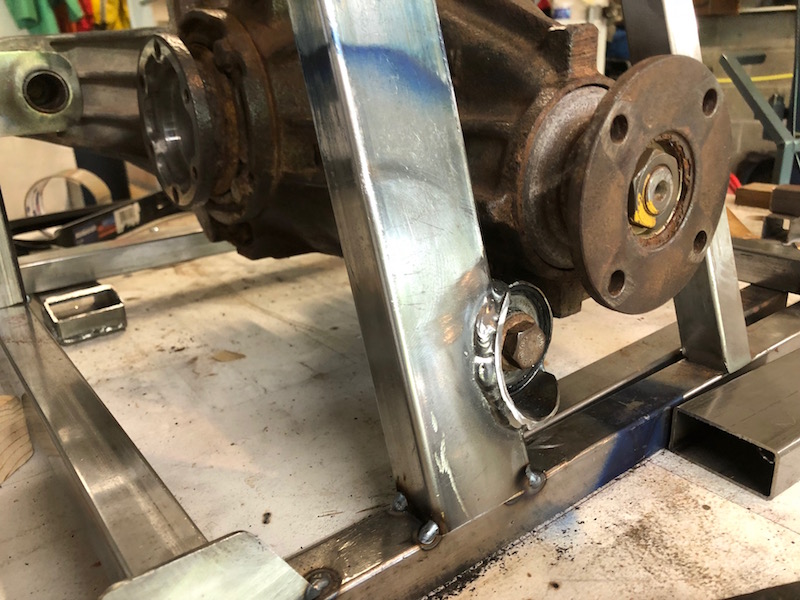
A pair of uprights were made to connect between bottom frame to the side of the double top frame. These would hold the pair of back mounts for the differential.
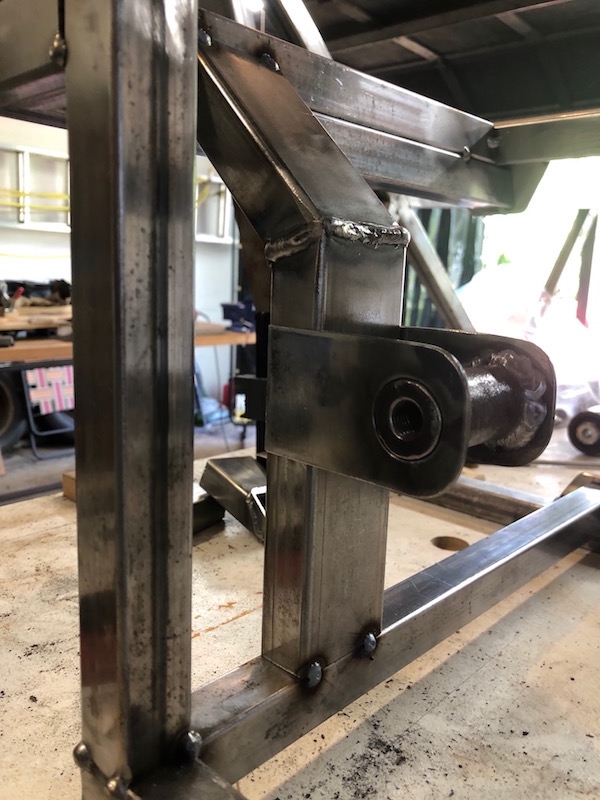
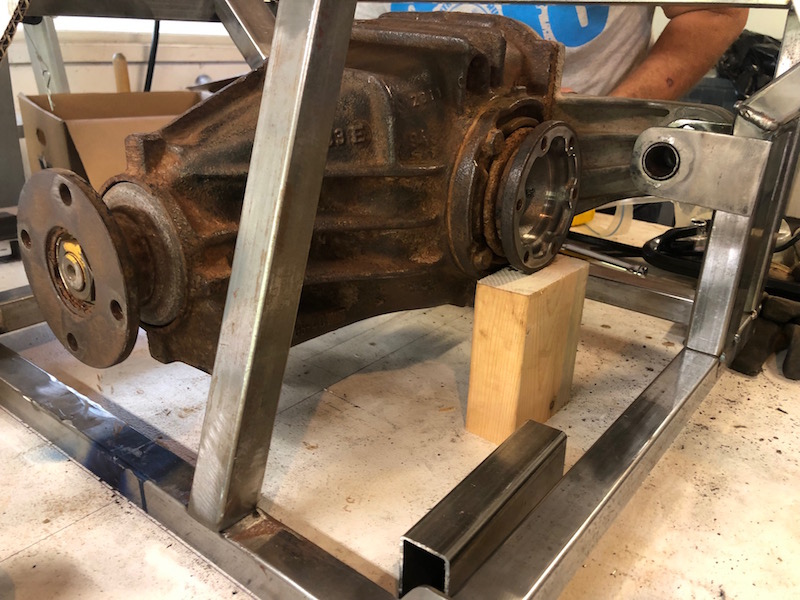
The differential was blocked up in position and the rear bolts put in before the brackets were tacked. The passenger side transmission tunnel upright has been removed because the front mount interfered with it. We will fix that next.
The missing 1″ upright will be replaced with a 1″x2″ upright that needs to be notched to accommodate the front mount. Once the shell fits properly the front mount tube is welded onto the shell.
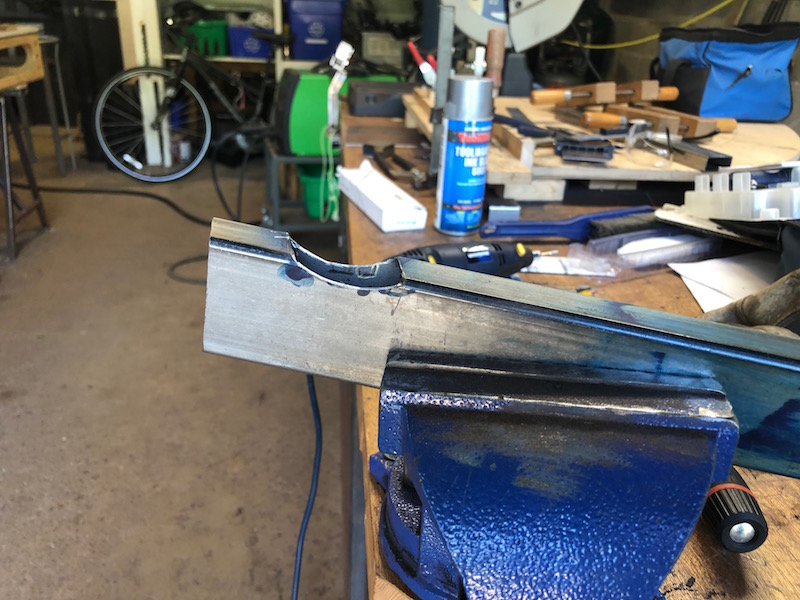
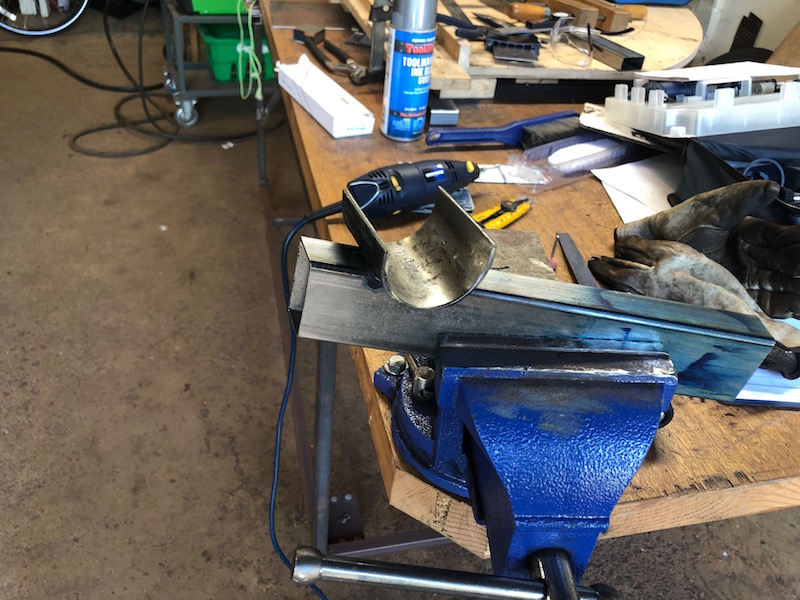
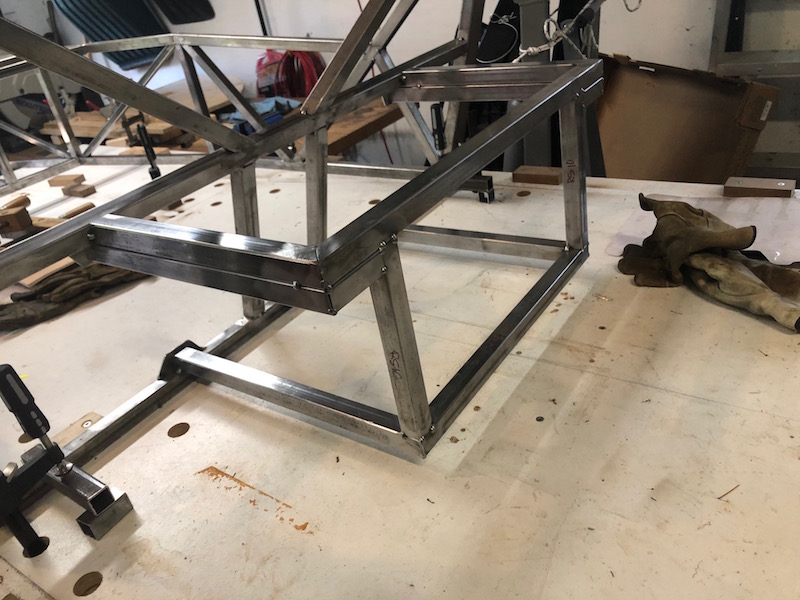
Now the shell and mount can be tacked onto the upright and then fully welded. The excess shell was trimmed with the angle grinder. The rubber mount can then be pressed back into the tube and with the differential in place the upright can be tacked in place.
![]()