This post covers work done over a span of two weeks in May.
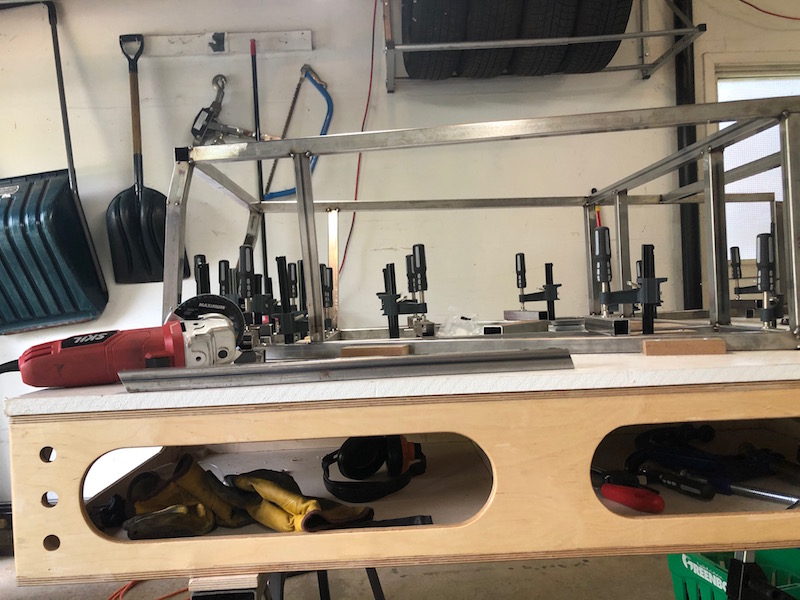
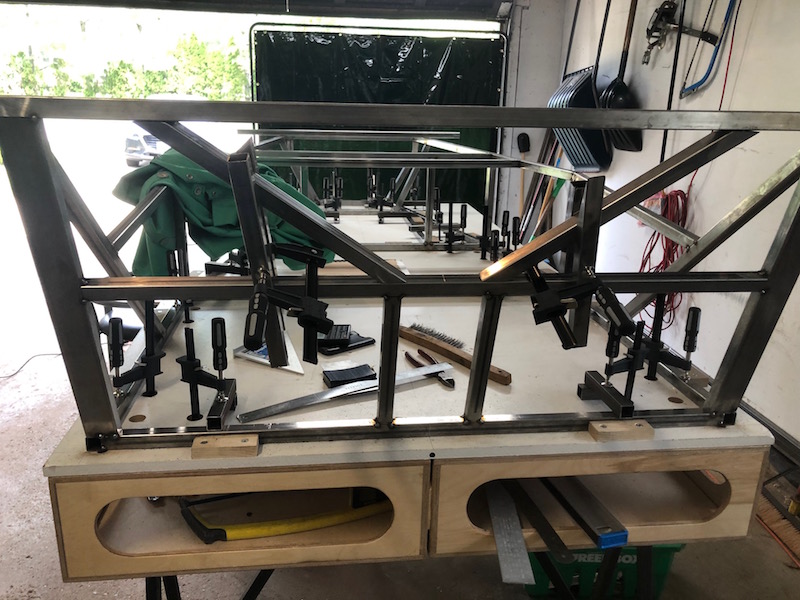
With the trials of the front frame in the past it’s time to put on some uprights and top rails.
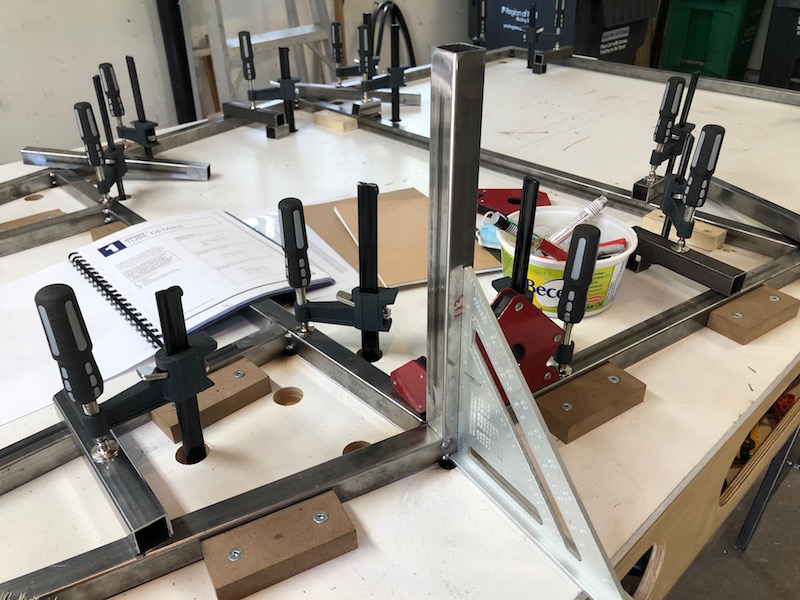
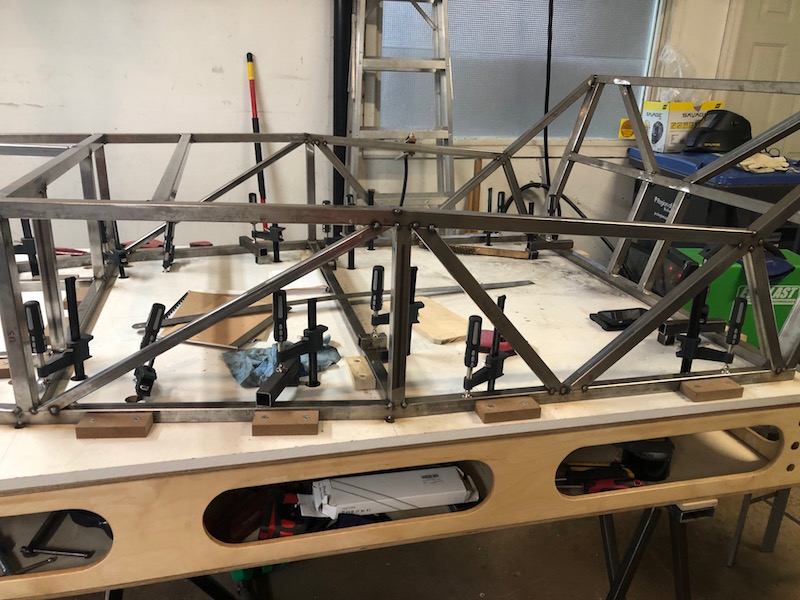
This is one of the uprights located at the fire wall. It is positioned with a couple of welding magnets. A small framing square is used to ensure it is stays perpendicular to the build table while I tack it in place. We are tacking as we go now.
Moving towards the back of the car. The second pair of uprights are positioned and tacked in place.
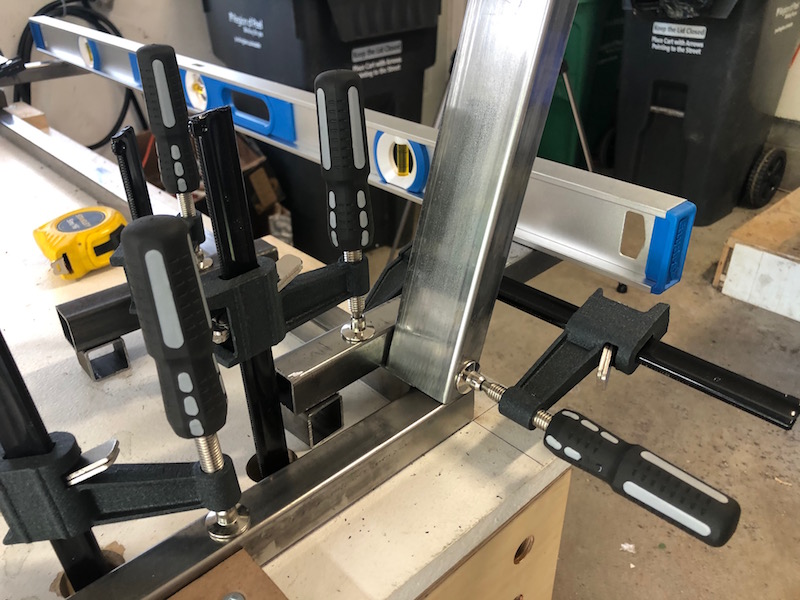
Now the top rails that run continuously from the front frame to the back upright can be put in position and checked.
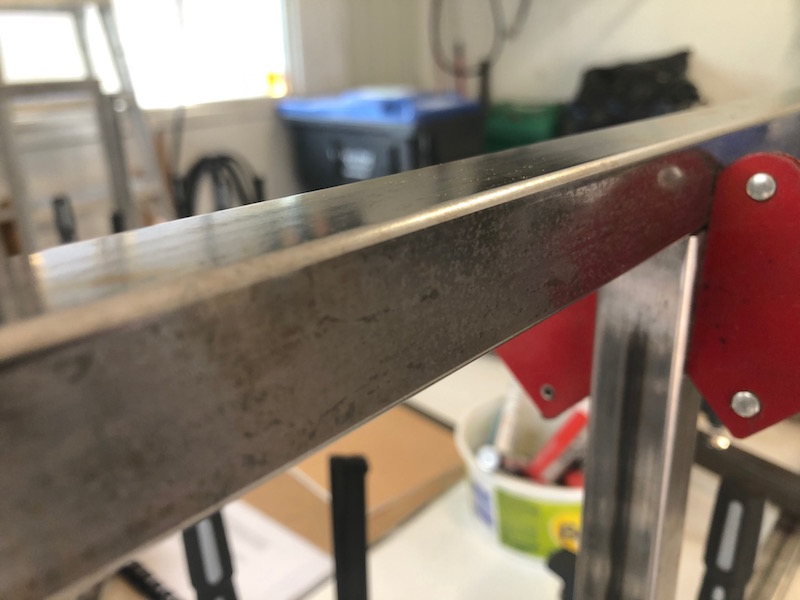
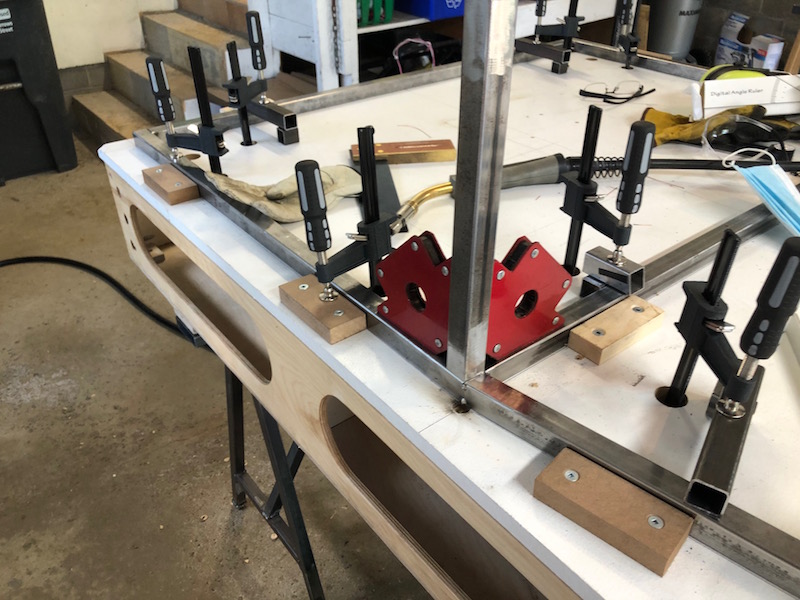
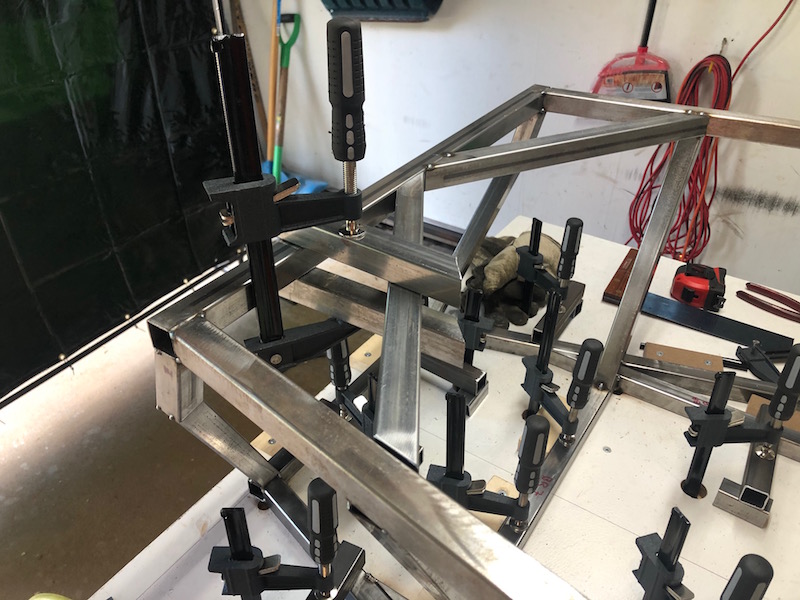
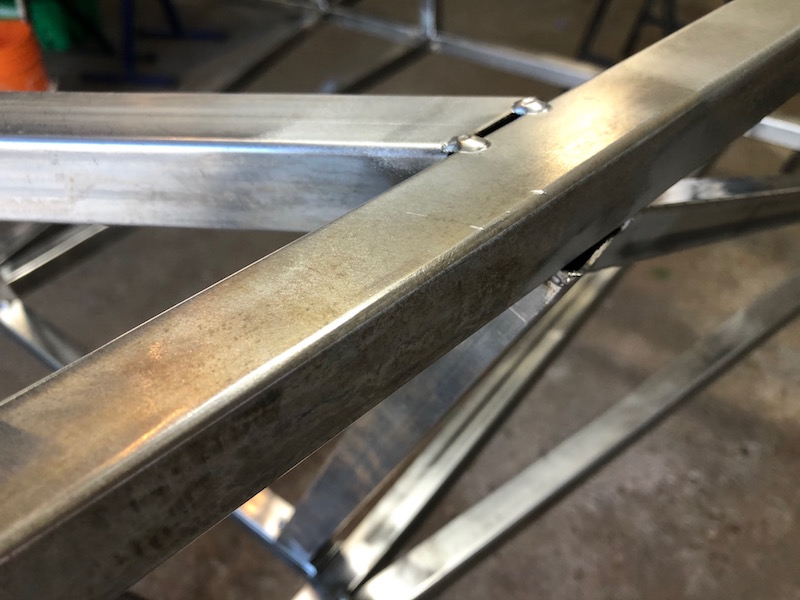
Welding magnets are super handy, here they are keeping the rail aligned with the top of the front frame and the side of the first upright. The length and vertical alignment are perfect, just meeting the edge of the second upright.
The horizontal alignment is not perfect, but it is close. That is corrected with a small adjustment to the uprights (nudge).
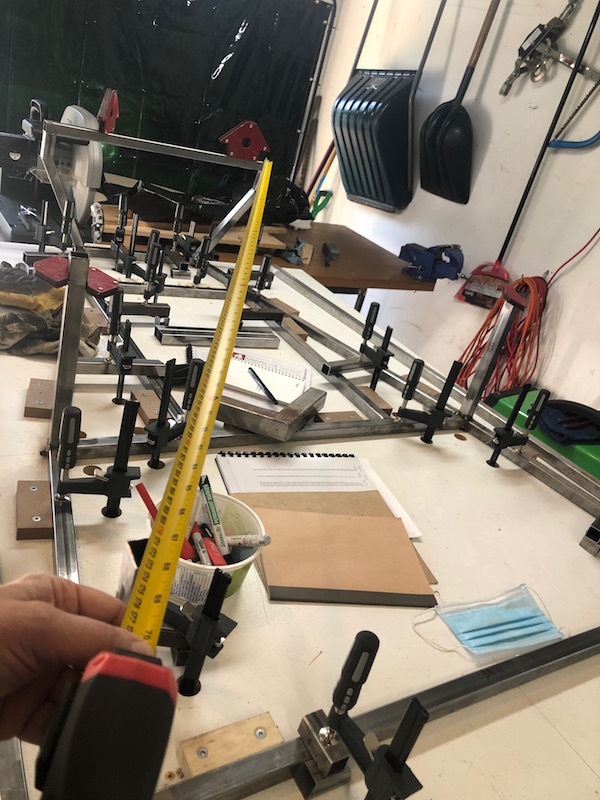
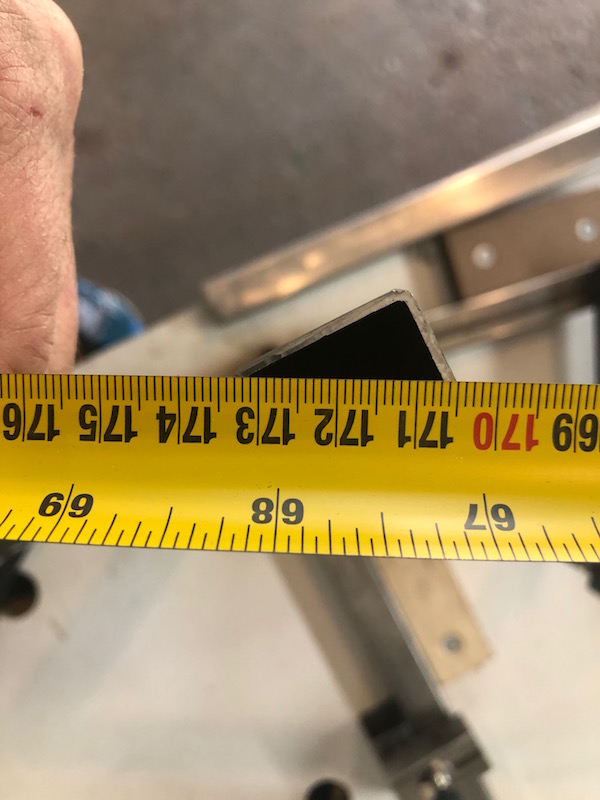
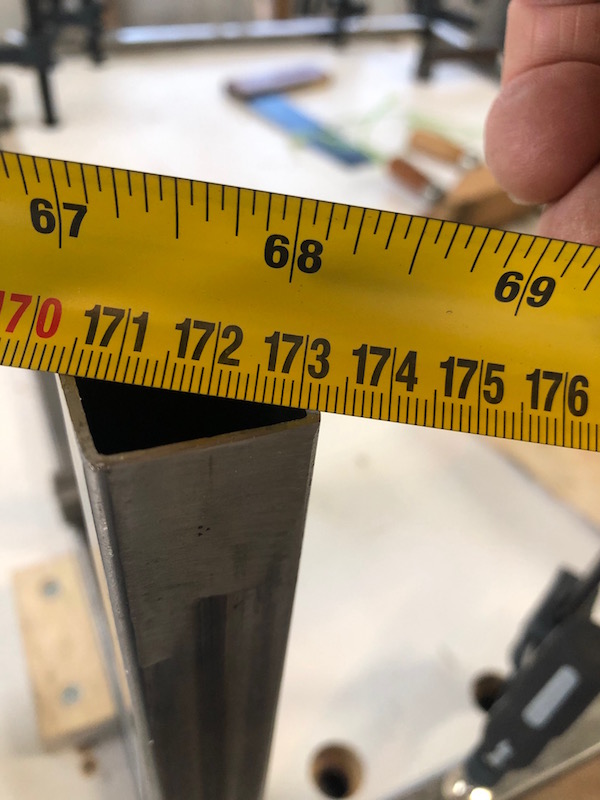
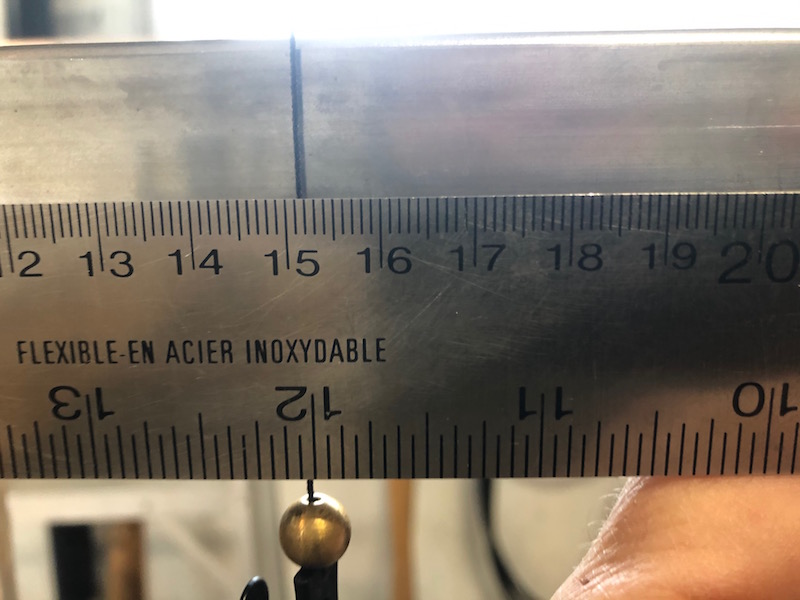
Taking diagonal measurements from the corner of the front frame to the back corner of the second upright to check that things are square.
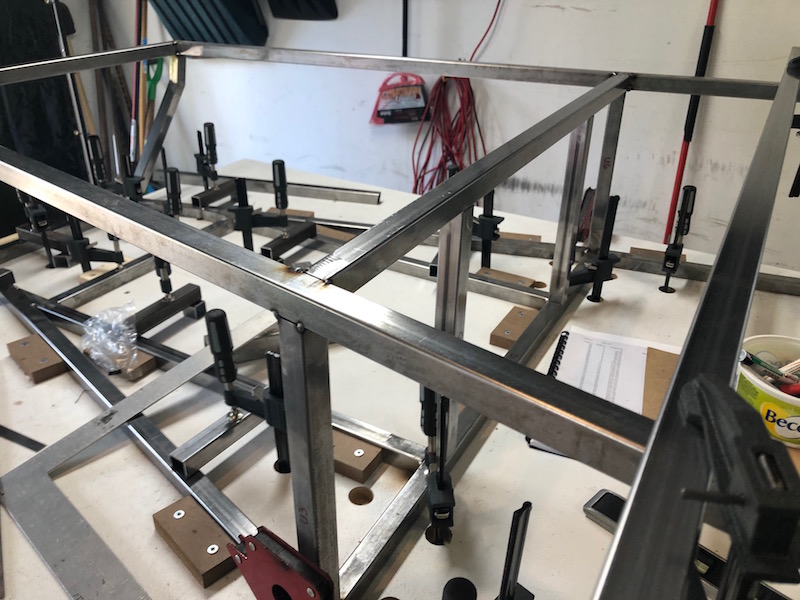
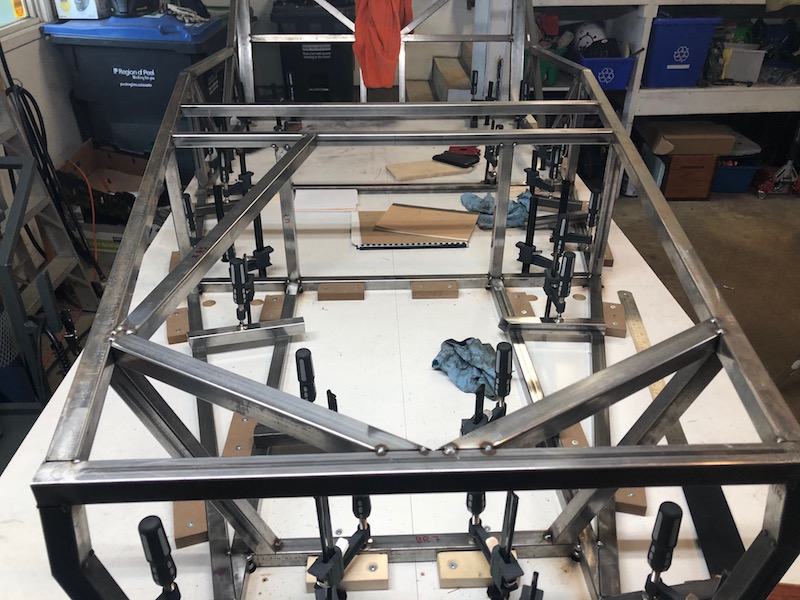
Top rails tacked and the cross rail and center uprights at the fire wall are fit and tacked in.
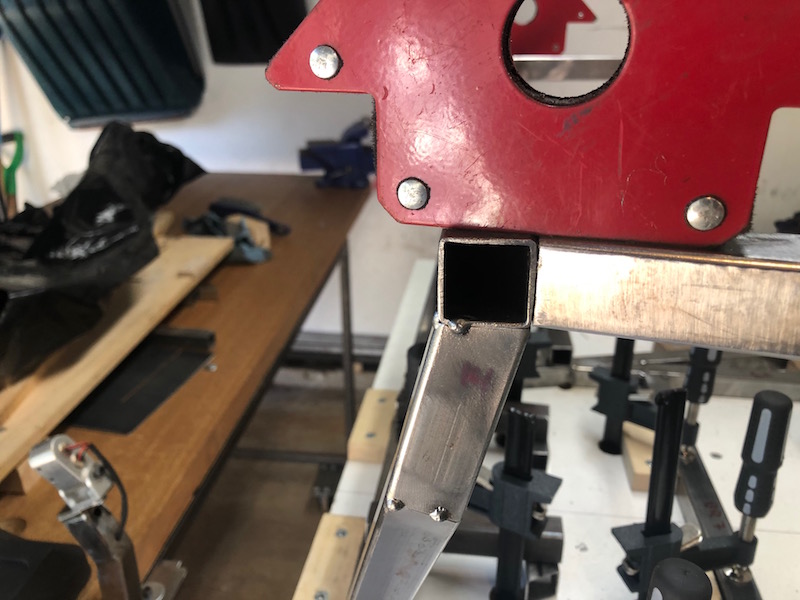
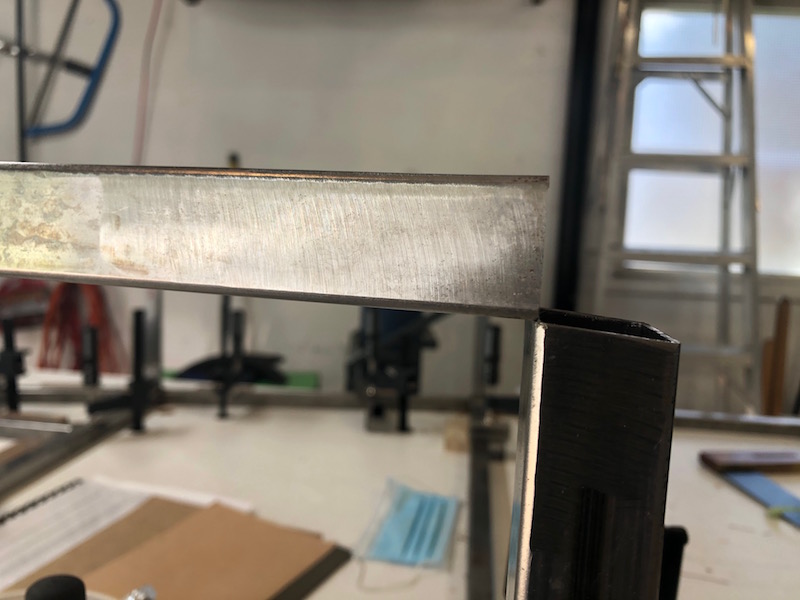
Now two uprights just behind the front frame are cut and tacked in. They overhang the outside of the top tube slightly where they meet. The top tube is not parallel to the center line of the car and the upright is perpendicular to it. This creates a small overlap at the front of the upright. This is the way it is supposed to line up. These are critical frame tubes as one of the front suspension mounting brackets attaches to each.

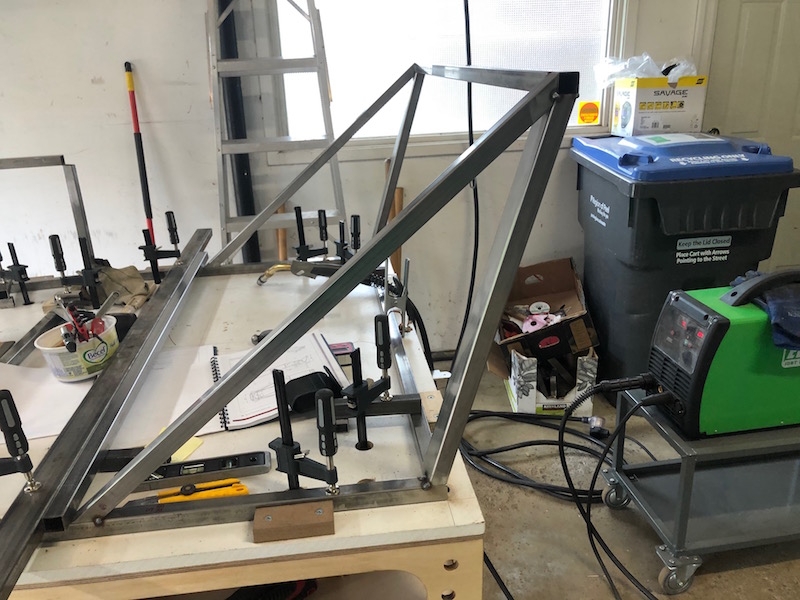
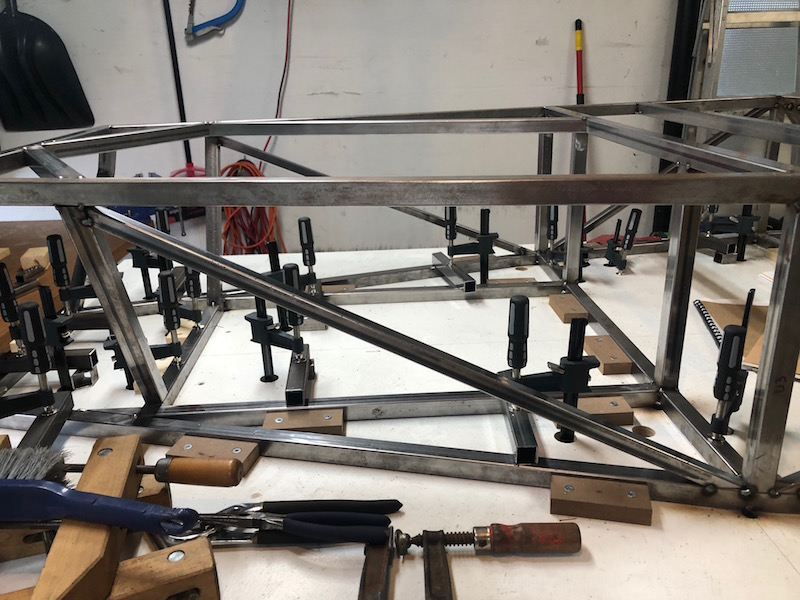
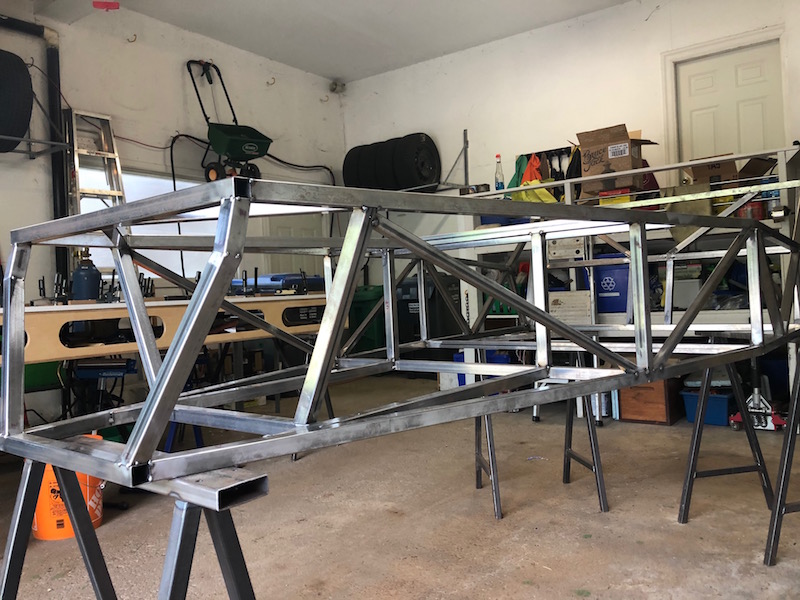
Moving to the back of the frame, it’s time to attach the sloping back rails that are made of 1×2″ tubing.
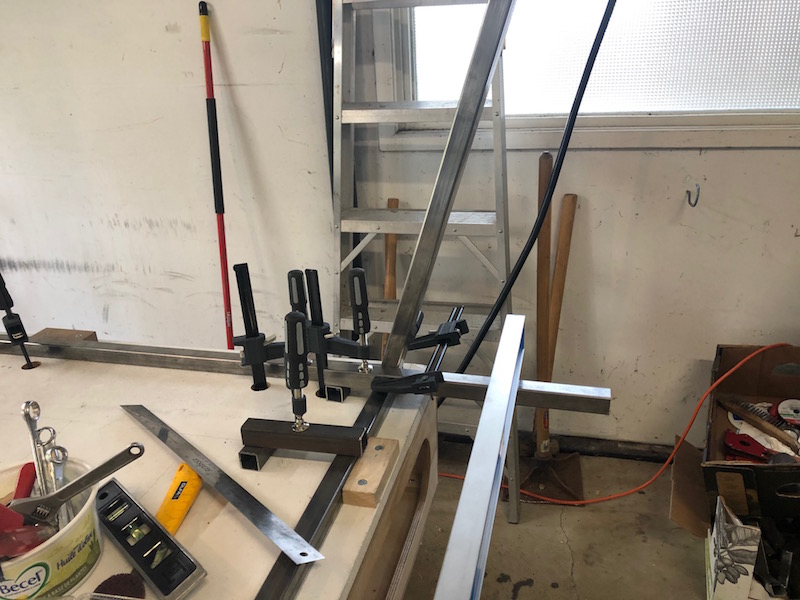
Using a bunch of Harbor Freight clamps allows the angle to be adjusted incrementally to get the correct position. A plumb bob is used to check the distance before tacking.
One side tacked, rinse and repeat.
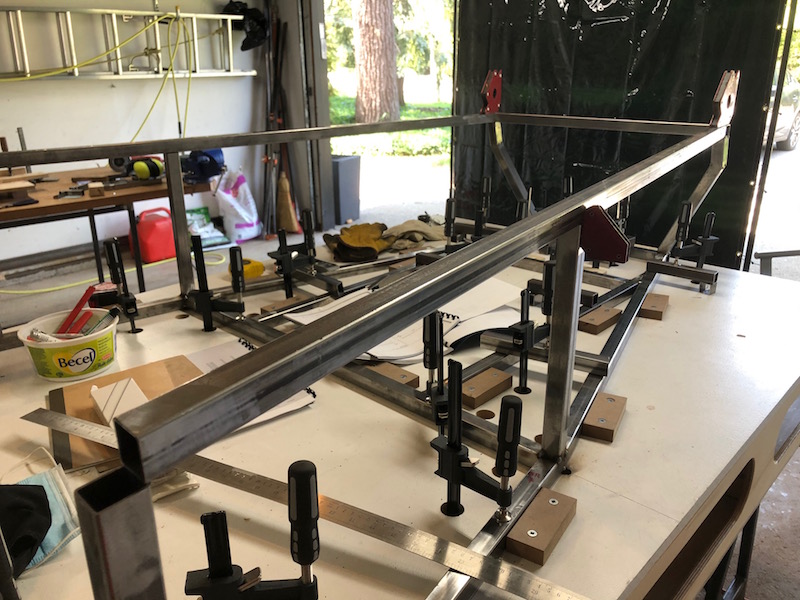
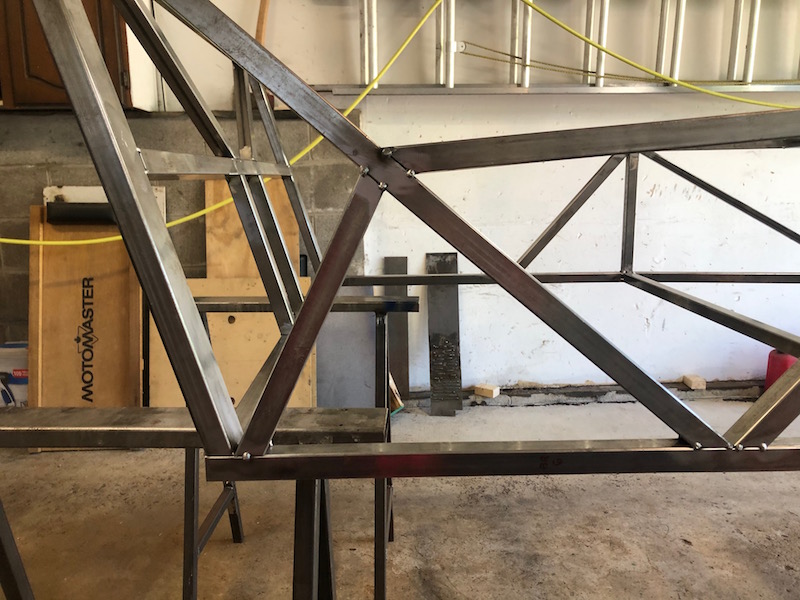
Next two diagonal supports for the sloping back rails are cut and tacked in along with the horizontal top tube.
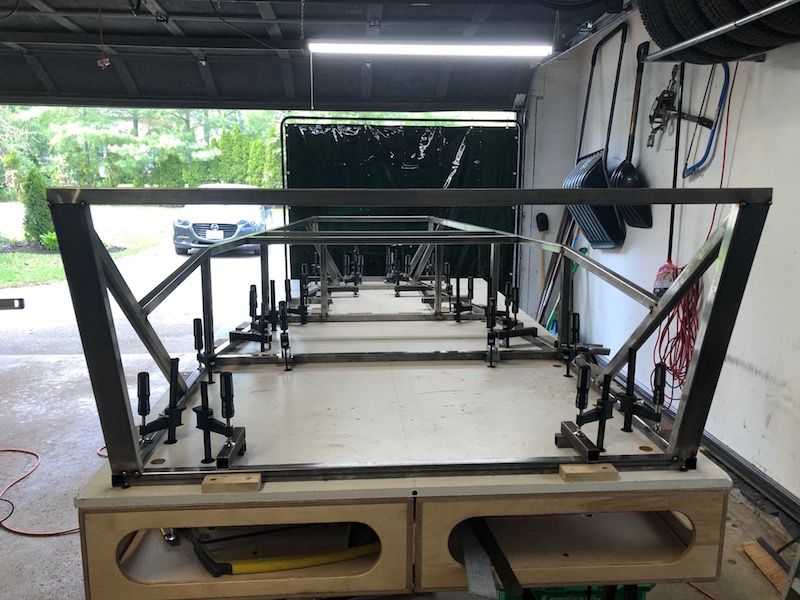
The top rails have been connected from the second upright to the diagonal back rail support. Things are going fast, I wish I took a better selection of pictures!
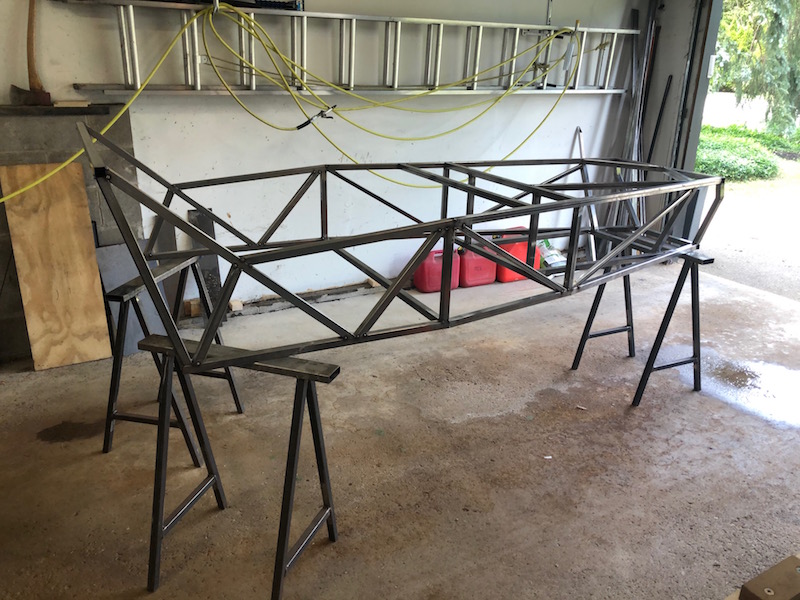
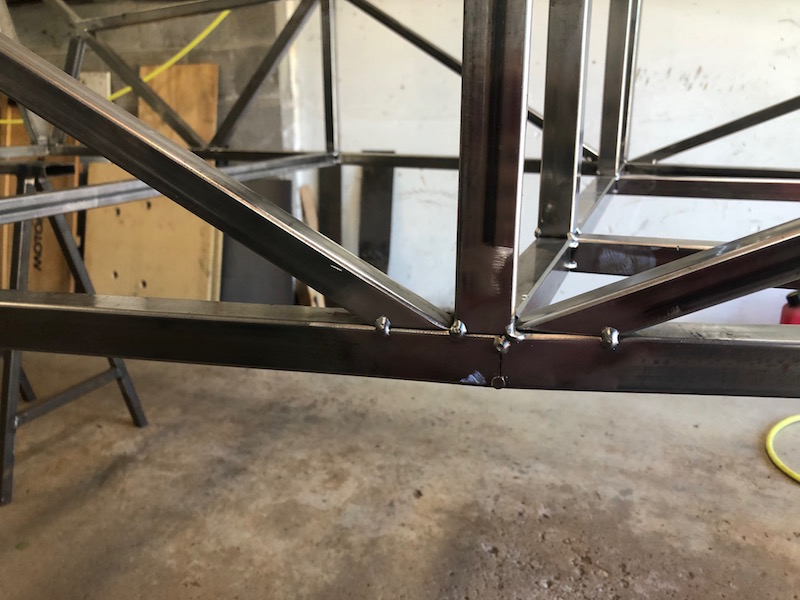
The cross rail and two uprights that form the back of the transmission tunnel are put in next. It is good to have lots of welding magnets.
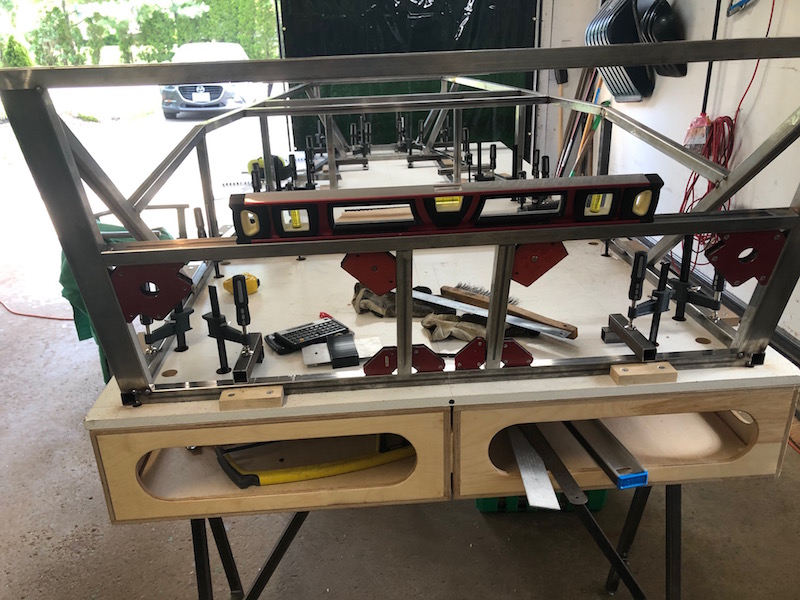
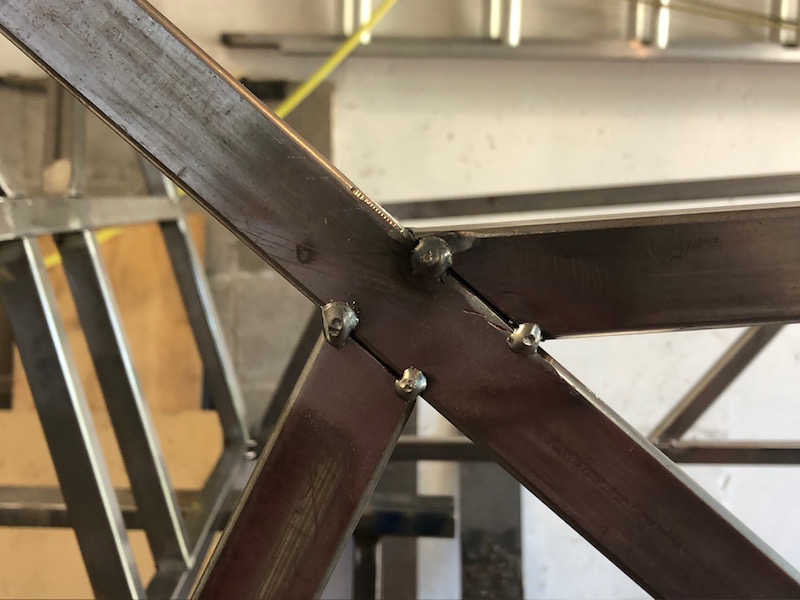
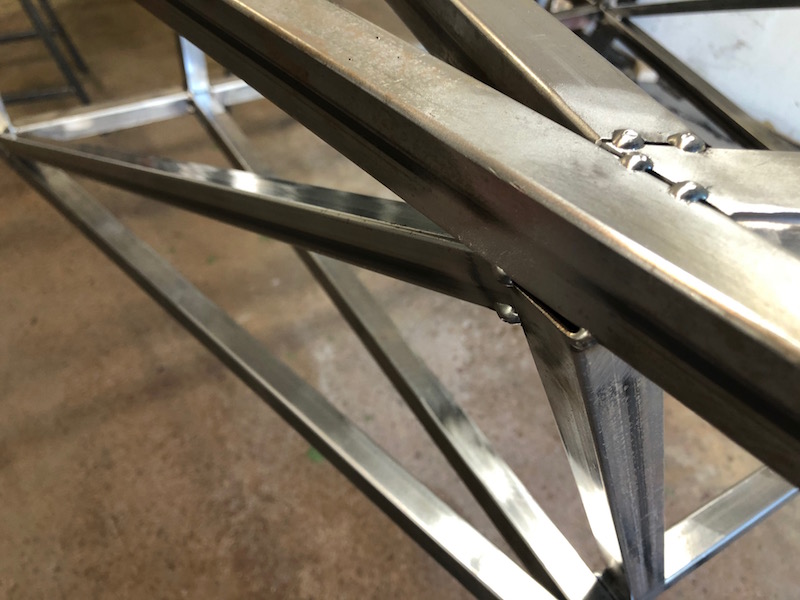
The diagonals that go from the cross rail to the top rail are clamped in position for tacking.
Back to the front end to install the two braces from the center of the front frame to the top rail at the first upright.
The long diagonal running back to the cross tube at the firewall is added next. It is positioned for a right hand drive car and will eventually get flipped to the other side when I figure it out.
Diagonal bracing cut and tacked in the side frames, 1″ tubing in the back section and 3/4″ in front of that.
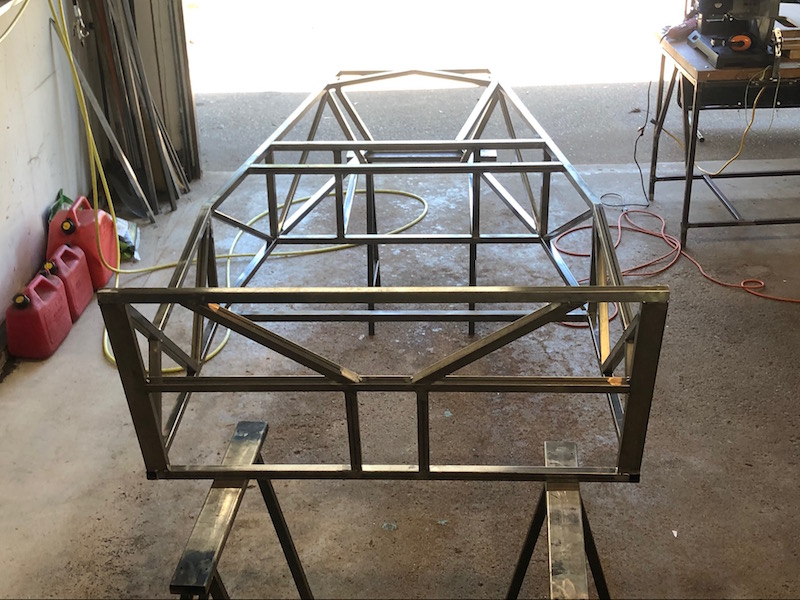
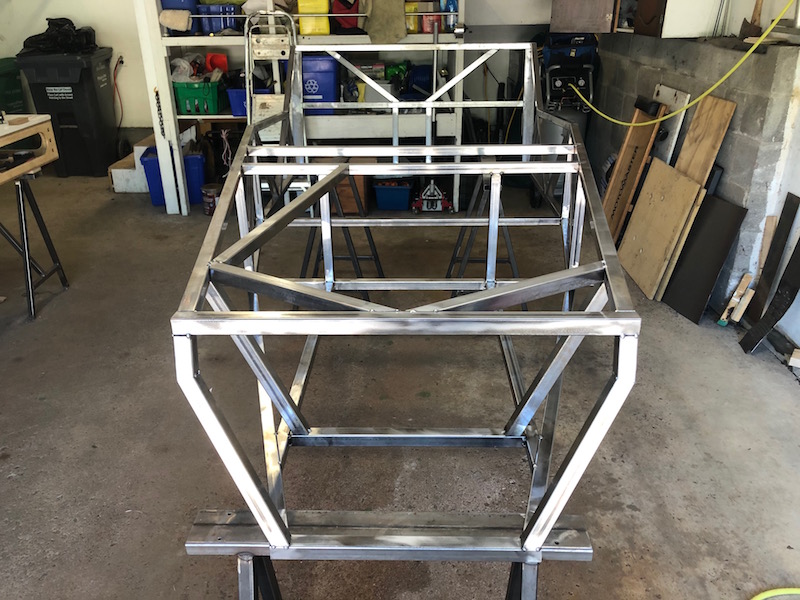
At this point the front of the frame is pretty complete. It is well triangulated and everything is tacked solidly. Currently the frame ends at the back of the passenger compartment. Next time we visit it we will be building out the back end that carries the differential, rear suspension, fuel tank etc.. In order to do that we will need to shift the frame forward on the bench a couple feet to get the back end on the build table. This is a perfect chance to get the frame off the bench and have a weigh in!
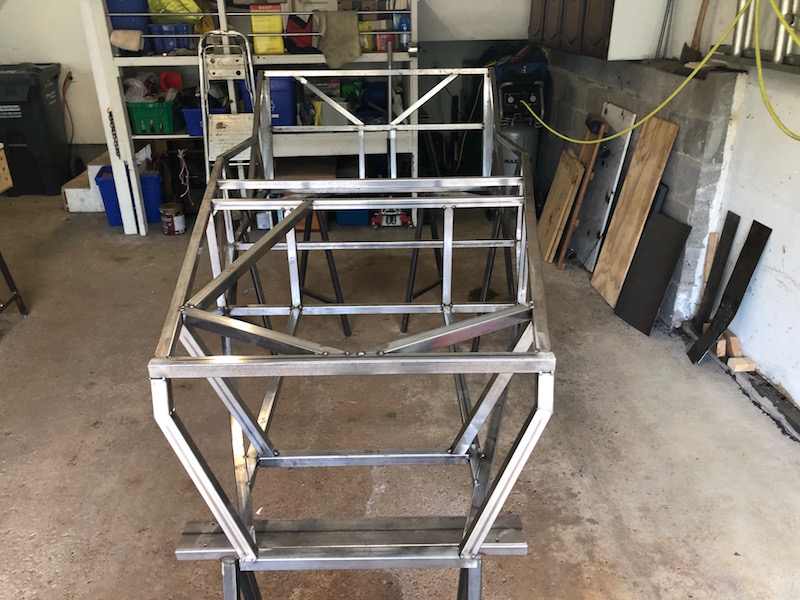
Here it is on a few of those kick-but two foot sawhorses from post 11. At this point it weighs about 80 lbs, if a bathroom scale is to be believed.
That’s about all for this post, here are a few pictures.
![]()