Ok, that title may be a bit misleading. We are not actually cutting the steel with the lasers. We are going to use the lasers to show where the chop saw will cut the steel! I saw a post on the web of a fellow that attached a low cost laser to his cold cut saw to aid in lining up cuts. What a great idea! Since winter was coming and I would be in the basement unable to weld for a while I thought why not add that to the list of things to make as it will definitely help in building things.
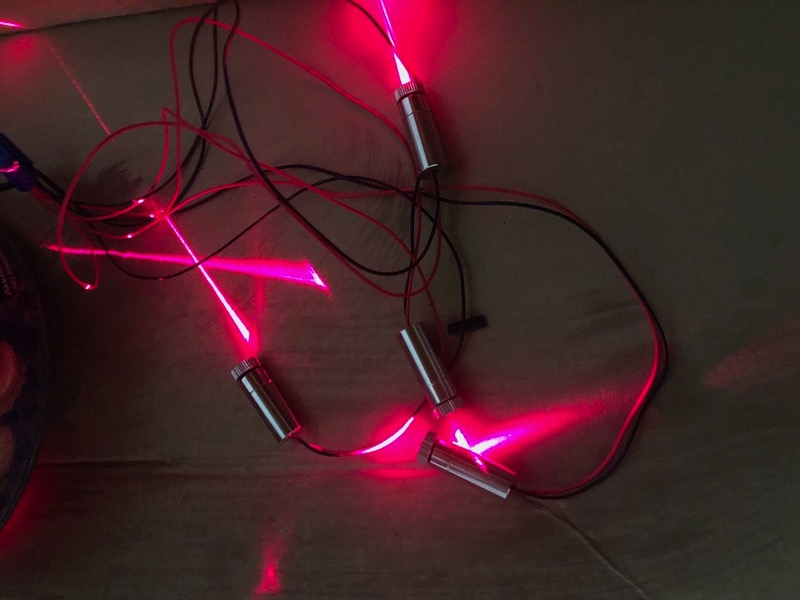
These are low cost line lasers that you can order from Amazon.ca for about $5 each. A Fresnel lens is mounted in front of the laser to focus and generate a straight line rather than a point. They are a little finicky to adjust and lock in but you can make them work.
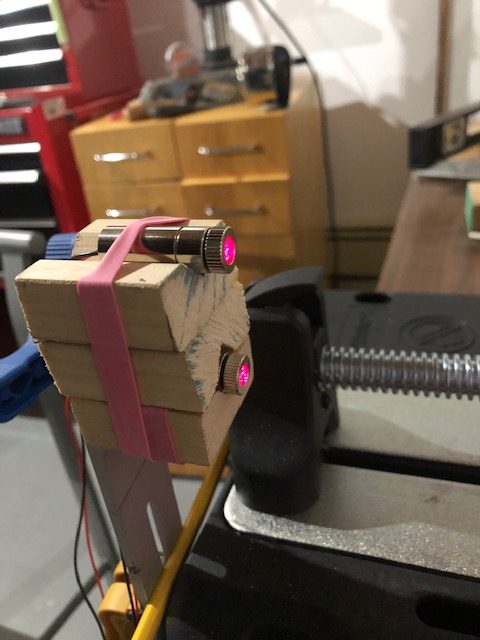
The concept will be to mount two of the lasers on some type of bracket attached to the saw base or the cutting bench. The lasers will be offset (left/right) in order to mark both sides of the saw kerf as the blade is a few mm thick. For this “proof of concept” experiment I am using some wooden blocks, rubber bands and an old Ikea curtain bracket.
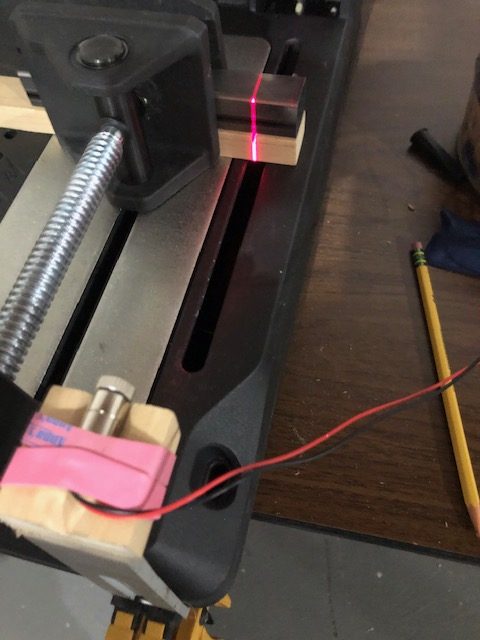
The final test setup with both lasers in position.
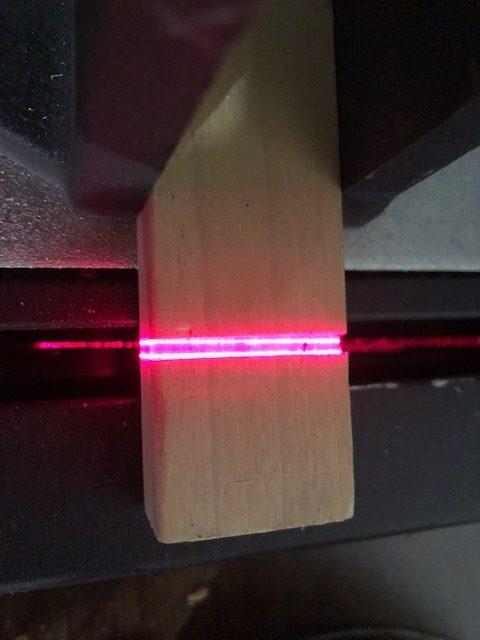
A piece of wood was clamped in the chop saw and cut part way through to act as an alignment guide. The lasers were aligned to the each side of the cut.
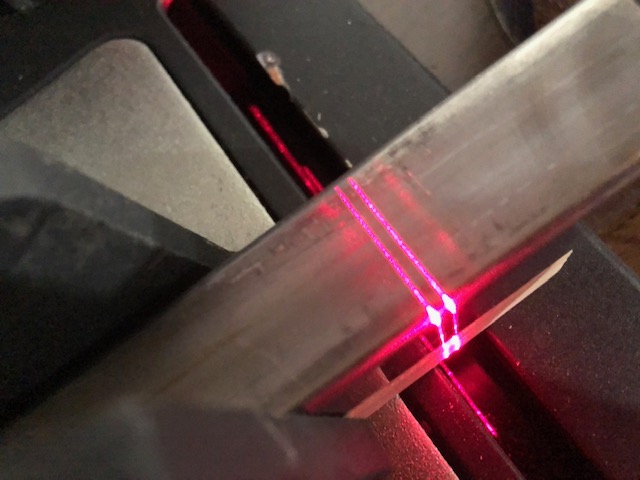
In operation the lasers should paint lines where the the saw blade will hit the steel making it easier to measure and cut. This looks very promising, it’s time to build something a little more industrial.
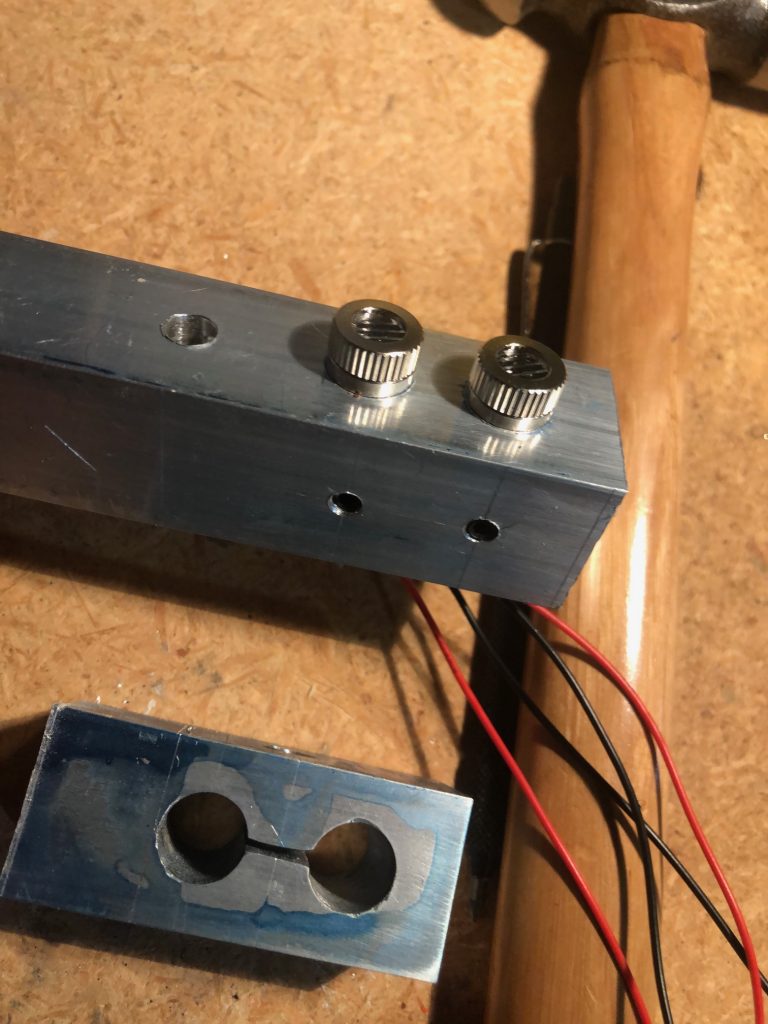
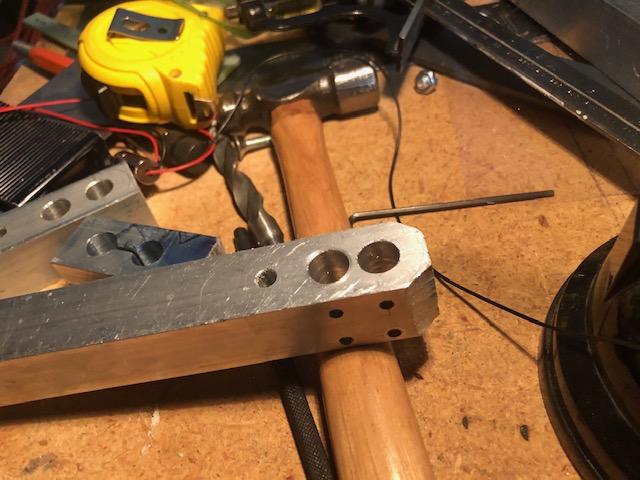
I had a piece of 1 inch square aluminum bar so I started drilling it to make the laser holder. These are the ill fated Mark I and Mark II prototypes, both discarded due to design flaws.
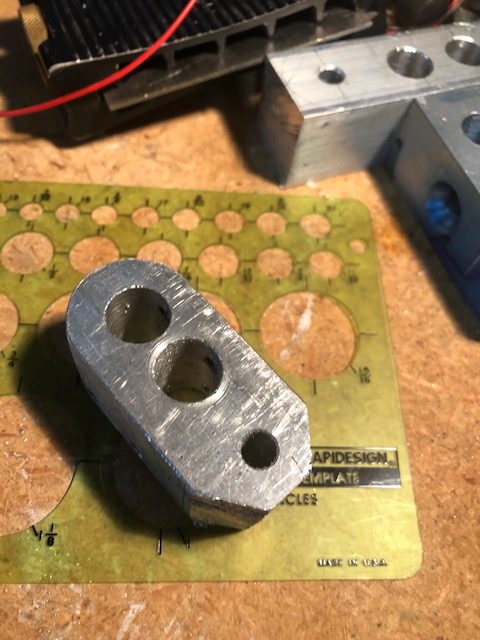
Third times a charm. This is the start of the third iteration of the holder. The two large holes (slightly stepped) are for the lasers to slide in, the single smaller hole below them is for a pivot and four tiny holes will be drilled and tapped for set screws to lock the lasers in position.
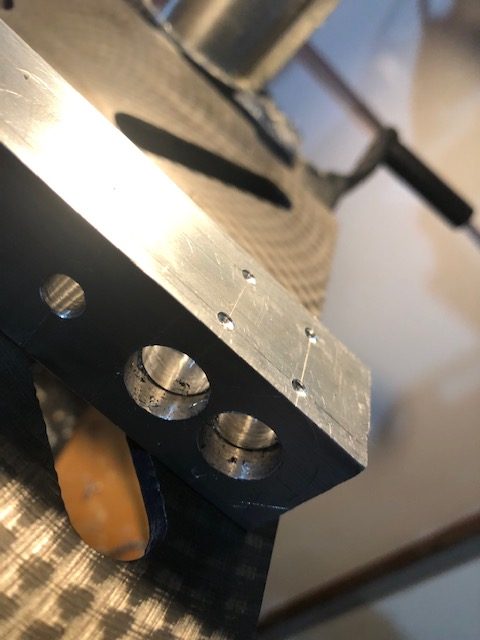
Here is the rough holder with the lasers installed for testing.
Finishing the laser head
cut the top corners off 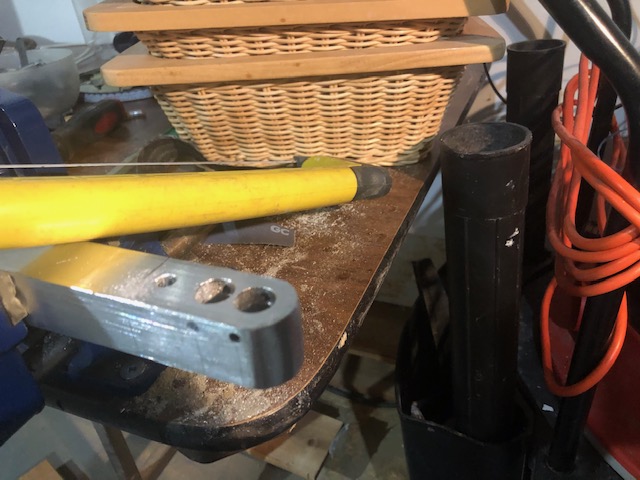
round the top 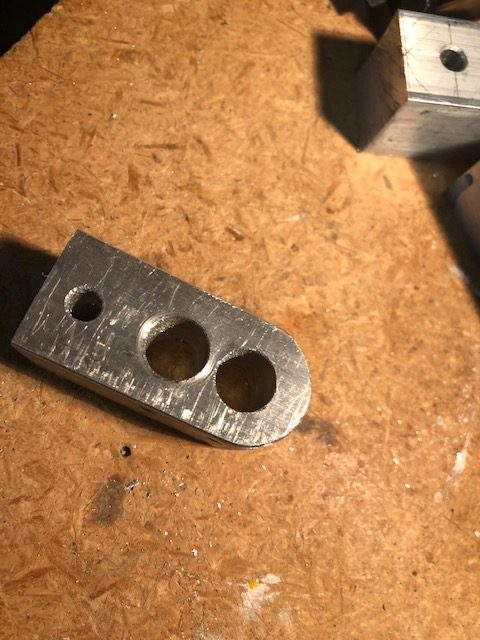
cut the holder off the bar
cut the bottom corners 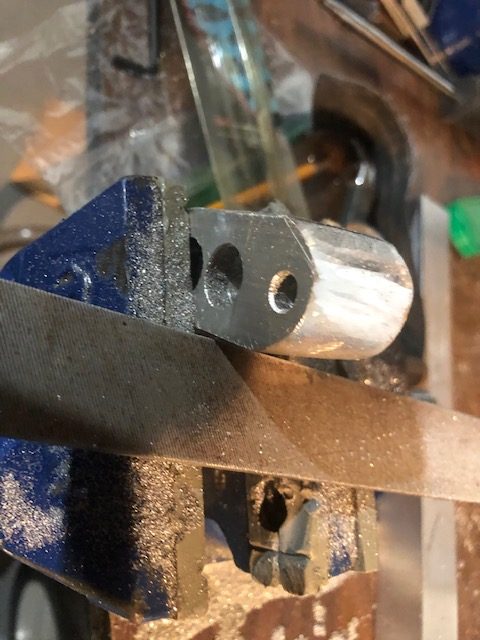
round the bottom 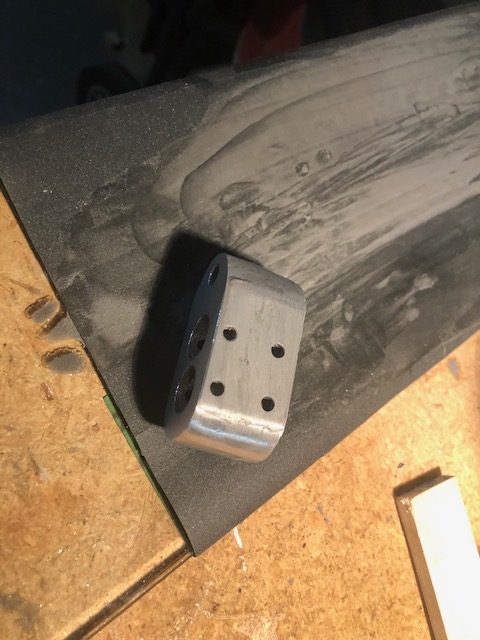
sand with wet paper
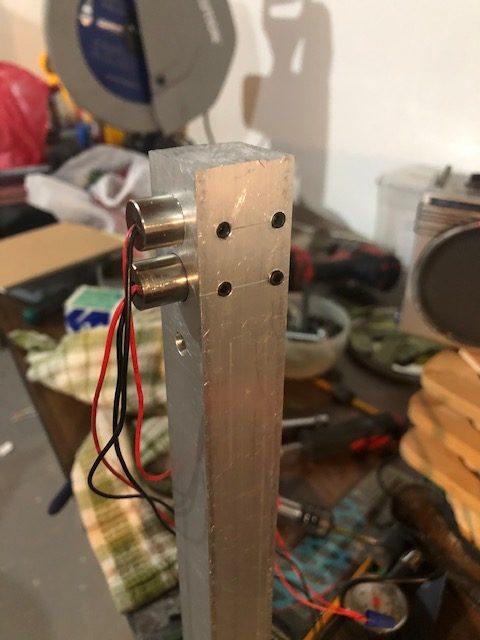
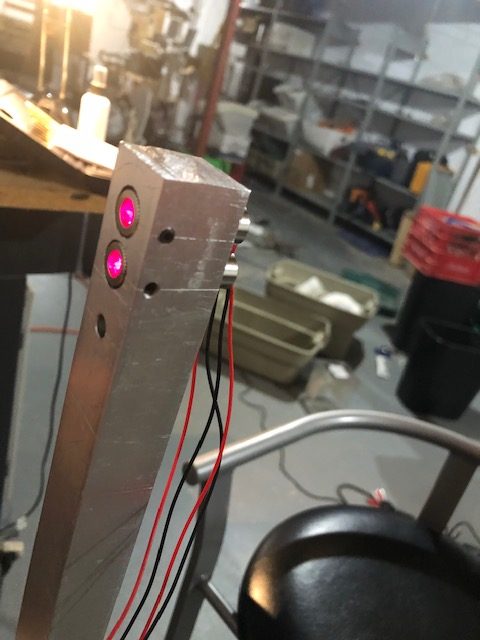
The finished holder with lasers installed and ready to go. The only power tool used was the drill press, all cutting and finishing was done by hand. Aluminum is a lot easier to shape than steel!
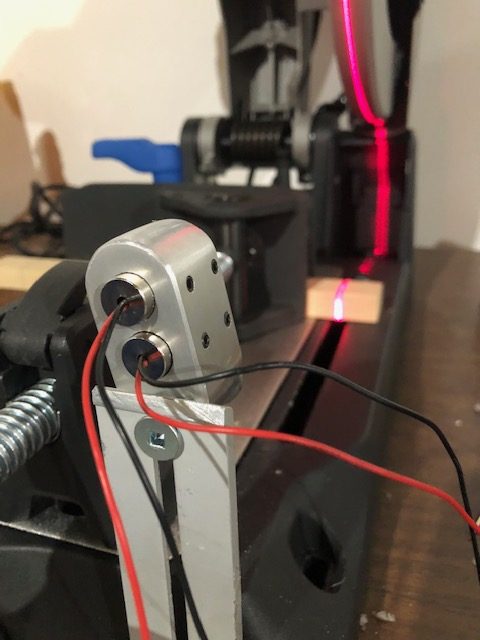
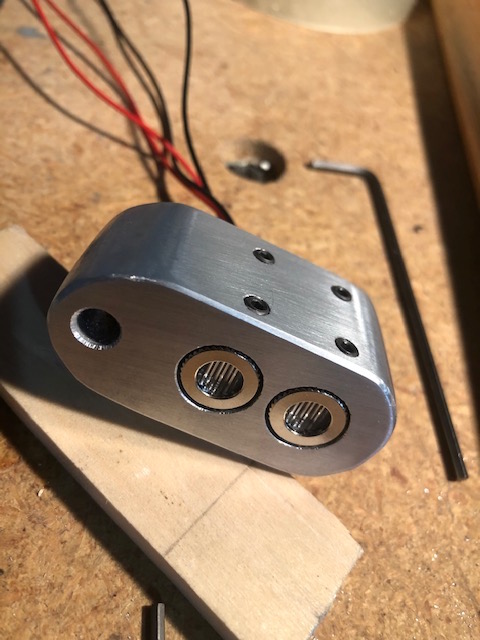
On the test bench. The head is tilted to offset the lasers (left/right) so that they mark both sides of the cut. At this point I don’t have a proper mount to attach the laser head to, that will have come in a future post when I figure out what to attach it to!
![]()