In order to build a Locost you need a 4’x8′ table to assemble and weld the frame on. The table needs to be flat so that your frame will be true. It’s also a good idea to make the bench sturdy as well. The frame will weigh about 140 lbs by the time its’ ready to come off the table and in addition it also needed to support my mass as I spent a lot of time on the table welding and grinding towards the end of the frame build. It was important that the bench be moveable as I was going to build it in the basement and needed to relocate it to the garage in the spring. I also wanted something that would replace the folding tables that currently serve as my work benches once the frame was completed.
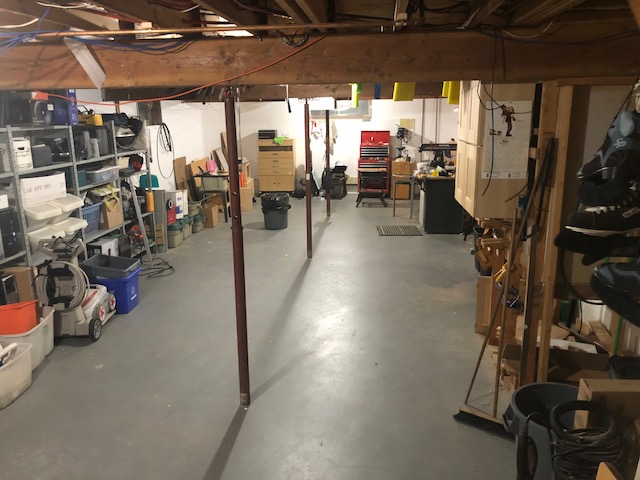
This is my basement after the purge. It took me about a month to get it to this state so I would actually have room to build something! No before pictures – too embarrassing.
In searching for bench ideas I came across the Paulk Designs website. Ron Paulk is a craftsman who designs sturdy, light, transportable wood working benches and systems and sells plans for online.
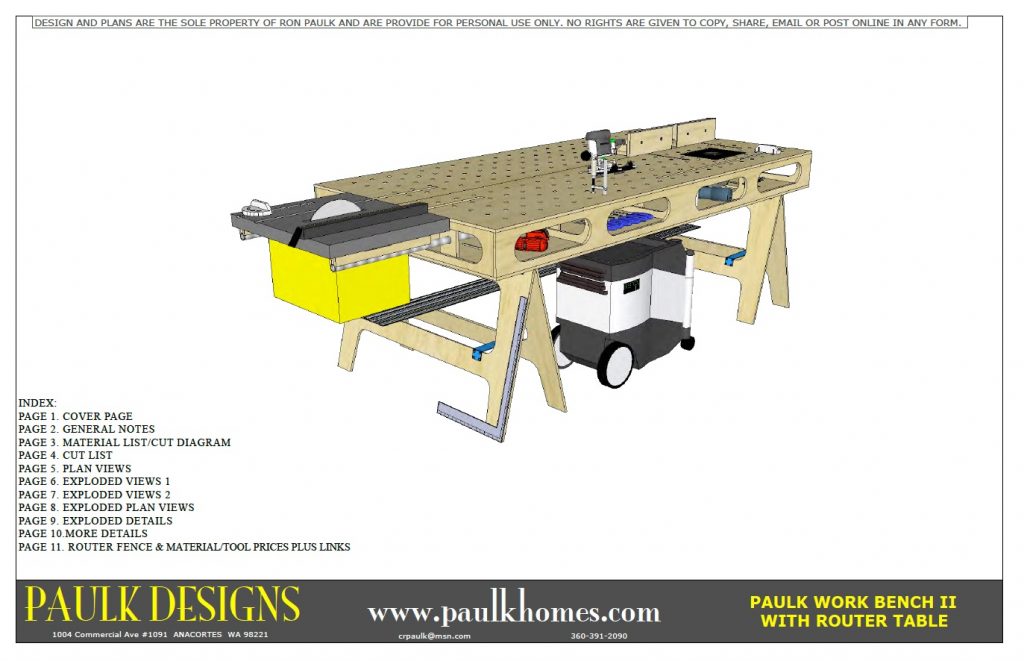
This 4’x8′ bench is made up of two 2’x8′ torsion boxes fabricated from 1/2″ plywood. The top of the bench has 3/4 inch holes on 4 inch centers for clamping material. Without the add-ons for the table saw and router this would make an excellent bench for the build.
I have to say that this is one of the most ambitious wood working project that I have ever taken on. I am not a great wood worker so Ron Paulk’s series of videos showing the details of the construction were invaluable. At the end of the build he hopped on to the bench and started jumping up and down! I think it will be sturdy enough. Building the bench took almost a month of my free time but it gets covered in a couple posts.
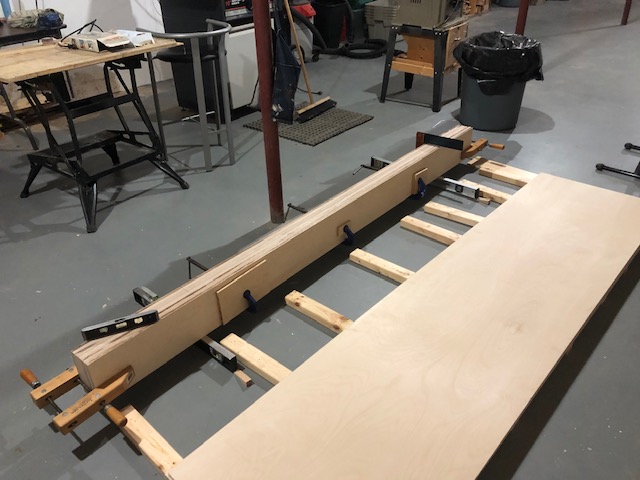
I picked up the material to build the bench. I used 1/2 inch (technically 12mm) Baltic Birch plywood and had it ripped to width for the tops and stringers at the wood supplier since I don’t have a big table saw or track saw to rip 4’x8′ sheets accurately and easily.
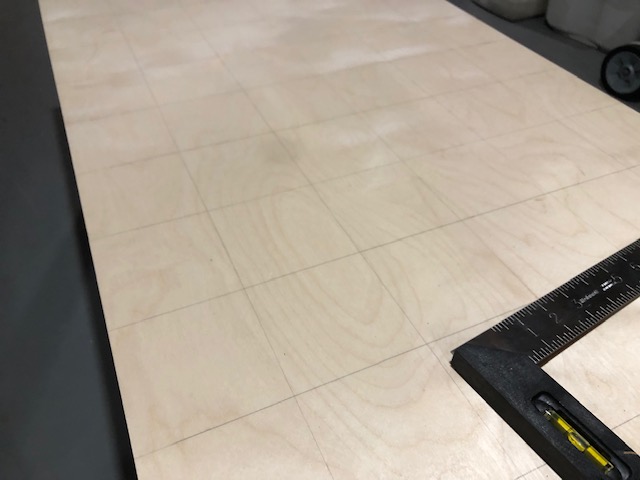
I marked out one of the tops with a 4″ grid for the 3/4″ holes. A plunge router will be used to drill the the holes.
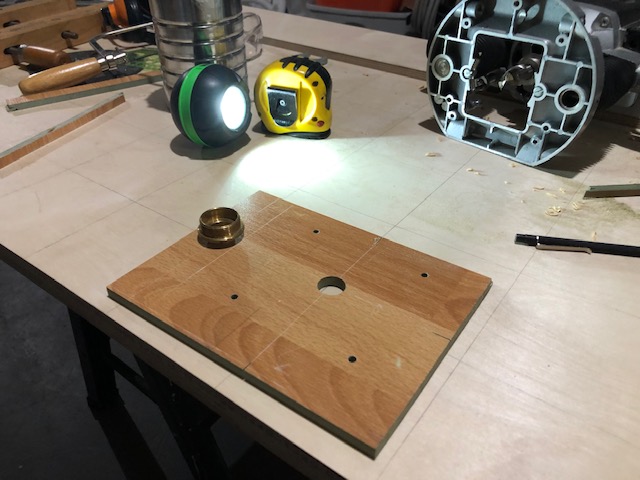
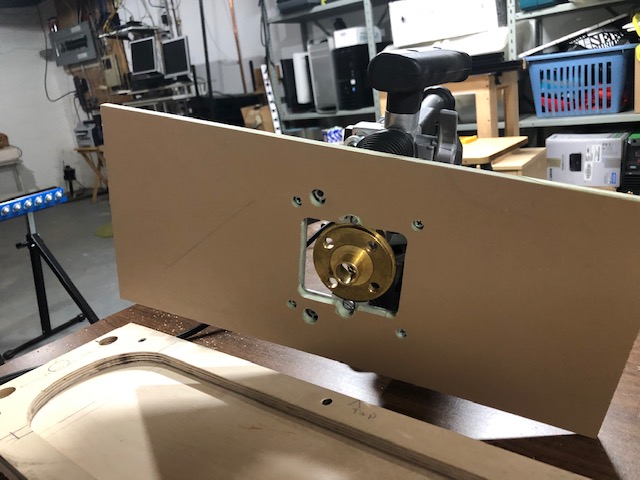
In order to make the hole drilling easier I made an indexing guide out of a scrap piece of laminate flooring and a brass template routing guide that happened to have a 3/4″ OD. The guide screws onto the bottom of the router in place of the standard bottom plate.
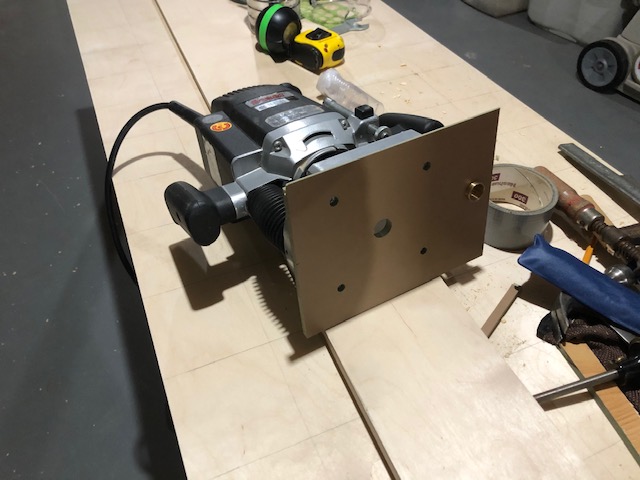
The plate is attached and you can see that brass guide extending through it. After the first hole is drilled the router can be moved along a straight edge and the trailing 3/4″ guide will drop in the hole and position the router for the next hole.

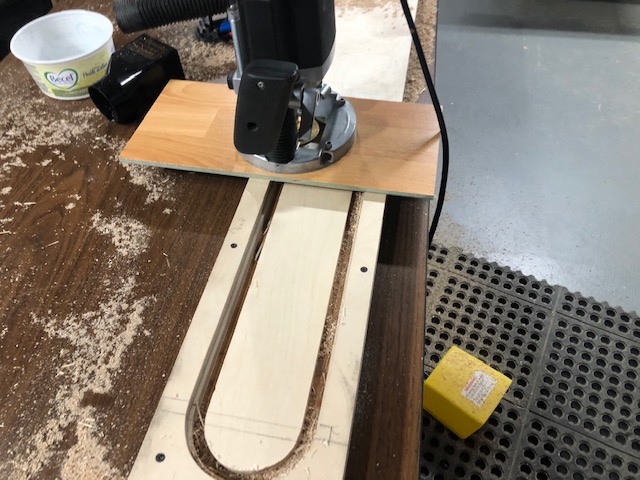
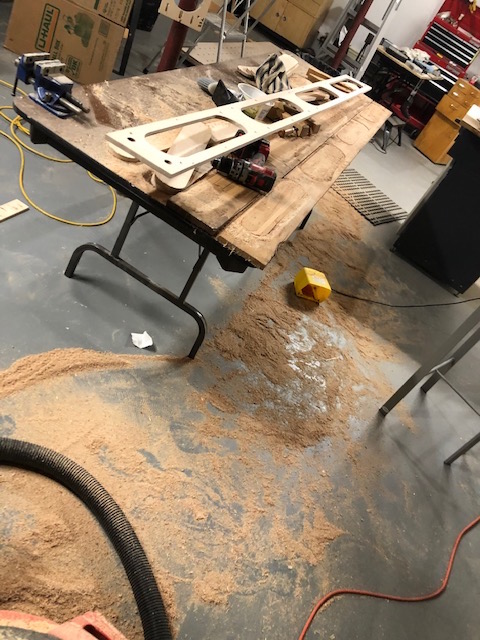
Here it is in action. The router is moved along the straight edge and the indexing guide positions it. The shop vac is connected to the router to clean up all of the sawdust before it hits the floor (and there is a lot of it!). Plunging through both tops together cuts the work in half!
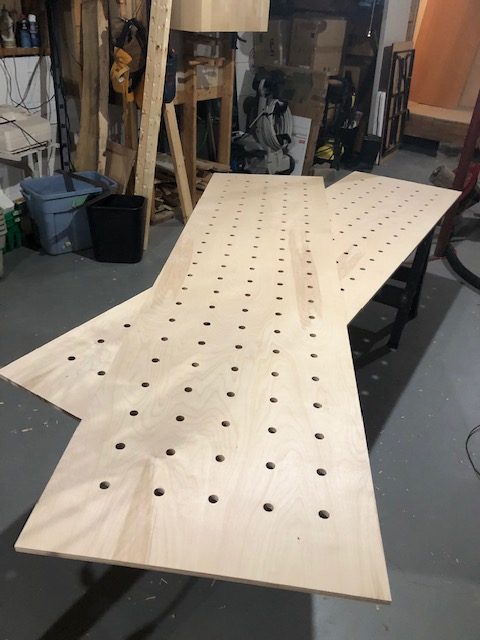
All done, except for everything else!
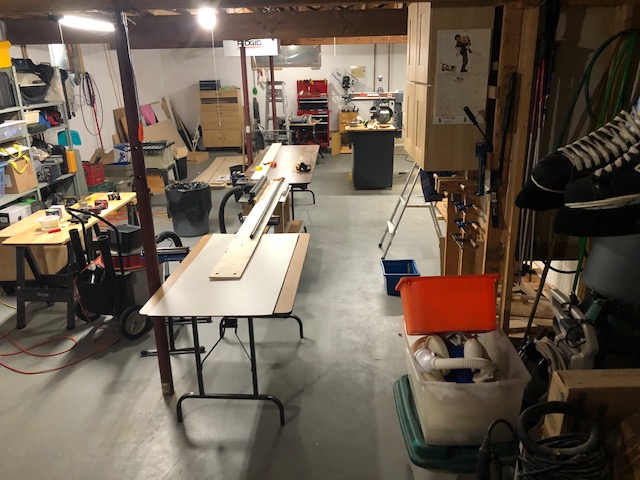
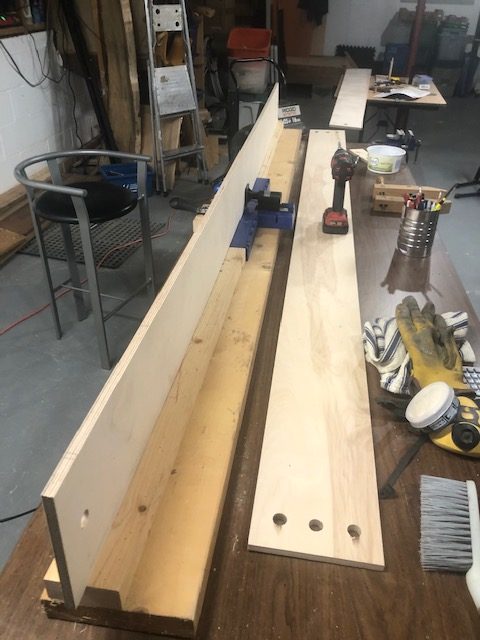
The shop reconfigured with the router table set up between two 8′ folding tables to use as a jointer. I am taking a small cut off each side of the stringers to clean up the saw cuts and make the widths consistent. With 8′ material you need 16′ feet of space to do anything!

The side and end stringers are cut using the router, templates and a template guide. I first made a master template by hand, it would be used to cut the openings in all the templates. The master is made oversized to compensate for the size reduction that happens when cutting with a template guide.
Another base was made out of scrap laminate flooring. It’s wide enough to bridge the templates and make cutting steadier.
Making the templates, the master guide is attached to a clean piece of plywood and the router cuts the shape. I was using a 1/2″ spiral bit for the cutting. A couple laps around the guide and we are done.
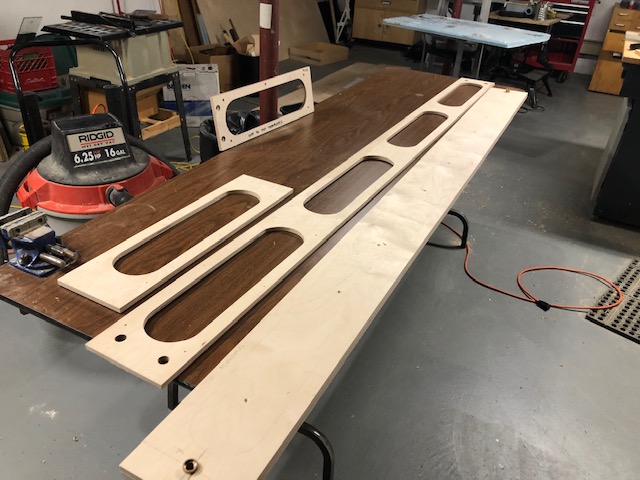
The finished templates ready to start cutting the side and cross stringers. The hand made master template is leaning against the post.
Another shop reconfiguration. The torsion boxes are held together with glue but they also use pocket screws (and quite a few of them) to keep everything secure while the glue sets. The blue box is a guide for drilling holes for the pocket screws. All of the holes were were drilled before cutting the templates with the router.
On to cutting, the 1/2″ bit generates a lot of sawdust! An old cedar board is placed under the template being cut so that the bench top does not get chewed up.
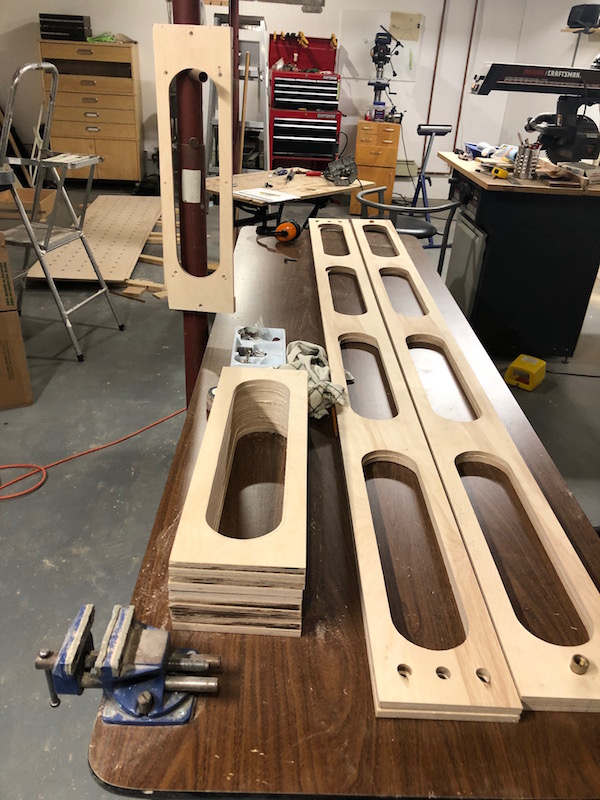
All the stringers cut and ready for the next step .
![]()