Now that the cutting table is complete it’s time to attach that laser guidance system. I decided to attach it to the side rail of the table frame rather than directly to the saw.
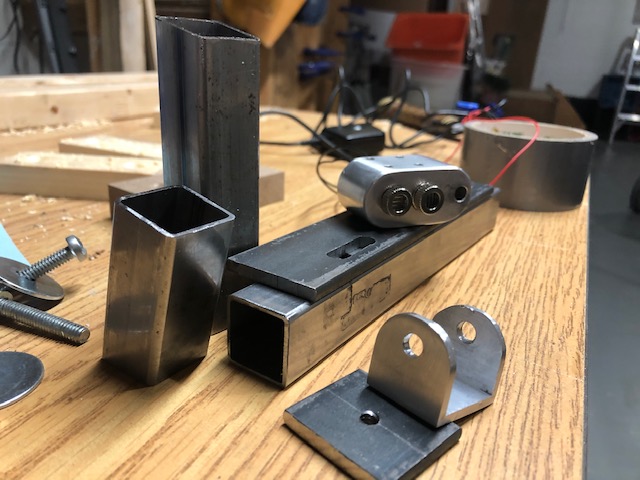
Here are the basic components of the mount cut and ready to assemble. The U bracket was made from a piece of square aluminum tubing. It will enable the laser head to pivot to create that blade width gap between the two lasers.
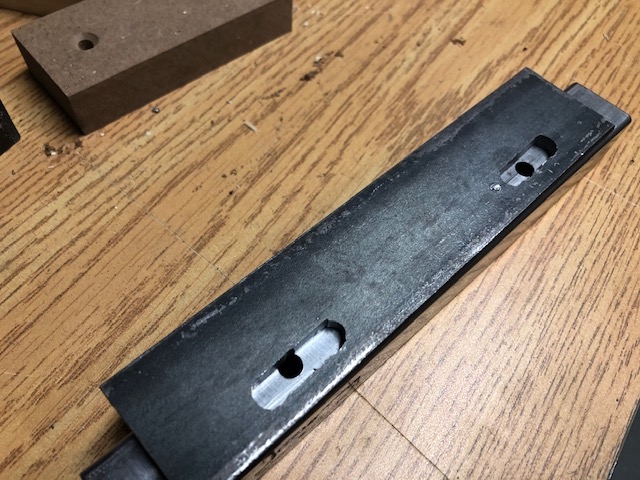
The steel plate with the slots will allow the bracket to be shifted left/right to align with the saw blade. It took a long time to drill and file those slots – steel is hard to shape.
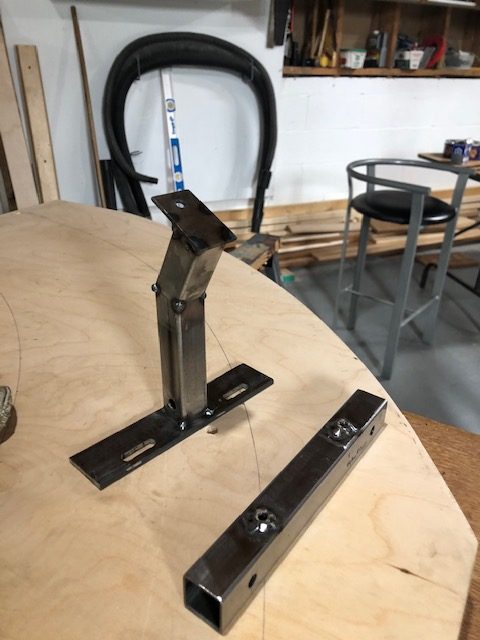
The bits have been to the garage and back, they are tacked together and ready to test mount. The square tube will bolt onto the side frame and the flat slotted plate will bolt onto it.
The two Allen screws on the base allow the mount to slide in the slots. The U bracket allows the head to pivot and it can swivel to help line things up. Time to weld this thing.
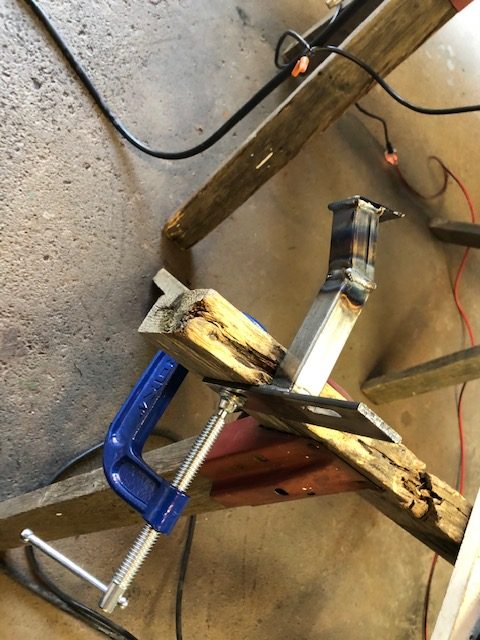
Trying to start a fire. 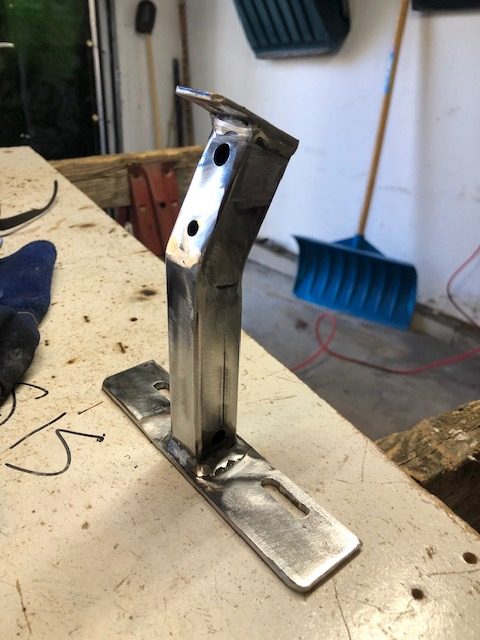
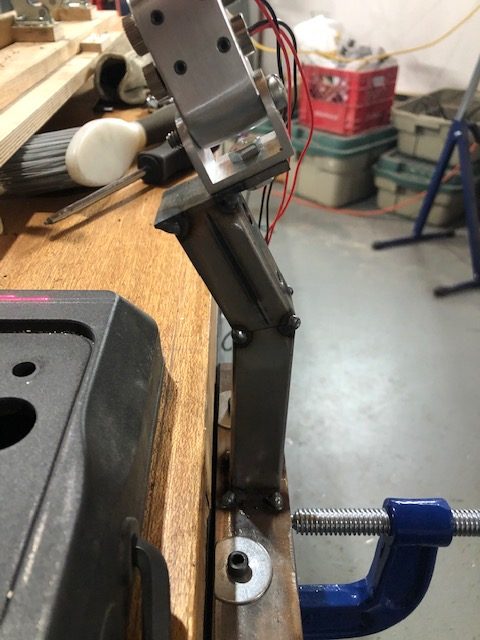
Everything looks better after you massage it with the angle grinder.
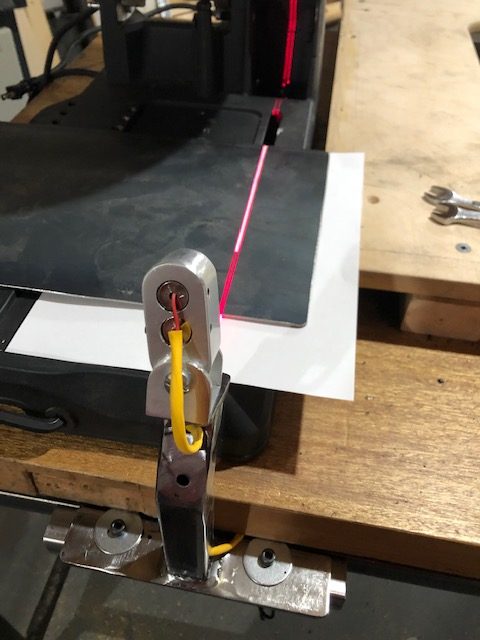
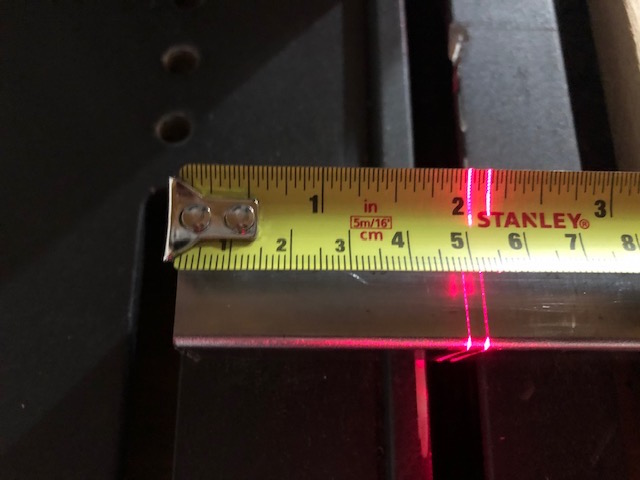
In order to align the lasers I made a guide out of 1/8″ plate. It was cut on the saw and can be position by lowering the stationary blade through it. I used with a sheet of white paper under it to make the lasers more visible. It took a bit of time but I was able to get things aligned nicely. I was worried that any bump of the laser head would knock it out of alignment. Once it was bolted down it was solid and the alignment wasn’t disturbed by any “normal” contact.
First test cut using the laser – success!
![]()