I’ve been concerned about accurately cutting angles in steel tubing using the chop saw for some time. Although the new saw is much improved over the original it still has a small miter gauge/scale which will make it very difficult to accurately set random angles. There are a large number of non standard angles in the plans (say 9 degrees) that need to be set accurately. I have been thinking about building a cutting table with a large fence that would replace the clamp and miter on the saw, it could make setting fiddly angles easier. Nothing ventured…
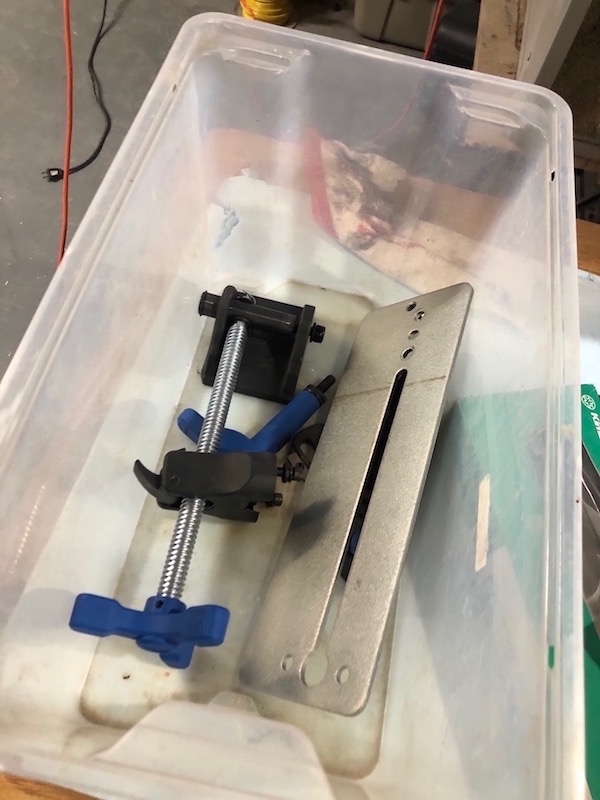
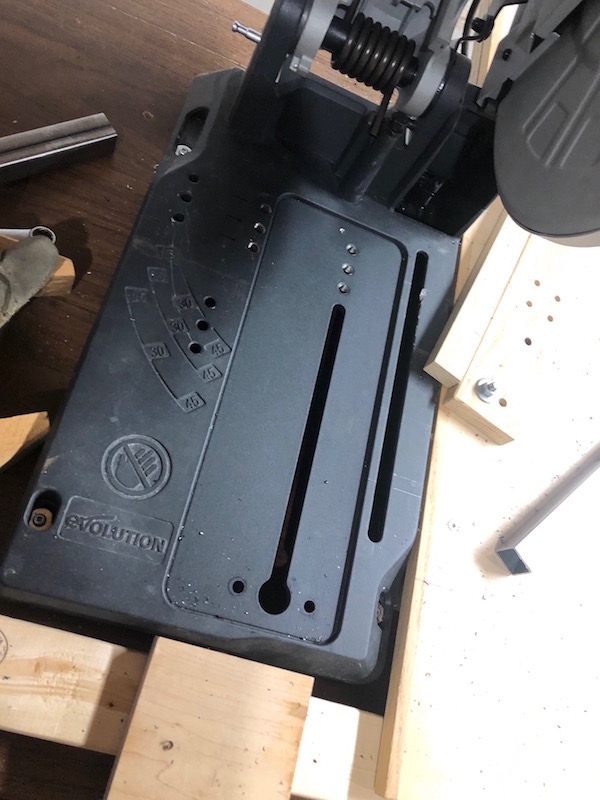
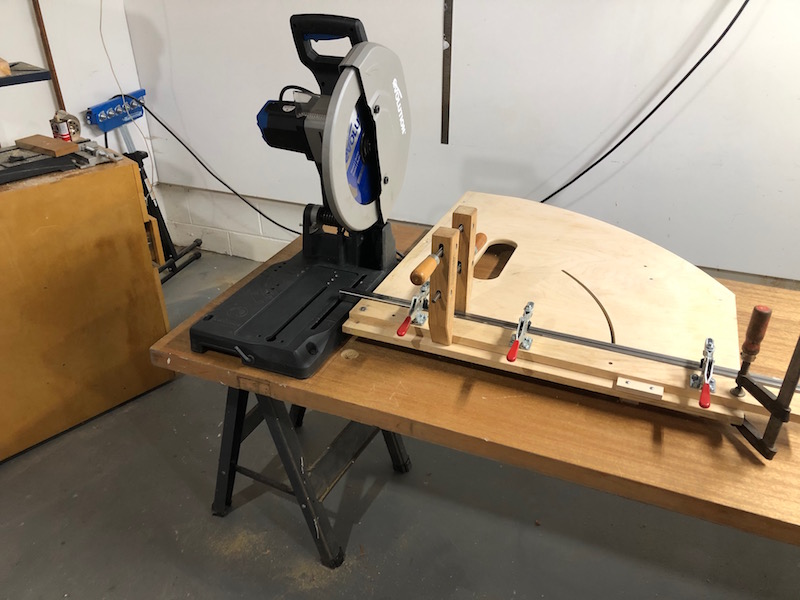
The first order of business was to take the clamp and associated hardware off the chop saw and put it into storage. Then the naked saw was bolted down securely onto a good work surface, one of the much abused folding tables.
Next an old board that I had made years ago to use with the router for flush trimming was repurposed. It was shimmed level with the bed of the saw and attached to the table. The trimming board has a pivoting fence on it and the idea is that it can be used to set any angle like a giant protractor.
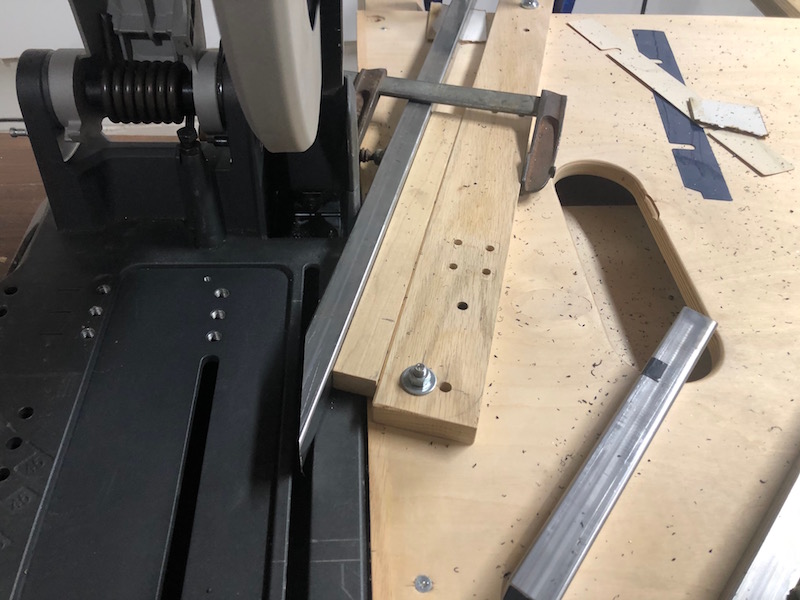
Using some sketchy clamping work to do a test cut of the most acute angle required in the build. The steel was clamped to the fence and and the tail end of the fence is clamped to the board at the appropriate angle.
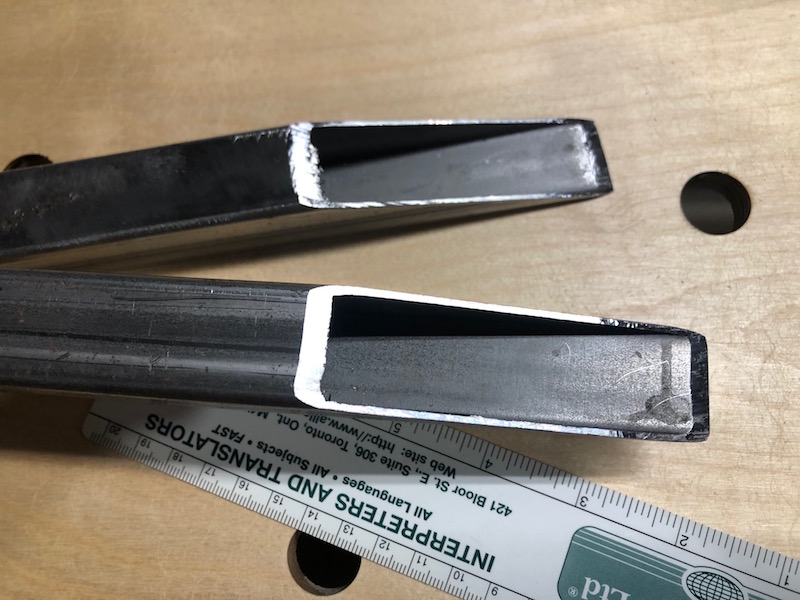
Success! The test cuts look very good. The setup gets upgraded to an old solid core door as the work surface.
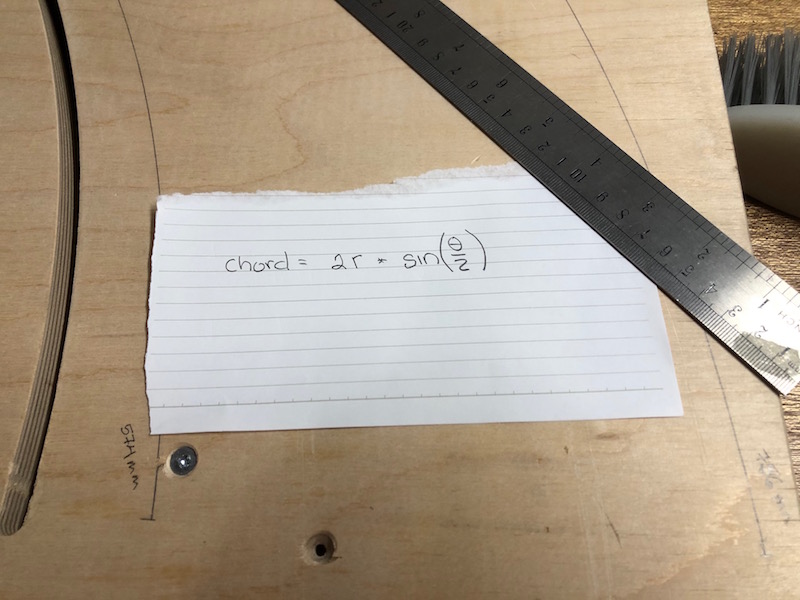
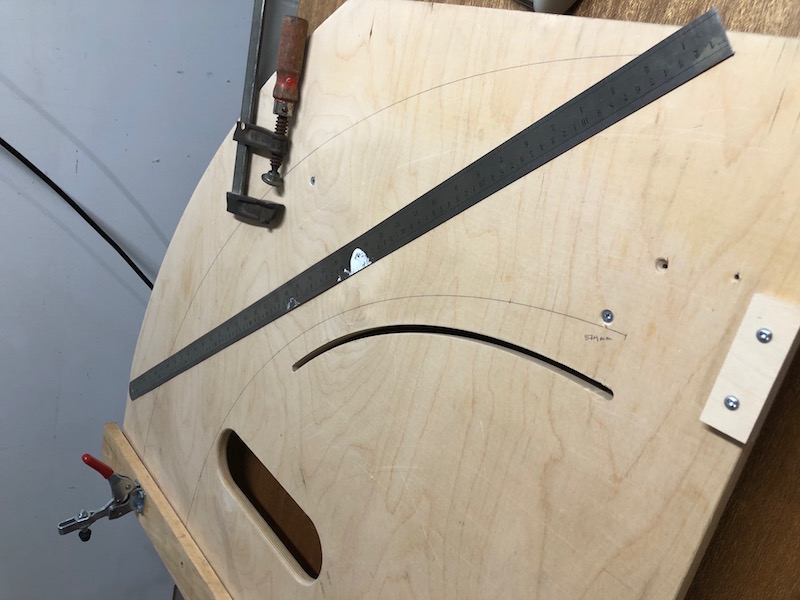
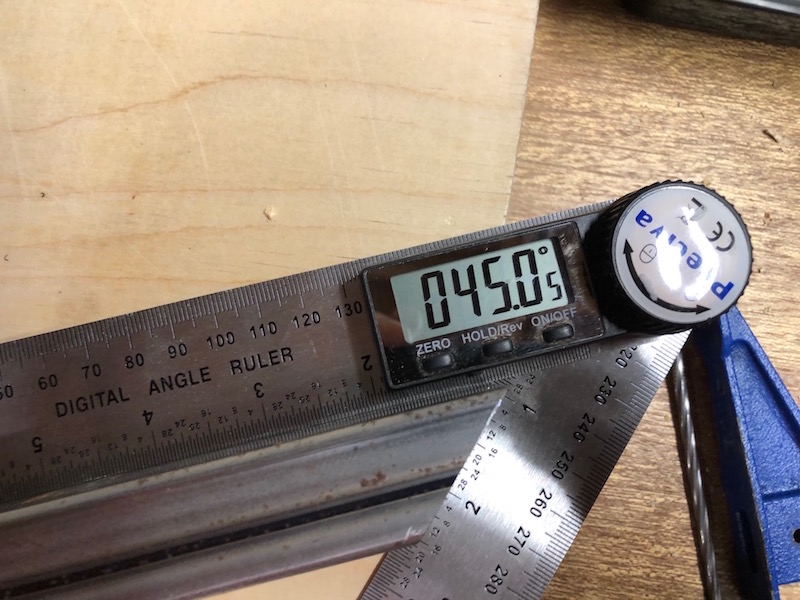
Now we can use math to set the fence angle for any cuts required. The fence traces an arc of radius 756 mm as marked on the board. That is the radius used to calculate the chord of any angle using the formula on the paper in the left image. At that radius a change of one degree results in a change in chord length of over a centimeter. That means that small differences in angles are easily discernible. We will be able to set angles accurately and differentiate between 8 and 12 degrees for example. I used a one meter steel ruler to measure and mark the distance from the stop position of the fence (90 degree cut) and any angle desired. An Excel sheet was created to calculate the chord of every angle. A digital angle measuring instrument comes in very handy as well.
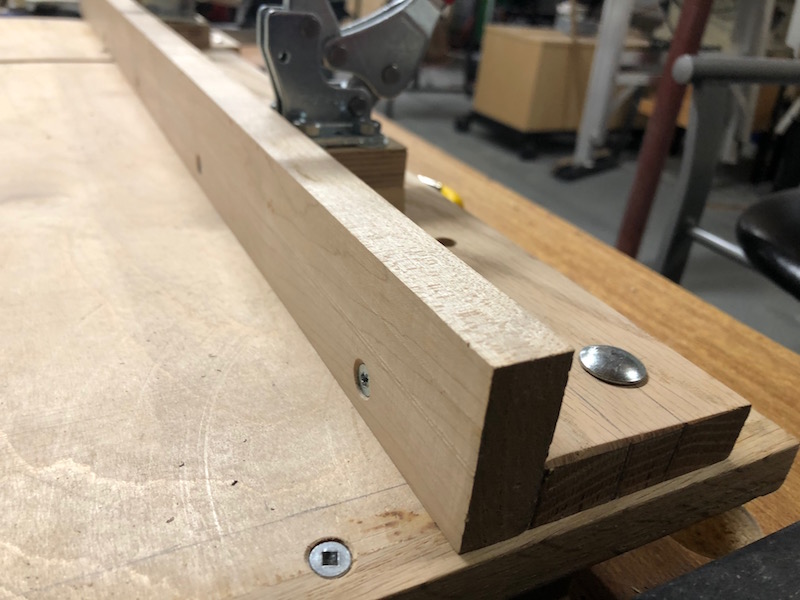
The fence gets upgraded so that it is 2″ high. It can now support two 1″ tubes for cutting at the same time. This keeps matching parts consistent and cuts the work in half.
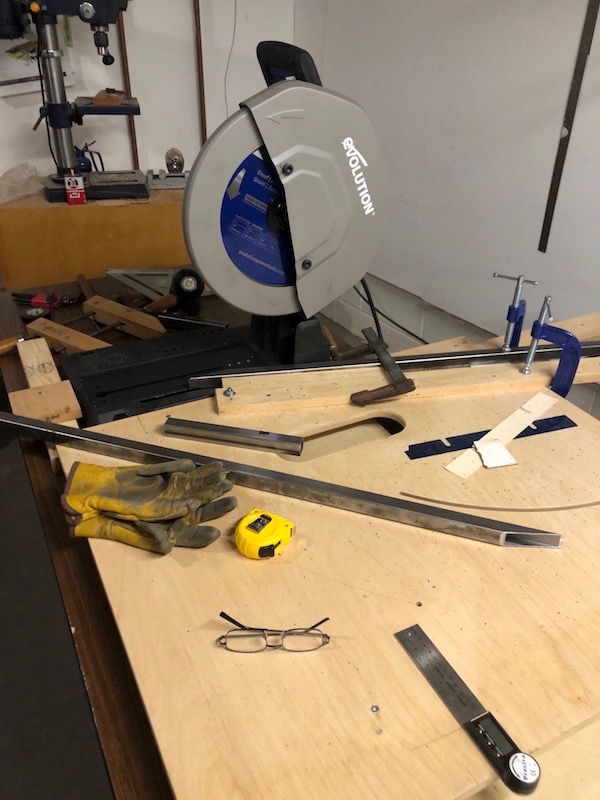
Here is the setup ready to go. The red handled toggle clamps are really only useful to hold the work in position for clamping. I normally use two of the large hand screw clamps to securely clamp the steel to the fence. The fence is then clamped to the board with a single bar clamp at the free end.
The saw is powerful. Trimming a short piece off the end of the clamped tube can result in it getting launched with considerable force against the wall or into the saw guard. Yikes! For this reason it is not recommended to cut short bits on the saw. Unfortunately, there is no way around it so I have taken to holding the bit being cut off with a pair of long handled water pump pliers. This works really well, especially with the laser system to show where the blade is going to cut.
![]()