
Another shop reconfiguration to set up the router again. This time to round over all of the inside edges that were cut using the router/templates.
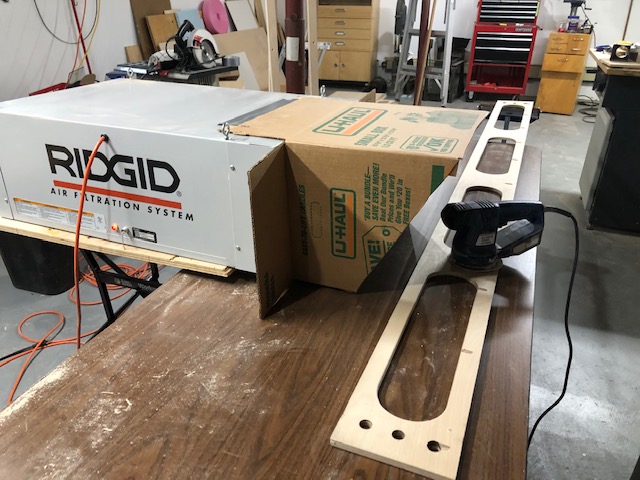
Followed by a pass with the random orbital sander. A repurposed hanging air filter complete with custom cardboard hood helps keep the dust under control.
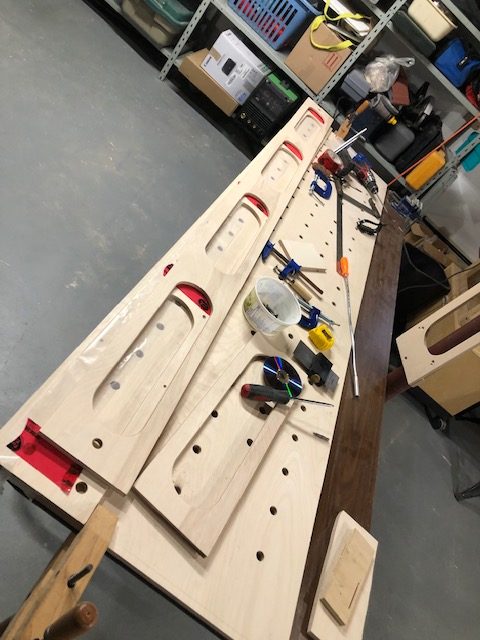
One half of the bench ready to assemble.

I used this guide (screwed to the assembly table) to ensure that the bench top would be slightly proud of the side stringer. It would be cleaned off later with a flush trimming bit.

The first side attached, things move pretty fast at this point.
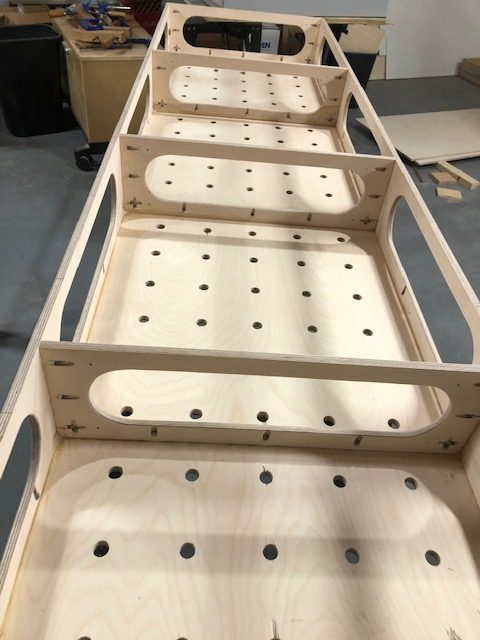
The side and cross stringers glued and screwed onto the top. You can see the pocket screws in this view.
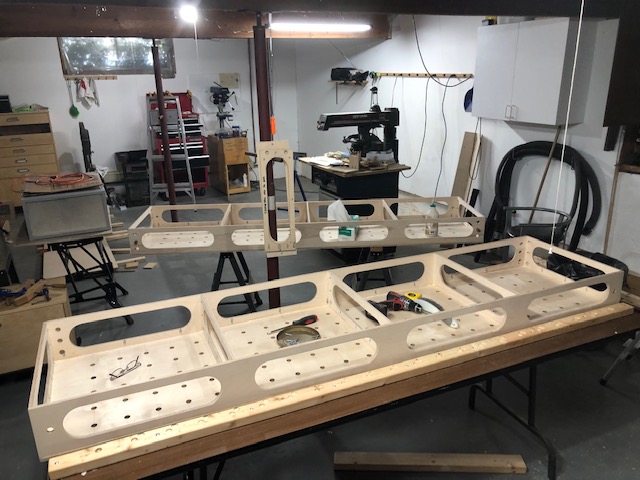
On to box two.

Resting for the night. Bottoms will be attached after the glue has dried.
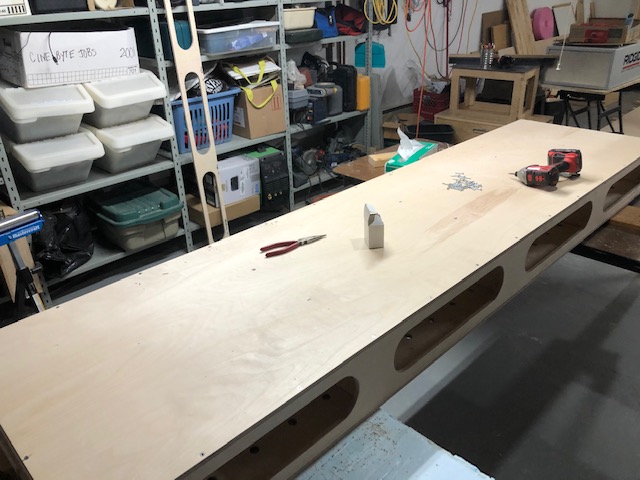
The next day it’s time to put the bottoms on. At this point the boxes feel a little “flexible”, they can be twisted a bit if you force them. Gluing and screwing the bottoms on fixes that!

All the glue has set, the boxes are very rigid. Using 1/2″ material means that the bench is reasonably light. I can muscle each half around the shop by myself and I’m old. Moving them to the garage with help will be no problem.
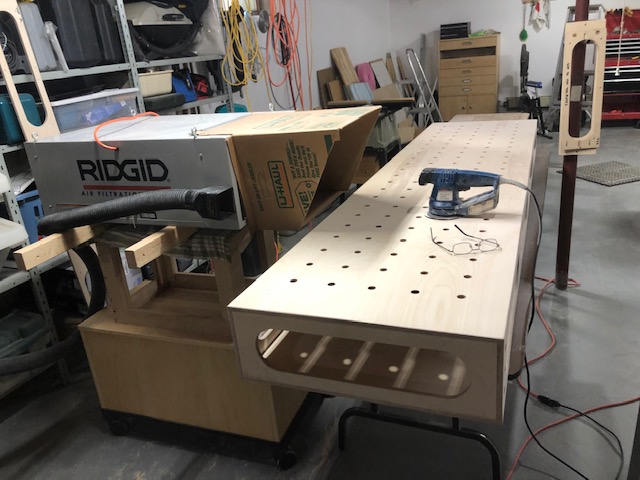
One last trip to the sanding table.

A couple coats of urethane applied, now just a proper base is needed.
![]()