Time to fabricate the camber adjusters for the rear suspension – twice.
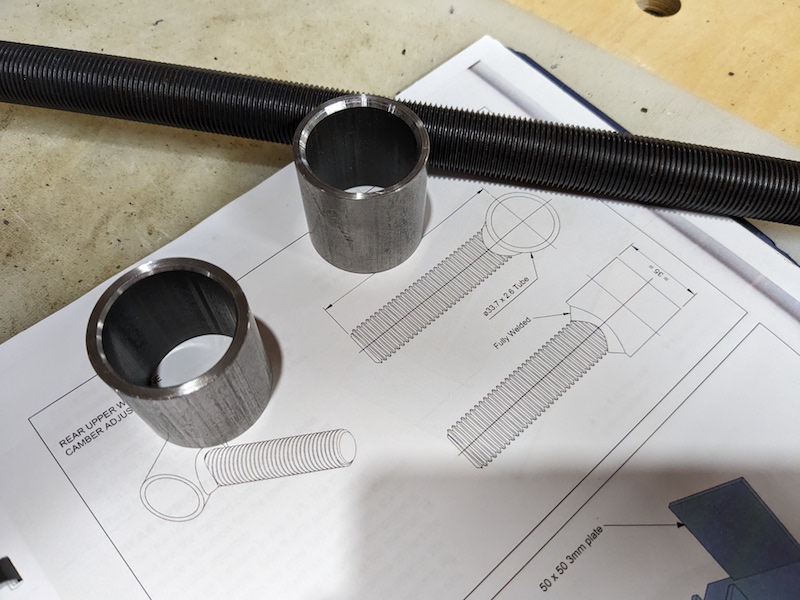
These connectors attach the top control arm to the yet to be fabricated rear hubs. once they are fabricated, the rear suspension components can be assembled and used to help determine what the hubs will look like. A short length of high strength threaded rod needs to be welded onto a bushing tube.
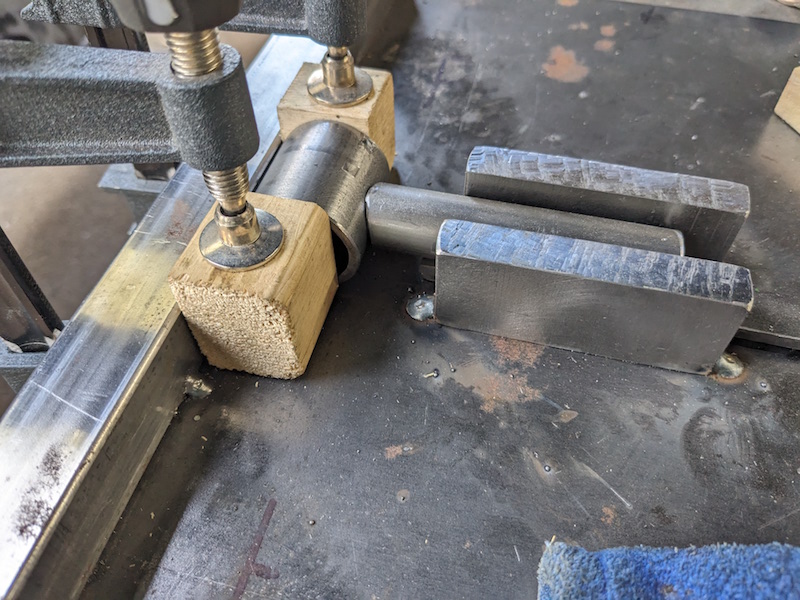
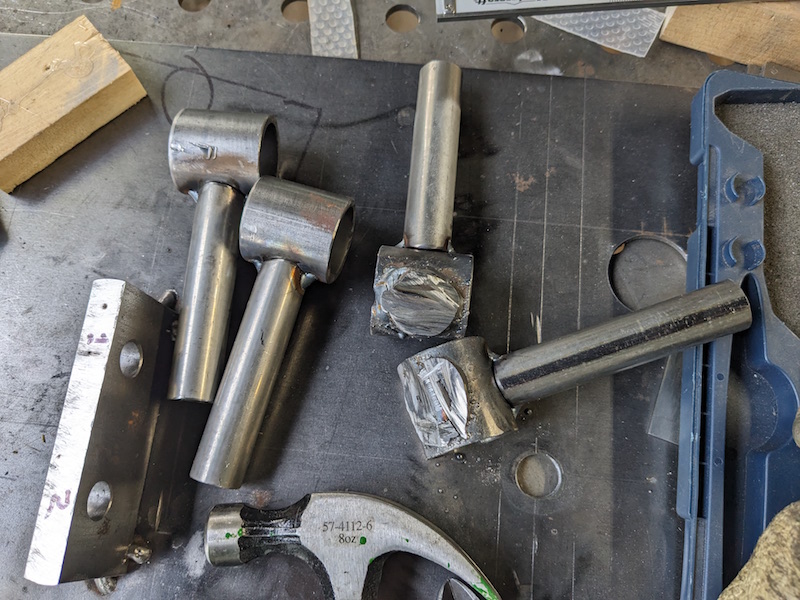
My first attempt did not go well, welds were messy and alignment was not good. I needed some practice so I made up practice pieces using scrap 3/4″ tubing rather than threaded rod. I tacked them together ready for welding. The two on the right are made with the bushing tubes salvaged from the first attempt!
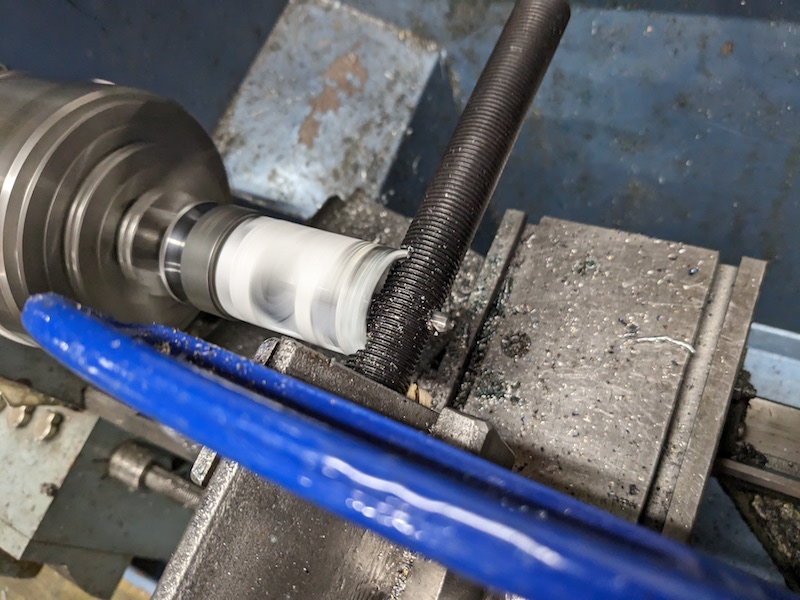
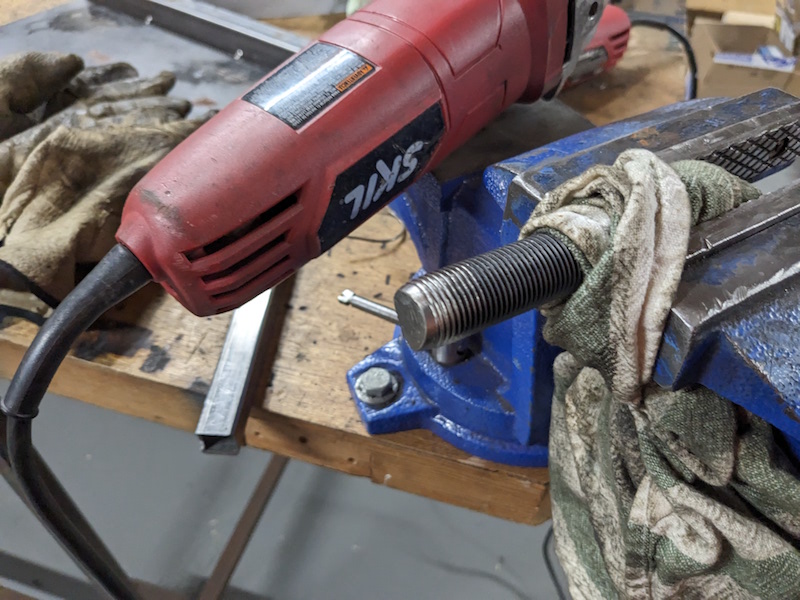
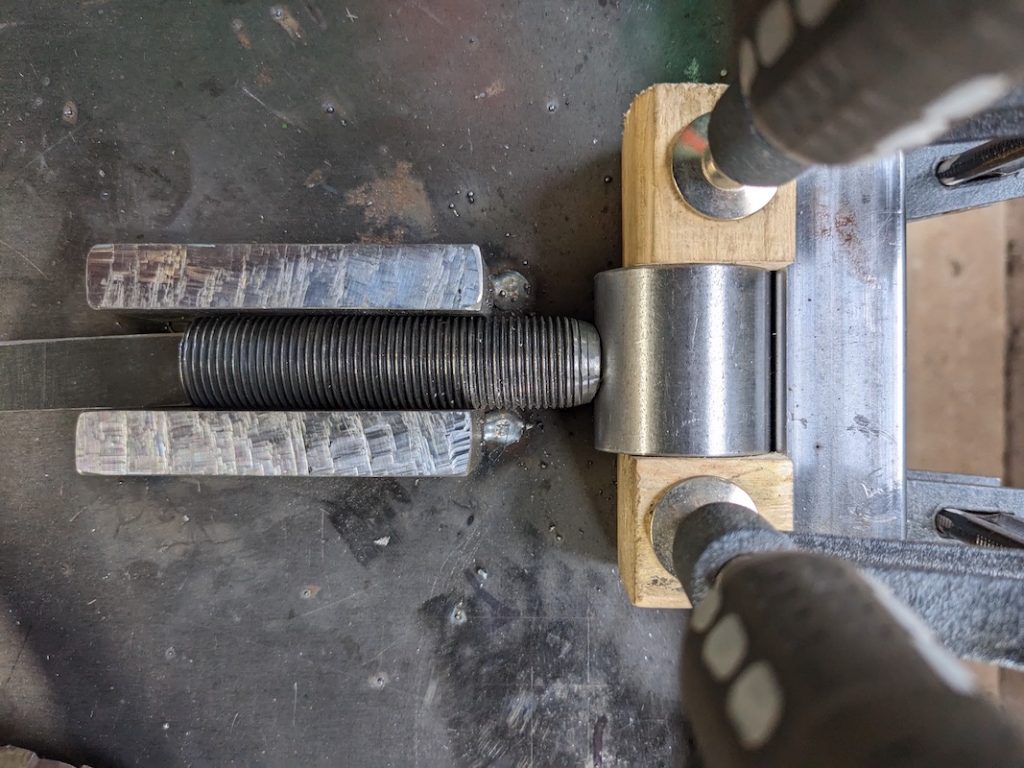
The lathe is instrumental once again! The weld area is tapered and everything is aligned in the jig for tack welding.
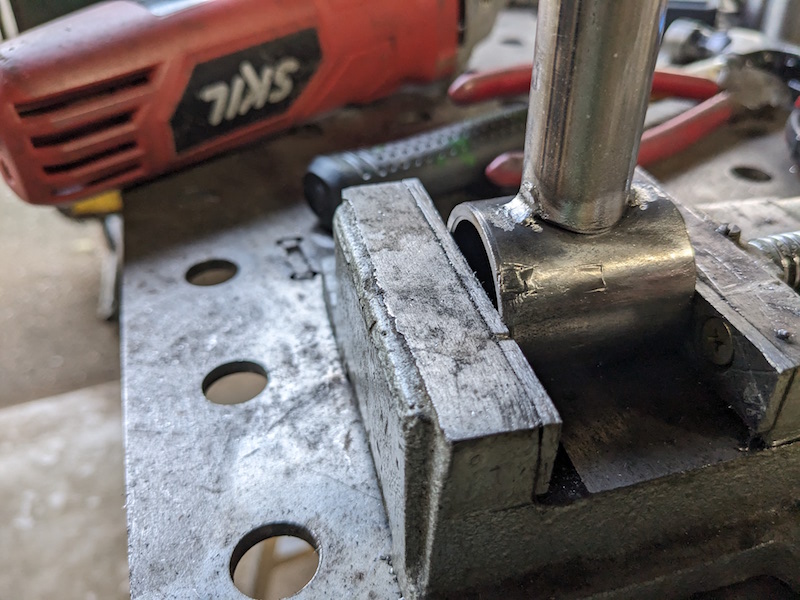
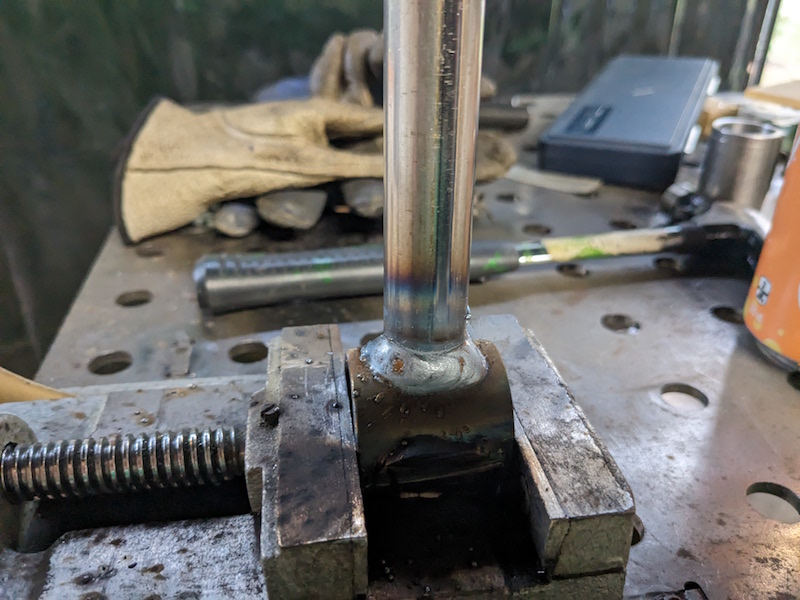
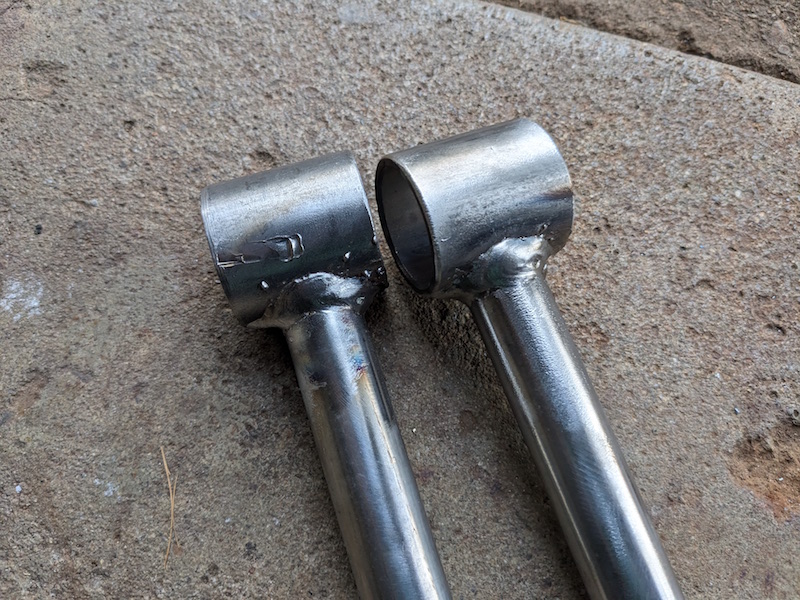
In order to fully weld the practice pieces I clamped them upright in a small vice. In this orientation I could weld half way around the tube without interruption. I set the welder heat higher than the metal thickness recommendations and the results were very good. Time to move on to the camber adjusters.
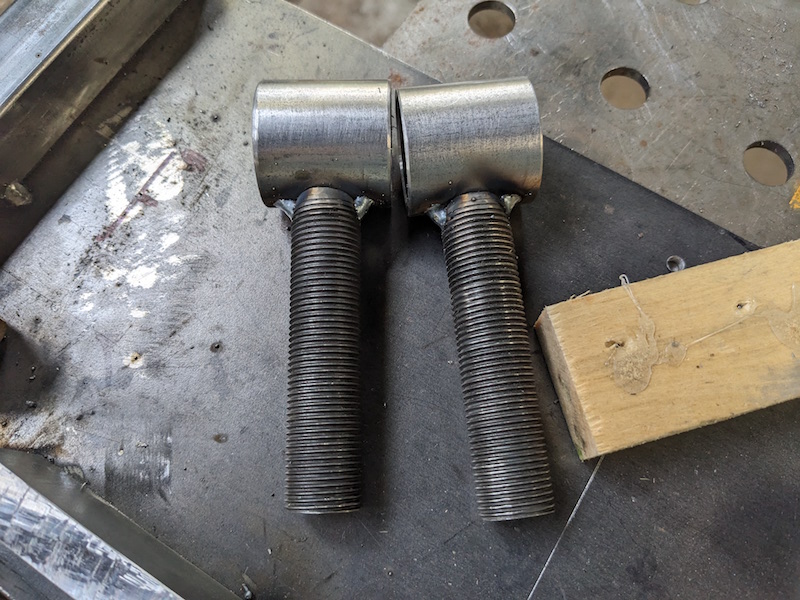
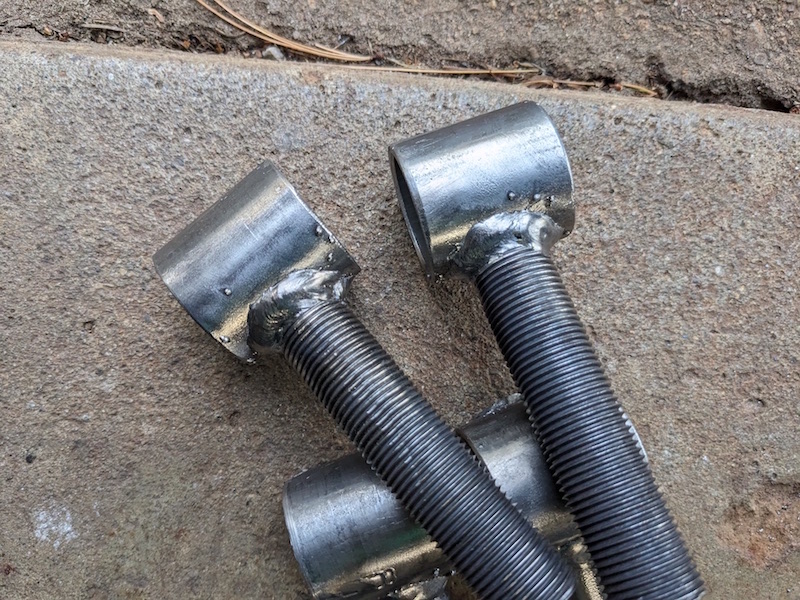
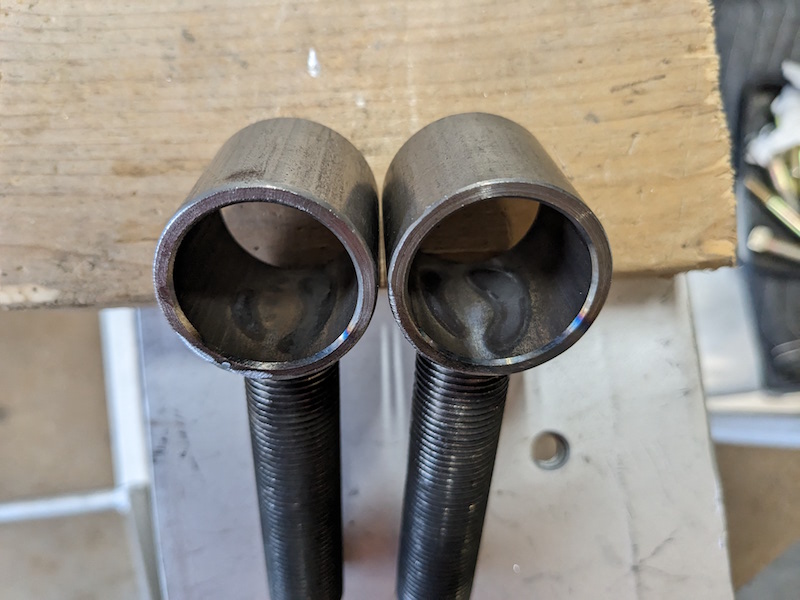
Tacked and fully welded. I’m very happy with these welds, you can see the heat marks left on the inside of the bushing tubes.
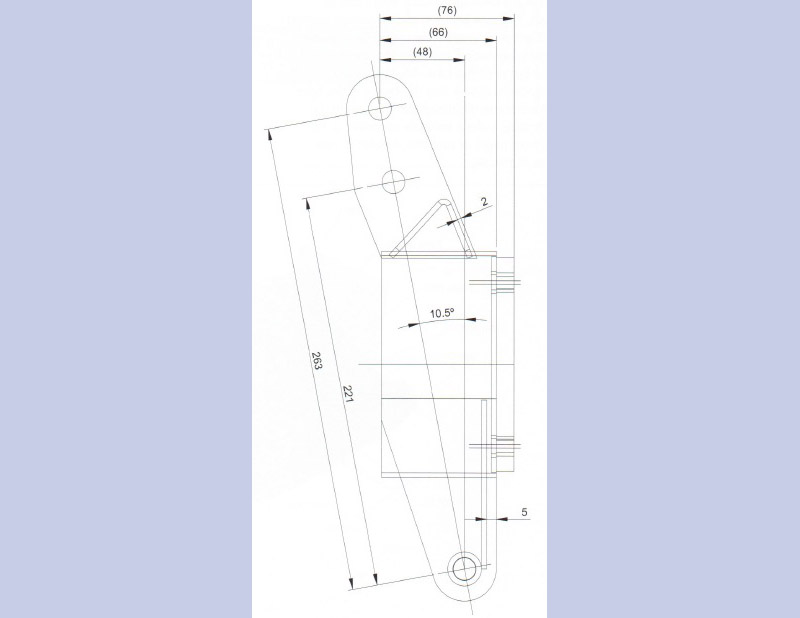
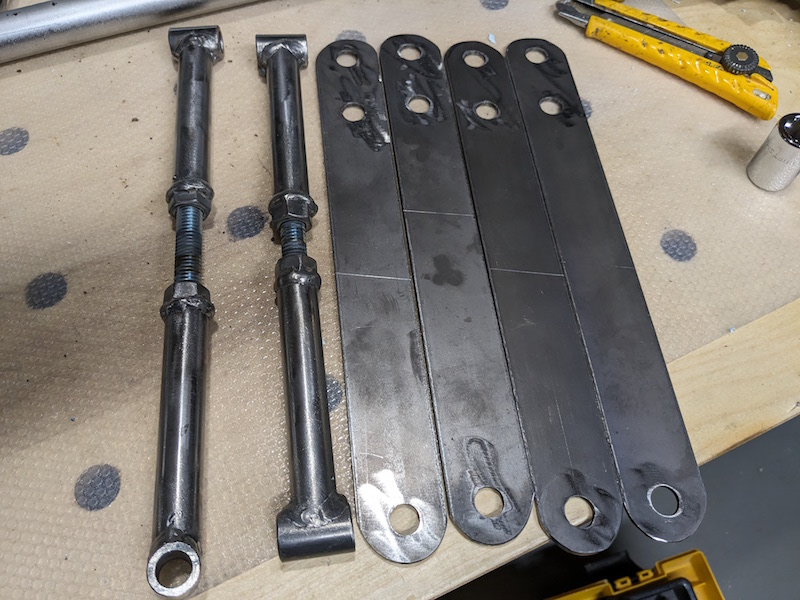
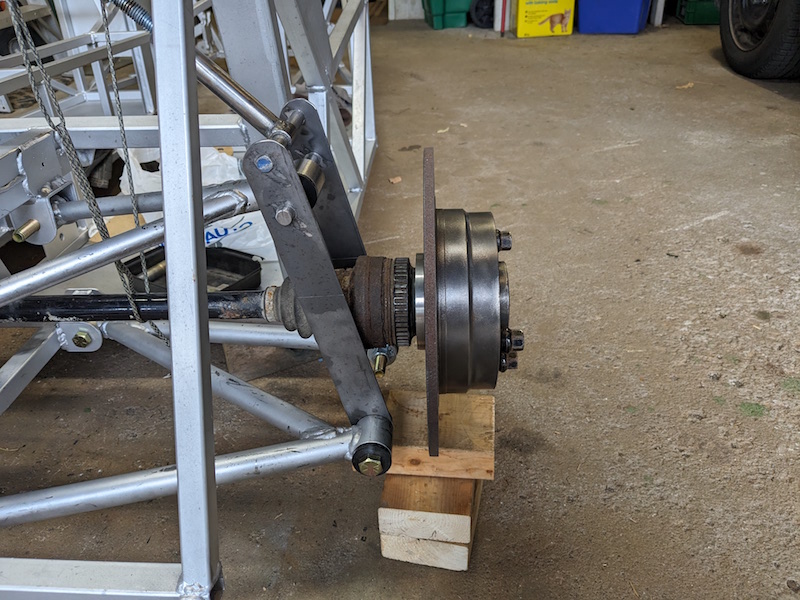
I made a set of suspension side plates that match the hole spacing in the drawing and a couple turnbuckles to take the place of shock absorbers. Now the rear suspension can be assembled around the differential and drive shafts and some serious thinking about the rear hubs can take place.
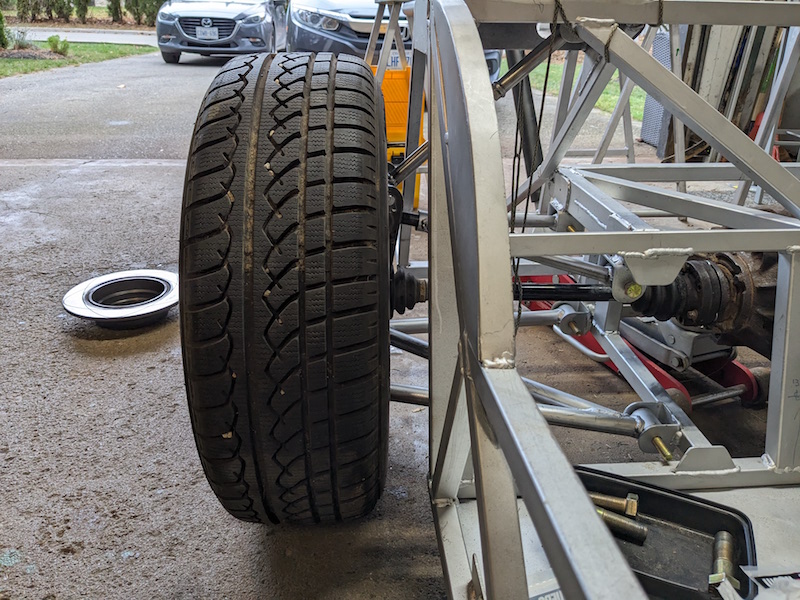
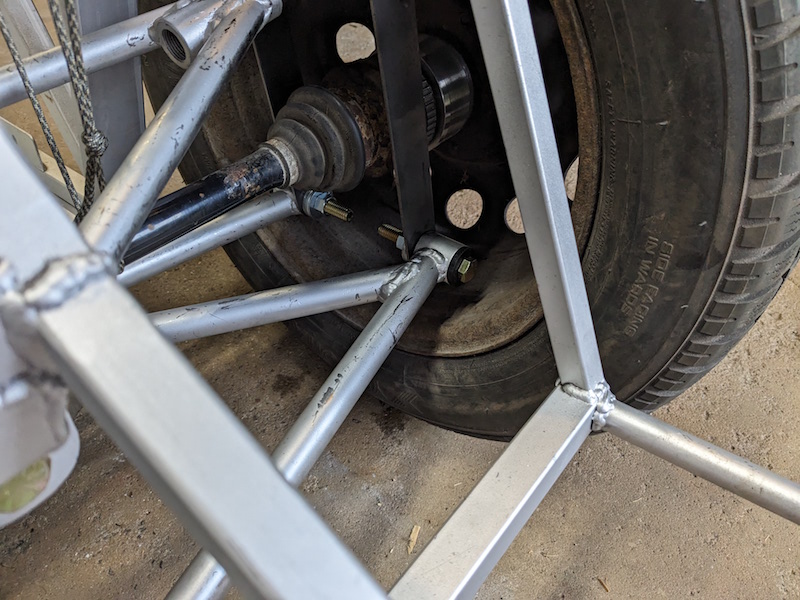
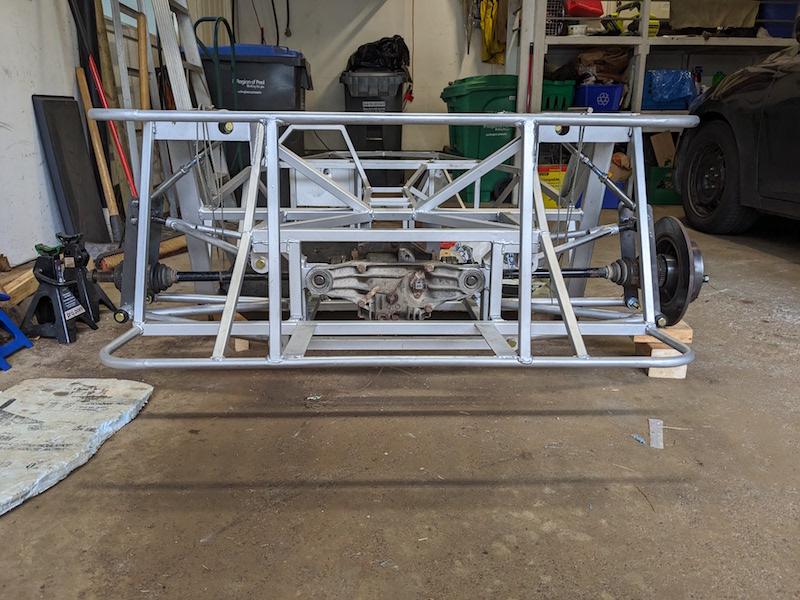
Having the rear suspension assembled is very useful, it allows investigation of suspension clearance with wheels, establishing position of the hubs etc.
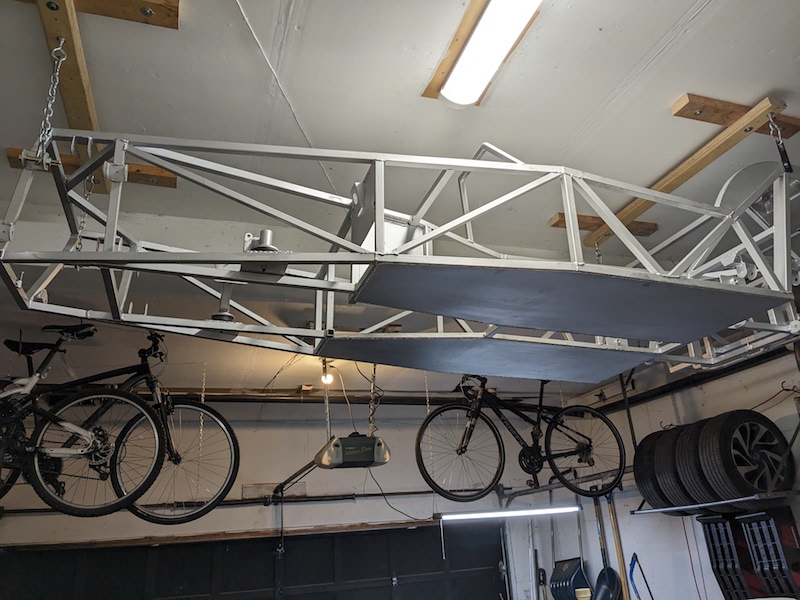
Flying with the bicycles for the winter.
![]()